
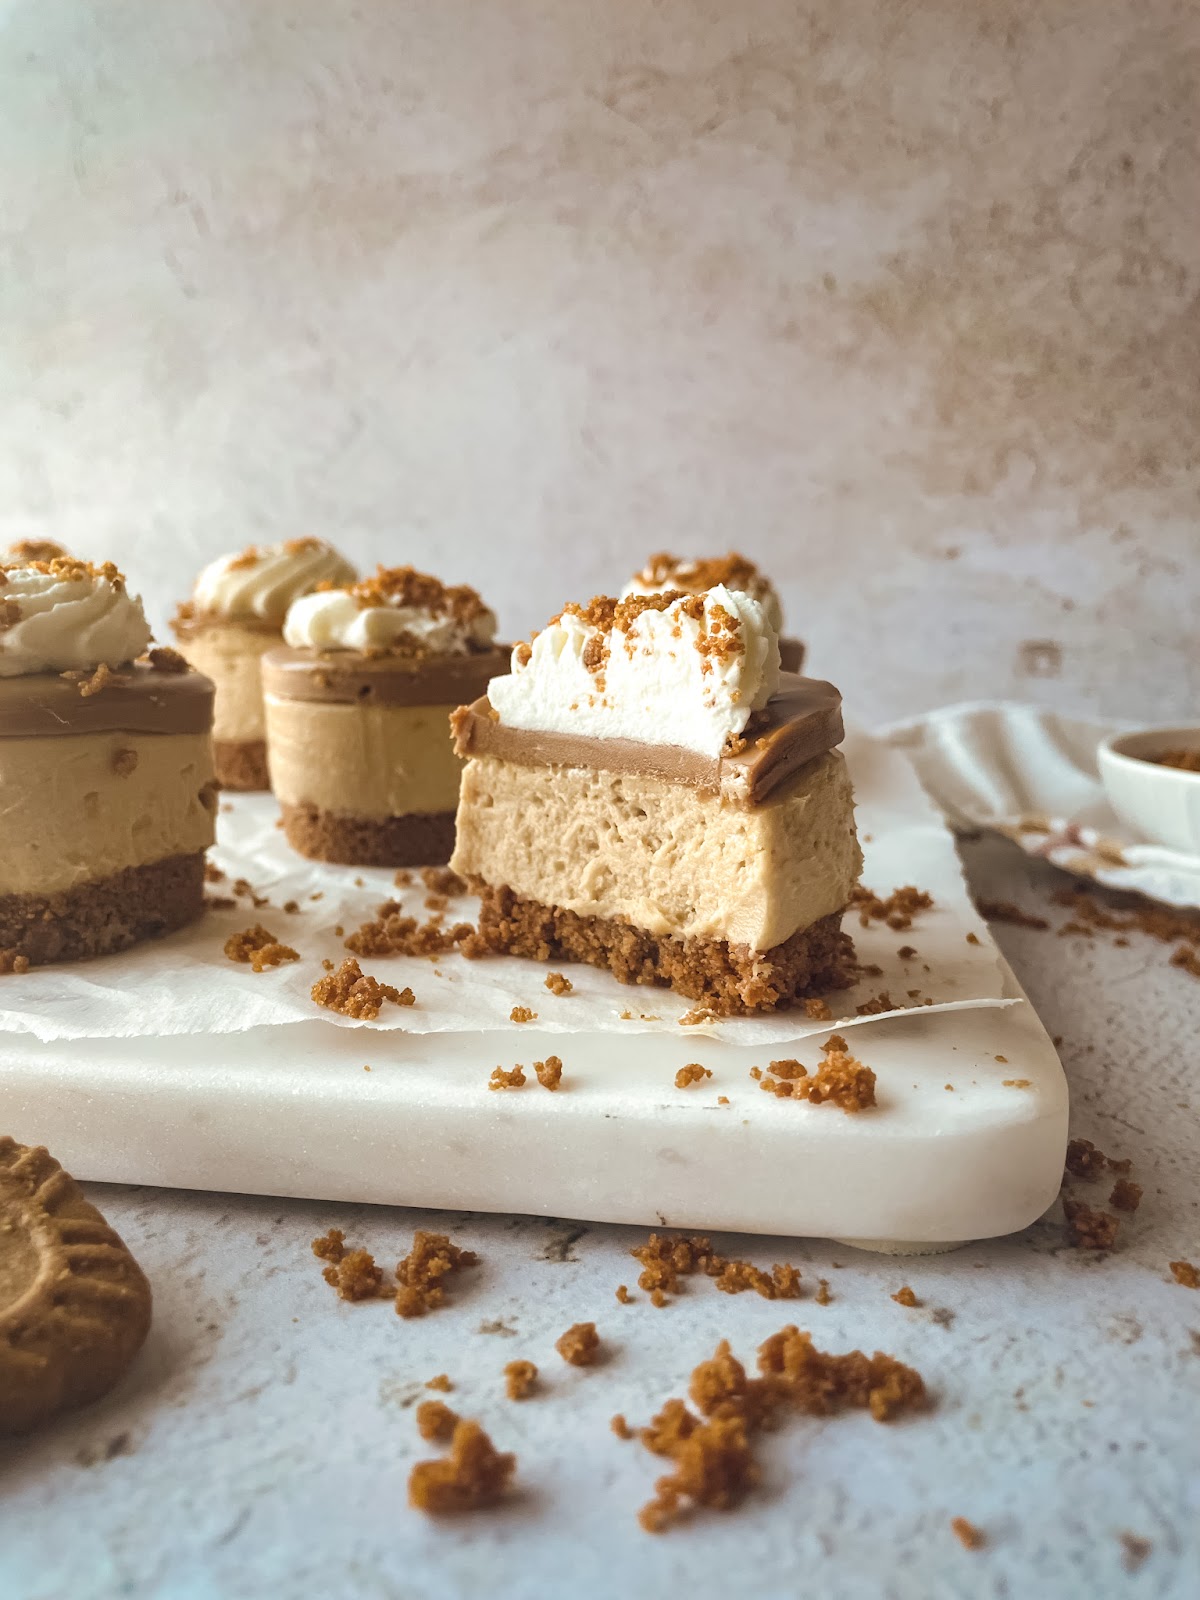
Mini Biscoff Cheesecakes
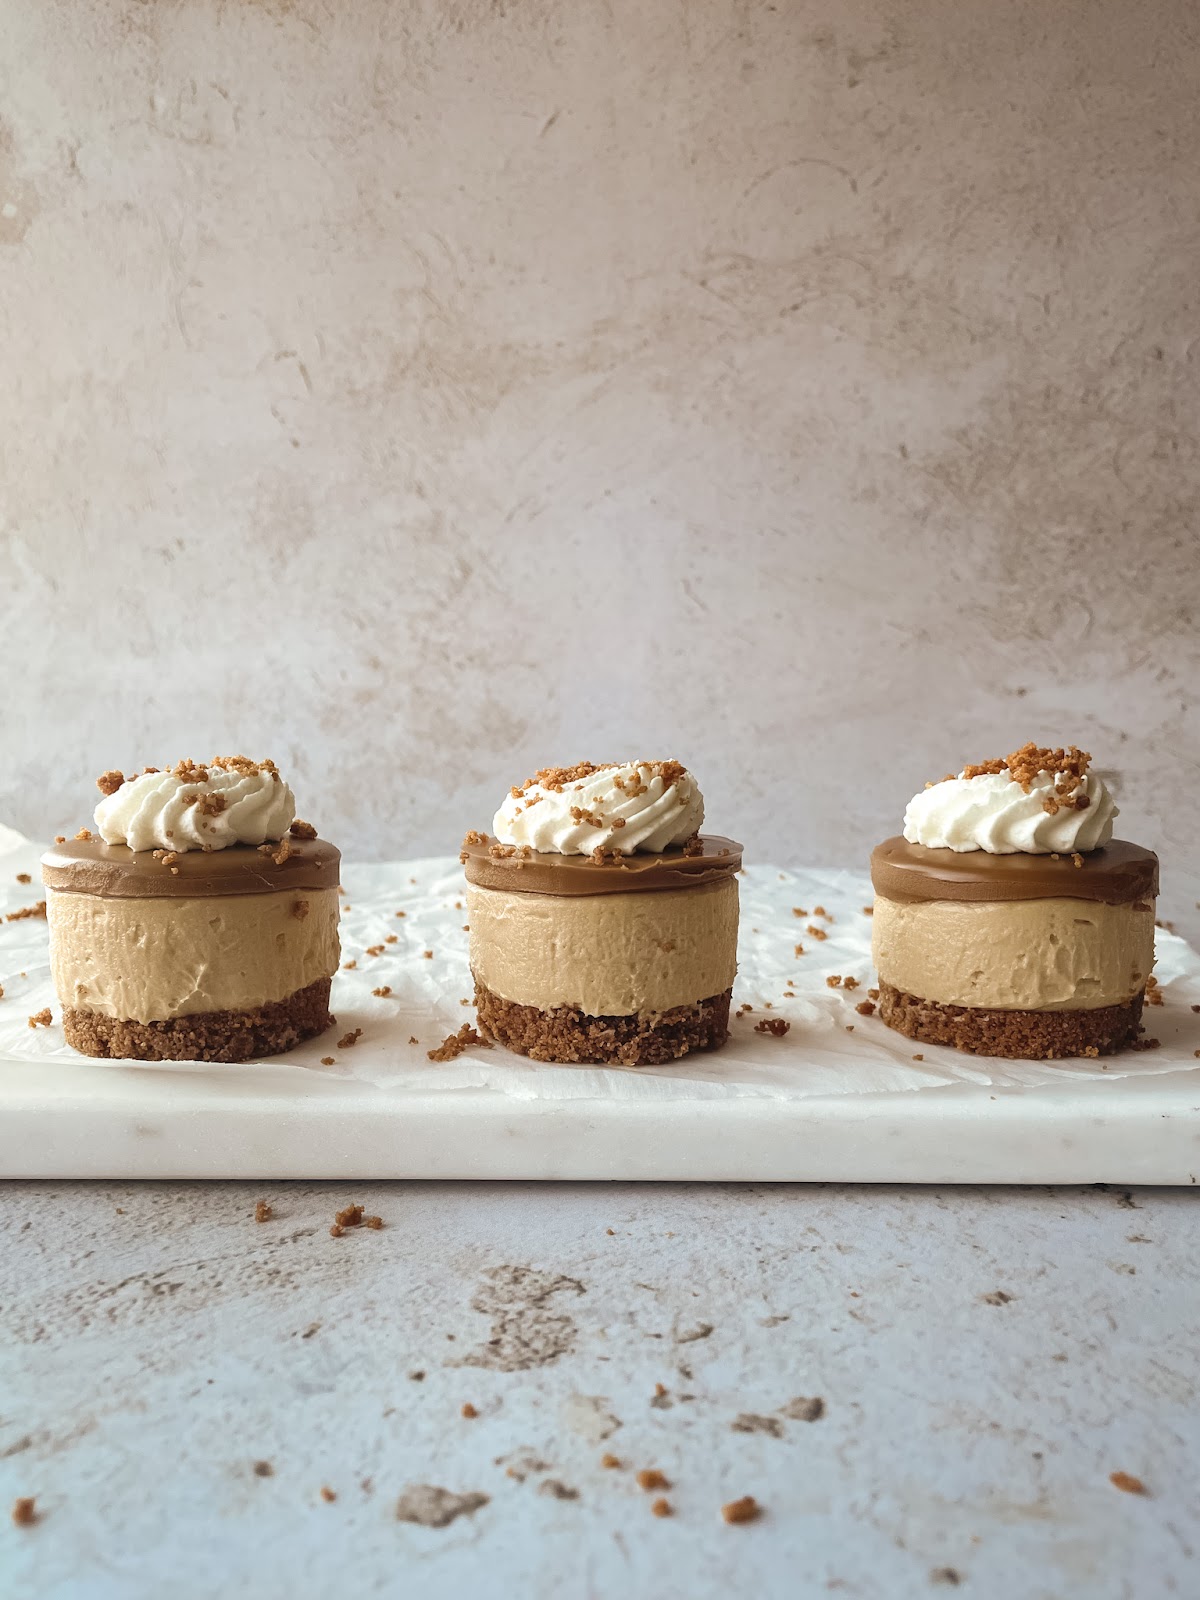
A crunchy Biscoff cookie crust, topped with a creamy cheesecake filling, finished with smooth Biscoff spread, a swirl of whipped cream, and a sprinkle of Biscoff cookie crumbs. These no-bake Mini Biscoff Cheesecakes are sure to be a new favorite!
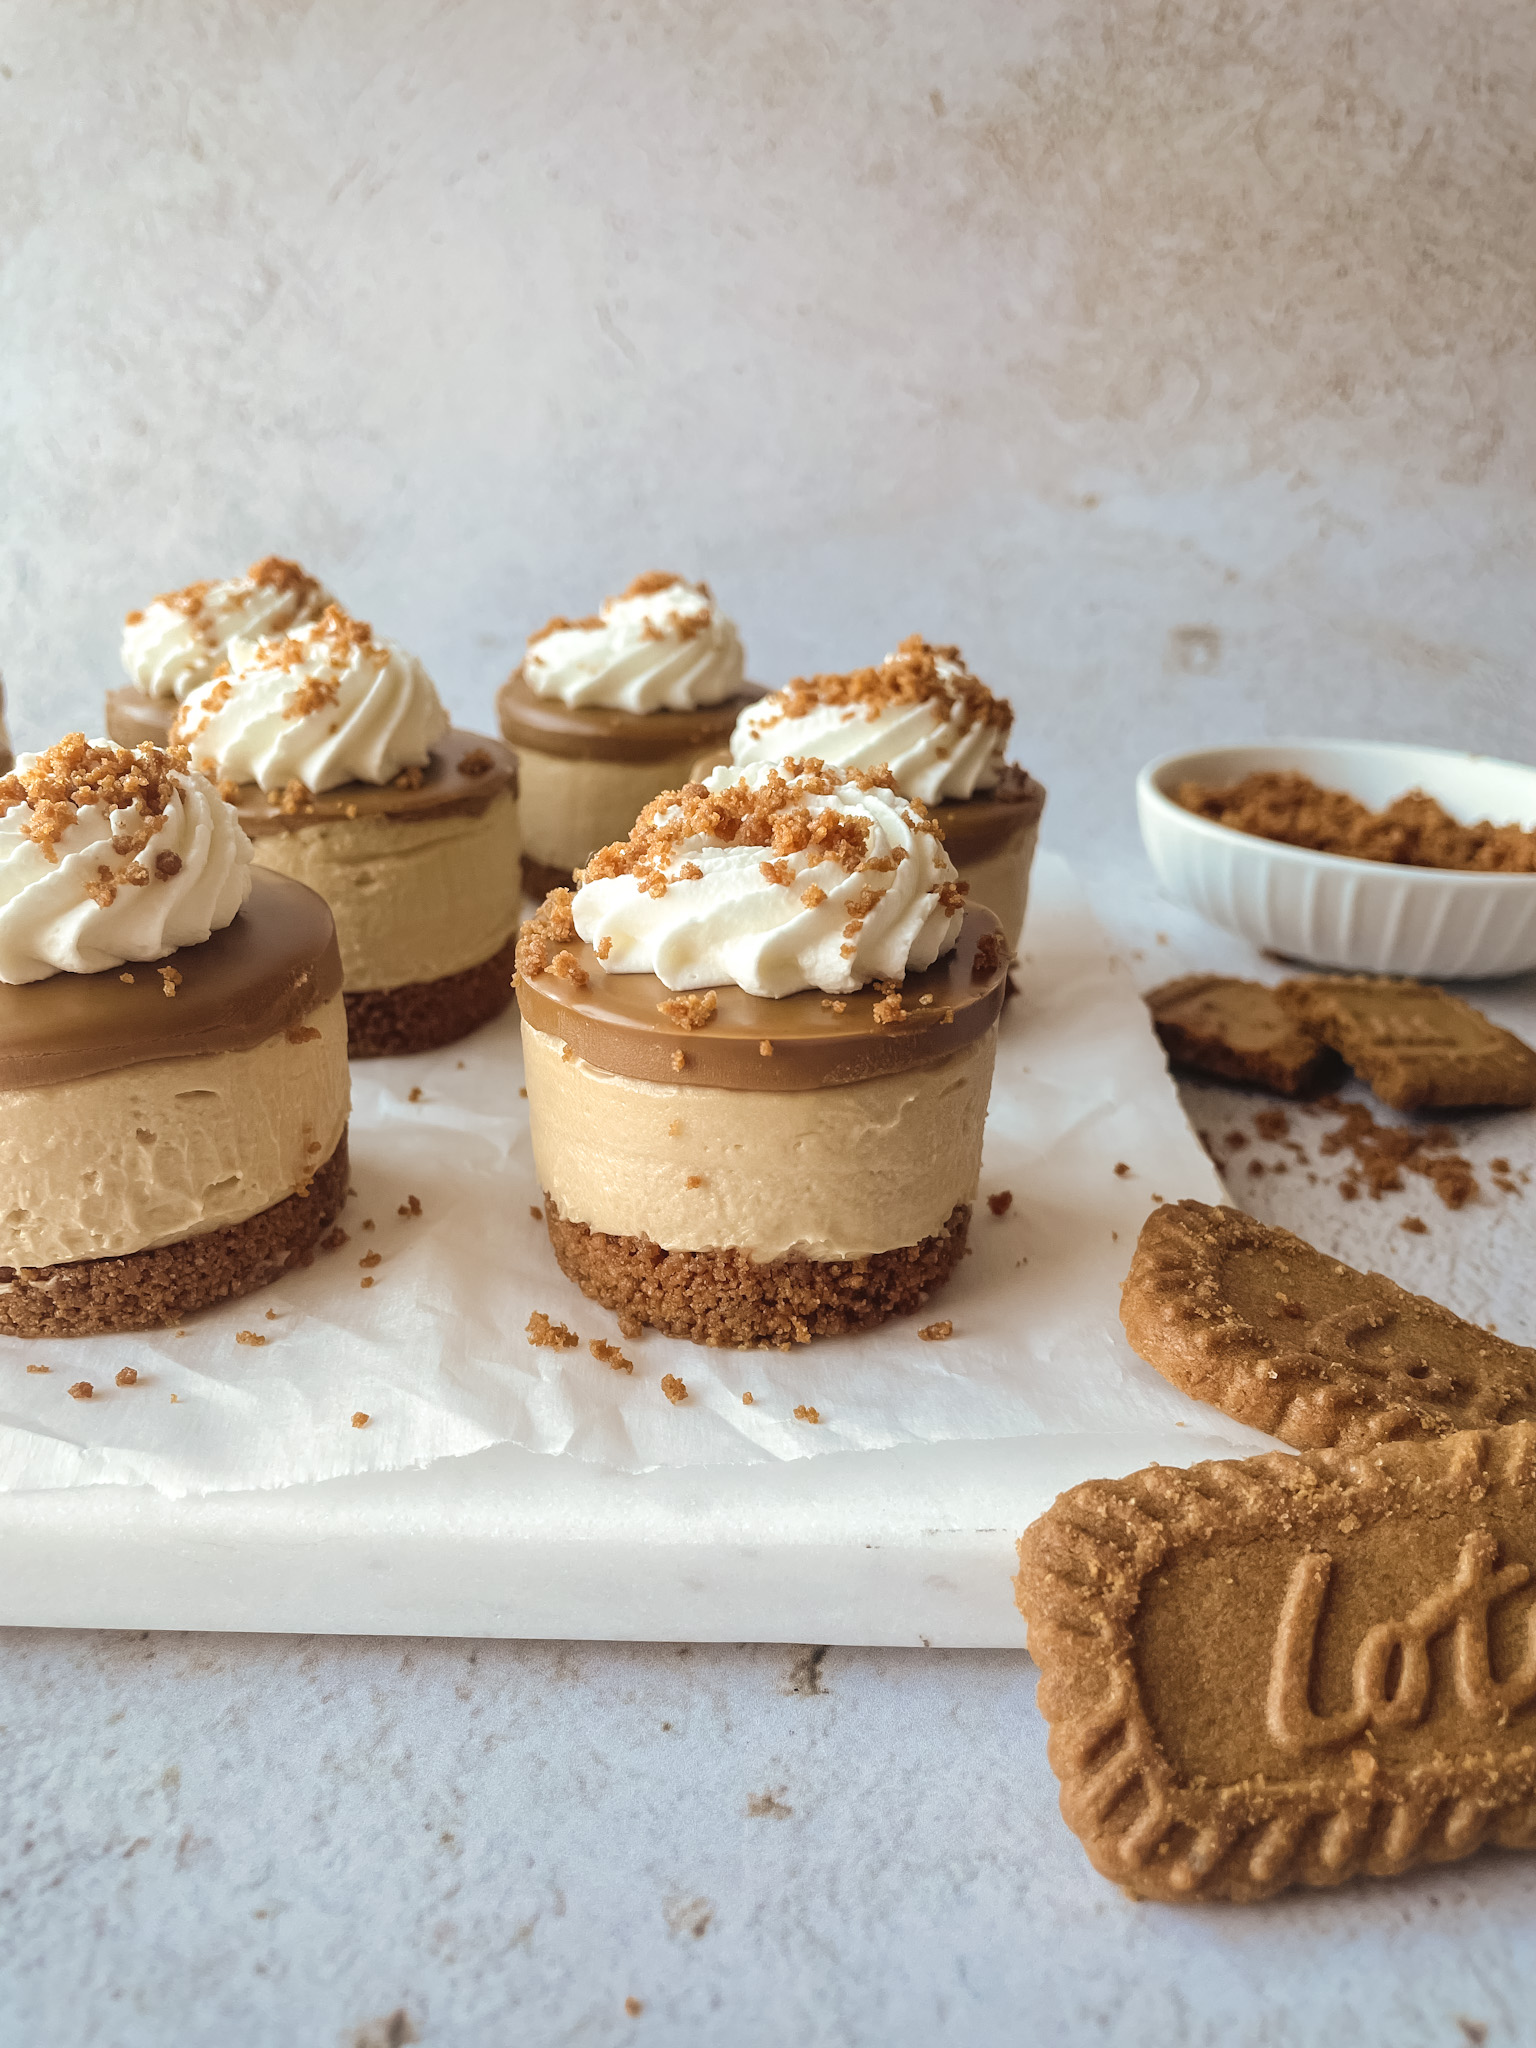
Not only are these Mini Biscoff Cheesecakes delicious and adorable, they are also a no-bake recipe! That means no oven is required, no eggs are needed, and the cheesecake filling only requires 5 ingredients. These cuties start with a Biscoff cookie crust that is topped with a thick layer of creamy Biscoff cheesecake filling and finished with a layer of melted Biscoff spread. Add some homemade whipped cream and a sprinkle of Biscoff cookie crumbs for a dessert that’s so easy but sure to impress.
What is Biscoff?
Biscoff, also known as Speculoos, is a popular crunchy, cinnamon-spiced cookie. Biscoff spread, or Cookie Butter is made of crushed Biscoff cookies to create a paste that has a creamy texture and color similar to peanut butter. The Biscoff name is actually made only by the Lotus brand which is the most well-known brand of cookies and spread, although many other brands make their own versions. I would describe the flavor of Biscoff as similar to gingerbread but with more cinnamon and less gingery flavor. We’ll use both the cookies and the spread in this cheesecake recipe.

How to Make Mini No-Bake Cheesecakes
- Make the crust. The crust is just 2 ingredients – Biscoff cookies and melted butter. First, you’ll grind the cookies in a food processor until they become fine crumbs then add the melted butter and combine. Prep the mini cheesecake pans with a light coating of cooking spray then press about 1 Tablespoon of the crust mixture into each tin. You’ll refrigerate this while you make the filling.
- Make the cheesecake filling. The cheesecake filling is super simple. It starts by combining cream cheese and brown sugar then adding Biscoff spread and vanilla extract. Switch to the whisk attachment and slowly stream in heavy cream while the mixer is running on low speed. Finish off the filling by mixing on high speed for 20 -30 seconds until the mixture gets thick.

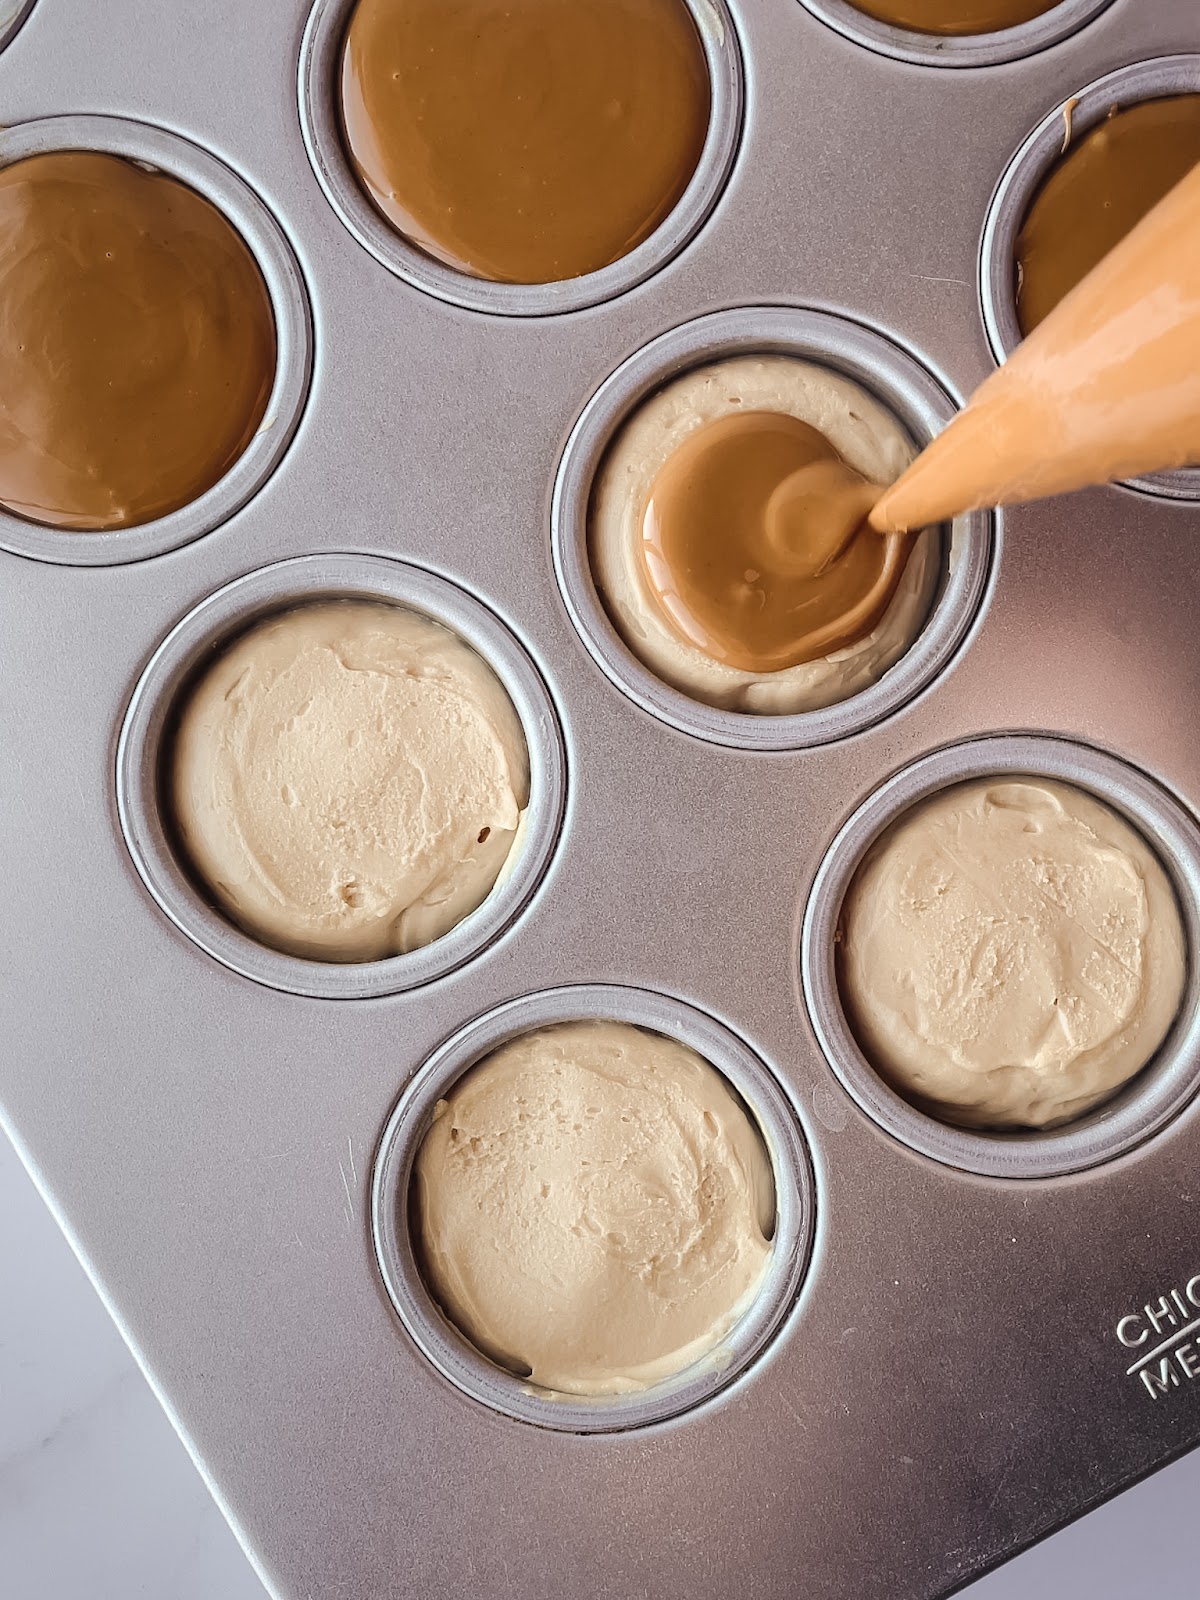
- Fill the tins. I like to use a piping bag to easily fill the cheesecake tins. Fill almost to the top, leaving about ¼” unfilled then gently smooth out the top with a small offset spatula. Melt your Biscoff spread in the microwave and pour or pipe it onto the cheesecake, filling the tins the rest of the way to the top.
- Chill the cheesecakes. Let the cheesecakes chill for at least 4 hours in the fridge, preferably overnight or 8 hours before popping them out. This will help them get nice and firm so they hold their shape. Once chilled, remove the cheesecakes by pushing the removable base up from the bottom.
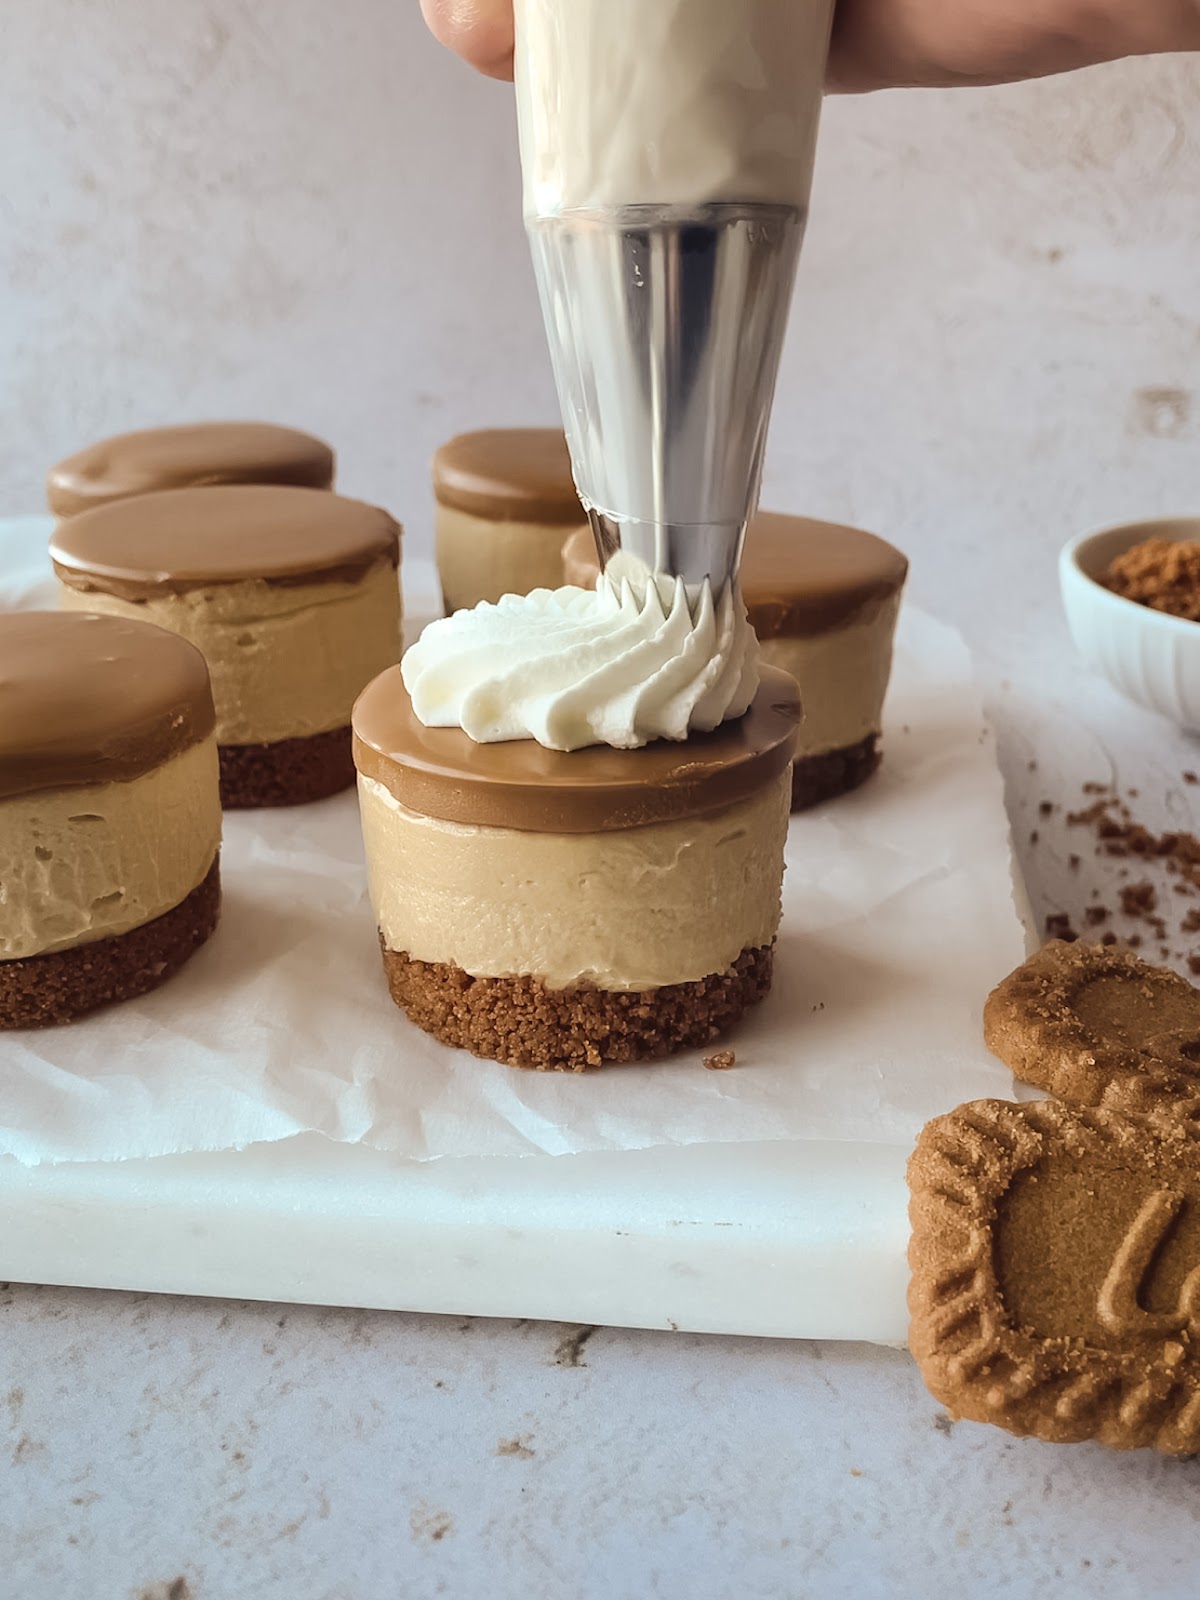
- Finish with whipped cream and crumbs. I like to finish these off with a swirl of homemade whipped cream and a sprinkle of more Biscoff crumbs. You should have some leftover crumbs from the crust so I just used those. Serve the cheesecakes straight from the fridge and enjoy!
Recipe Video
Helpful Tools
Mini Cheesecake Pans: This was my first time using these mini cheesecake pans and I was pretty happy with the results. I love that they give you nice straight sides and they are perfect for a small personal serving size. Just make sure to grease your pans to help them slide out easier.
Tart Tamper: This tool isn’t completely necessary but I found it really helpful. The larger side was the perfect diameter for compacting down the curst in the mini cheesecake pans. I think it would also be handy for tart crusts, or any other dessert that requires a compacted graham or cookie crust. If you don’t have a tart tamper, try using a shot glass or small flat-bottomed glass that fits into the cheesecake tin.
Small Offset Spatula: You’ve gotta have at least one of these in your kitchen, in my opinion. There are so many different uses for a small offset spatula like spreading batters, doughs, or icings. I found it the perfect size to lightly smooth the top of the cheesecake after filing the pan, to make a nice level surface to pour the melted Biscoff spread onto.
Piping Bags: I found that the easiest way to get the cheesecake filling into the mini pans was by piping it. The filling is a little thick so it doesn’t easily pour into each cavity. I used the 18” size for piping the filling and the 12” size for adding the melted Biscoff spread on top. They’re perfect for piping a dollop of whipped cream on top too!
Mini Biscoff Cheesecake FAQs
What can I use if I don’t have a mini cheesecake pan?
The cheesecake pans with removable bottoms are not required to make this recipe. Instead, just use a standard muffin tin with cupcakes liners. The liners will make them super easy to remove since you won’t have the removable bottom. The muffin tin will create larger-sized cheesecakes than the mini cheesecake pan or try it with a mini muffin pan.
How long do the cheesecakes need to chill in the fridge?
The cheesecakes need at least 4 hours to set up in the fridge but I like to chill them overnight to ensure they are nice and firm. The whipped cream makes this cheesecake filling light and delicate so you want to give it plenty of time to set up so the cheesecakes hold their shape and aren’t too soft.
What if my cheesecakes aren’t coming out of the pans?
If you have trouble getting the cheesecakes out of the mini pans, run a kitchen towel under hot water, and one by one, rub the exterior of each cheesecake cavity with the warm towel then pop them out. I found this method to work best for me, even when I forgot to coat the pans with spray!
How do I store these?
Store the finished cheesecakes in an airtight container in the fridge for up to 5 days or in the freezer, for up to 3 months. Let them thaw in the fridge for a few hours, prior to serving. Wait to add the whipped cream and cookie crumbs until right before serving.
More Desserts You’ll Love
- Strawberry Crunch Cheesecake
- Chantilly Crepe Cake
- Tiramisu Cupcakes
- Lemon Bundt Cakes
- Peanut Butter Oreo Cheesecake Bars
Lastly, if you make this recipe, leave a comment below and tag @sweetkitchencravings on Instagram or TikTok. Or if Pinterest is more your style, you can save my recipes to your collection there.

Mini Biscoff Cheesecakes
Ingredients
For the Biscoff Crust
- 1 – 8.8 oz package (250g) Biscoff cookies
- 5 Tablespoons (71g) butter, melted
For the Cheesecake
- 24 oz (3 blocks or 681g) cream cheese
- ¾ cup (140g) brown sugar
- 1 cup (272g) Biscoff spread
- 2 teaspoons vanilla extract
- 1 cup (240ml) heavy cream
For the Topping
- ¾ cup (204g) Biscoff spread, melted
- whipped cream, optional
Instructions
- Biscoff Crust: In a food processor, add the Biscoff cookies and pulse to fine crumbs. Add in the melted butter and pulse until the mixture is fully combined.
- Lightly coat two 12-count mini cheesecake pans with cooking spray. Add about 1 Tablespoon of the crust mixture to each cheesecake tin and press firmly to compact it in the bottom. Set aside any remaining crumbs to sprinkle on top of the finished cheesecakes. Place the pans in the fridge to chill while you make the cheesecake filling.
- Cheesecake Filling: In the bowl of a stand mixer fitted with a paddle attachment, beat the cream cheese and brown sugar together until smooth. Scrape the bowl, add the Biscoff spread and vanilla, and mix until combined.
- Scrape the bowl again and switch to the whisk attachment. With the mixer on low speed, slowly stream in the heavy cream. Once the cream is incorporated, turn the mixer to high speed and whip until the mixture is thick about 20 – 30 seconds.
- Use a large piping bag to fill the prepared pans to the top with the cheesecake filling, leaving about ¼” unfilled. Lightly smooth the tops of the cheesecakes with a small offset spatula. Use a piping bag or small pitcher to pour the melted Biscoff spread over the tops of the cheesecakes filling the pans the rest of the way to the top. Refrigerate for at least 4 hours, preferably 8 hours or overnight.
- Once the cheesecakes are set, remove them from the tins by gently pushing the cheesecakes up and out from the bottom, then remove the metal base.
- Pipe a dollop of whipped cream onto each cheesecake and finish with a sprinkle of the reserved Biscoff crust crumbs. Serve and enjoy!
Video
Notes
- Storing: Store cheesecakes in an airtight container in the fridge for up to 5 days or in the freezer for up to 3 months.

do I have to use heavy cream?
Hi Patricia, the heavy cream is crucial since this is a no-bake recipe so I wouldn’t recommend making it without. It’s whipped up to give the cheesecake its light and creamy texture, as well as some volume.
Should cream cheese be room temp?
Hi Jessica! I recommend using cream cheese right from the fridge in this recipe. You want the cream cheese and heavy cream to be the same temp so they combine together well. Hope this helps!
I made this for morning tea, without the whipped cream topping. I received multiple compliments.
I used the silicon cupcake liners, and made 36 cheesecakes. To serve, I removed the cupcake liners with a knife dipped in boiling water which I ran around the edge.
Glad to hear everyone enjoyed these Karen! Love your idea to use silicone cupcake liners.
Brown sugar, is it dark or light brown?
Hi Joanna, you can use either light or dark brown sugar! I usually prefer dark for a stronger molasses flavor. Hope this helps!