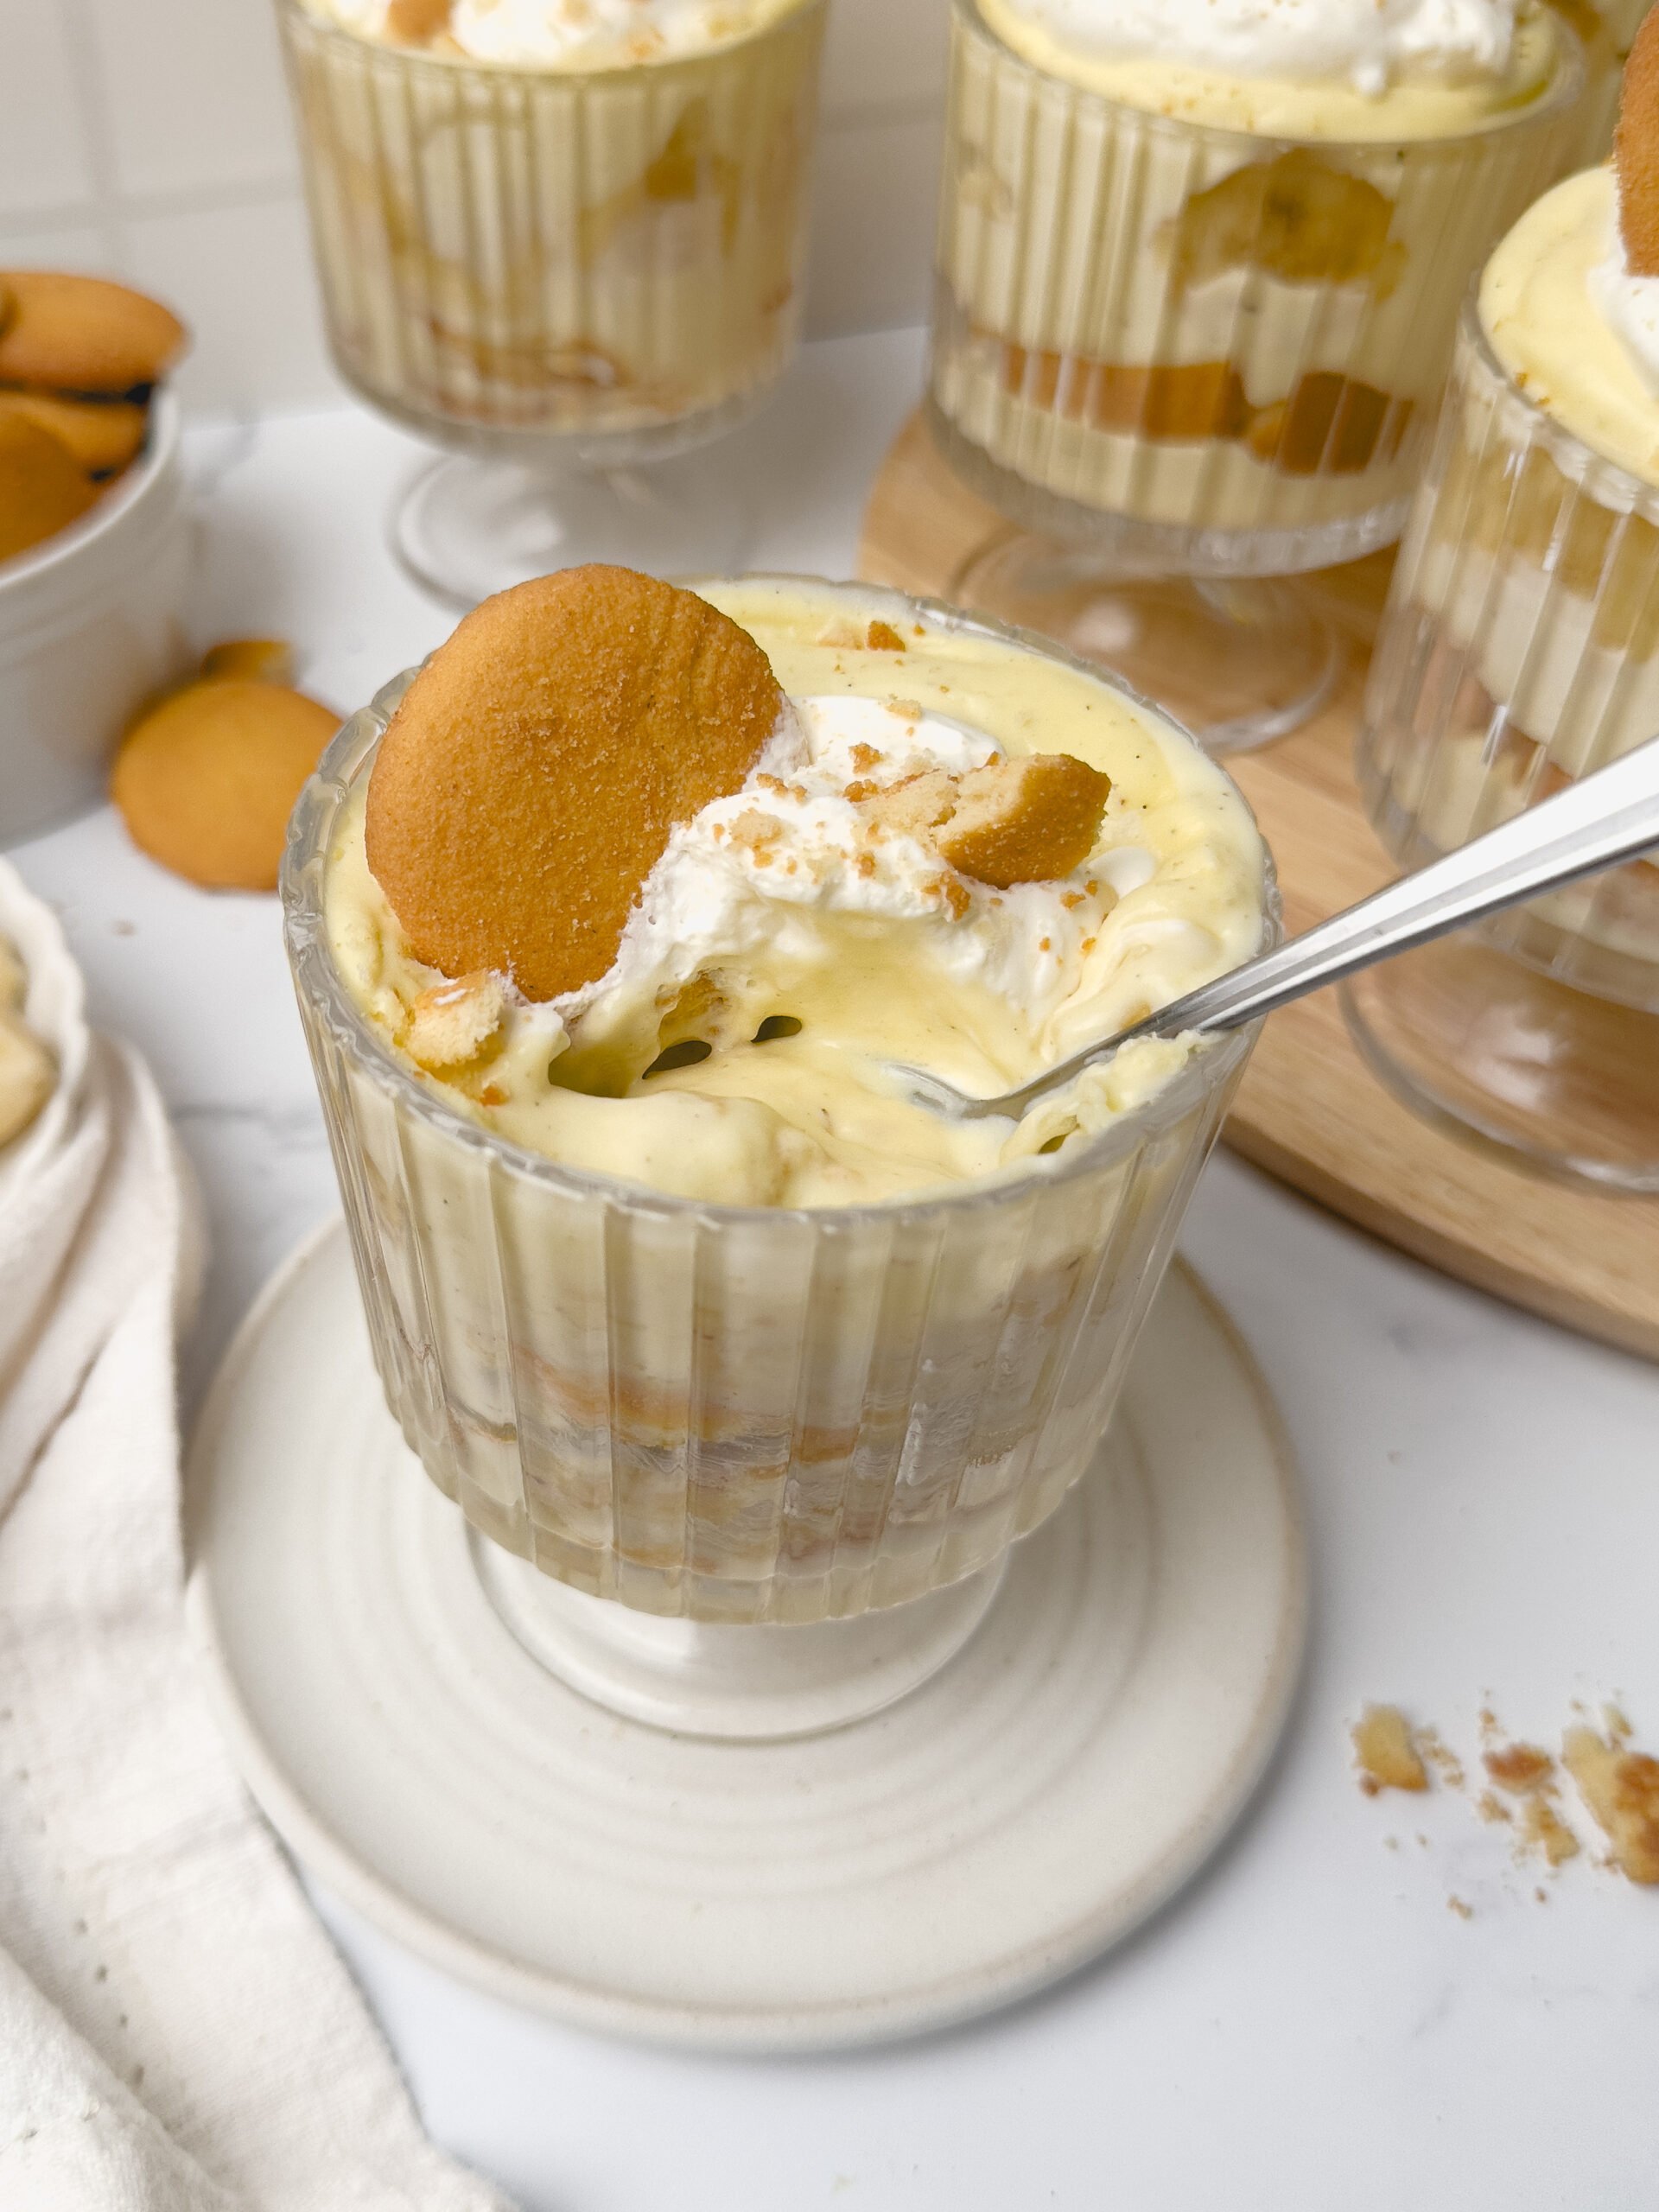
Banana Pudding Cups
These easy Banana Pudding Cups are made with creamy pudding, fresh bananas, and crunchy vanilla wafers. Light, creamy, and full of flavor in every bite.
This post may contain affiliate links. Please read my full disclosure policy.

These individual banana pudding cups are made with vanilla wafer cookies, fresh bananas, creamy vanilla custard, and homemade whipped cream. All the flavors of the classic dessert, in adorable individual servings. This easy no-bake treat that is sure to disappear fast!
Why You’ll Love These Banana Pudding Cups
Individual Servings – Layering these in small dessert cups makes them even more fun, and everyone gets their own!
Fresh Bananas – Real banana flavor from slices of fresh banana – no artificial flavor here!
Vanilla Pastry Cream – Creamy scratch-made vanilla custard is mixed with fluffy homemade whipped cream for a light, silky banana pudding
No-Bake Treat – Cool, refreshing, and no need to turn on the oven. Ideal for warm summer days.

How to make Homemade Banana Pudding Cups
- Make the vanilla pastry cream. Whisk together egg yolks, sugar, cornstarch, vanilla bean paste, and salt. Slowly stream in the milk, then heat over low, whisking constantly until the mixture tickens. Strain, stir in butter then cover and place in the fridge to cool completely.
- Make the whipped cream. Combine heavy cream, powdered sugar, and vanilla extract with a hand mixer or stand mixer with whisk attachment, until the mixture reaches medium-stiff peaks.
- Combine the pudding mixture. Fold about half of the whipped cream into the cooled pastry cream, using a rubber spatula until the mixture is fully combined. Reserve the remaining whipped cream for topping the cups.
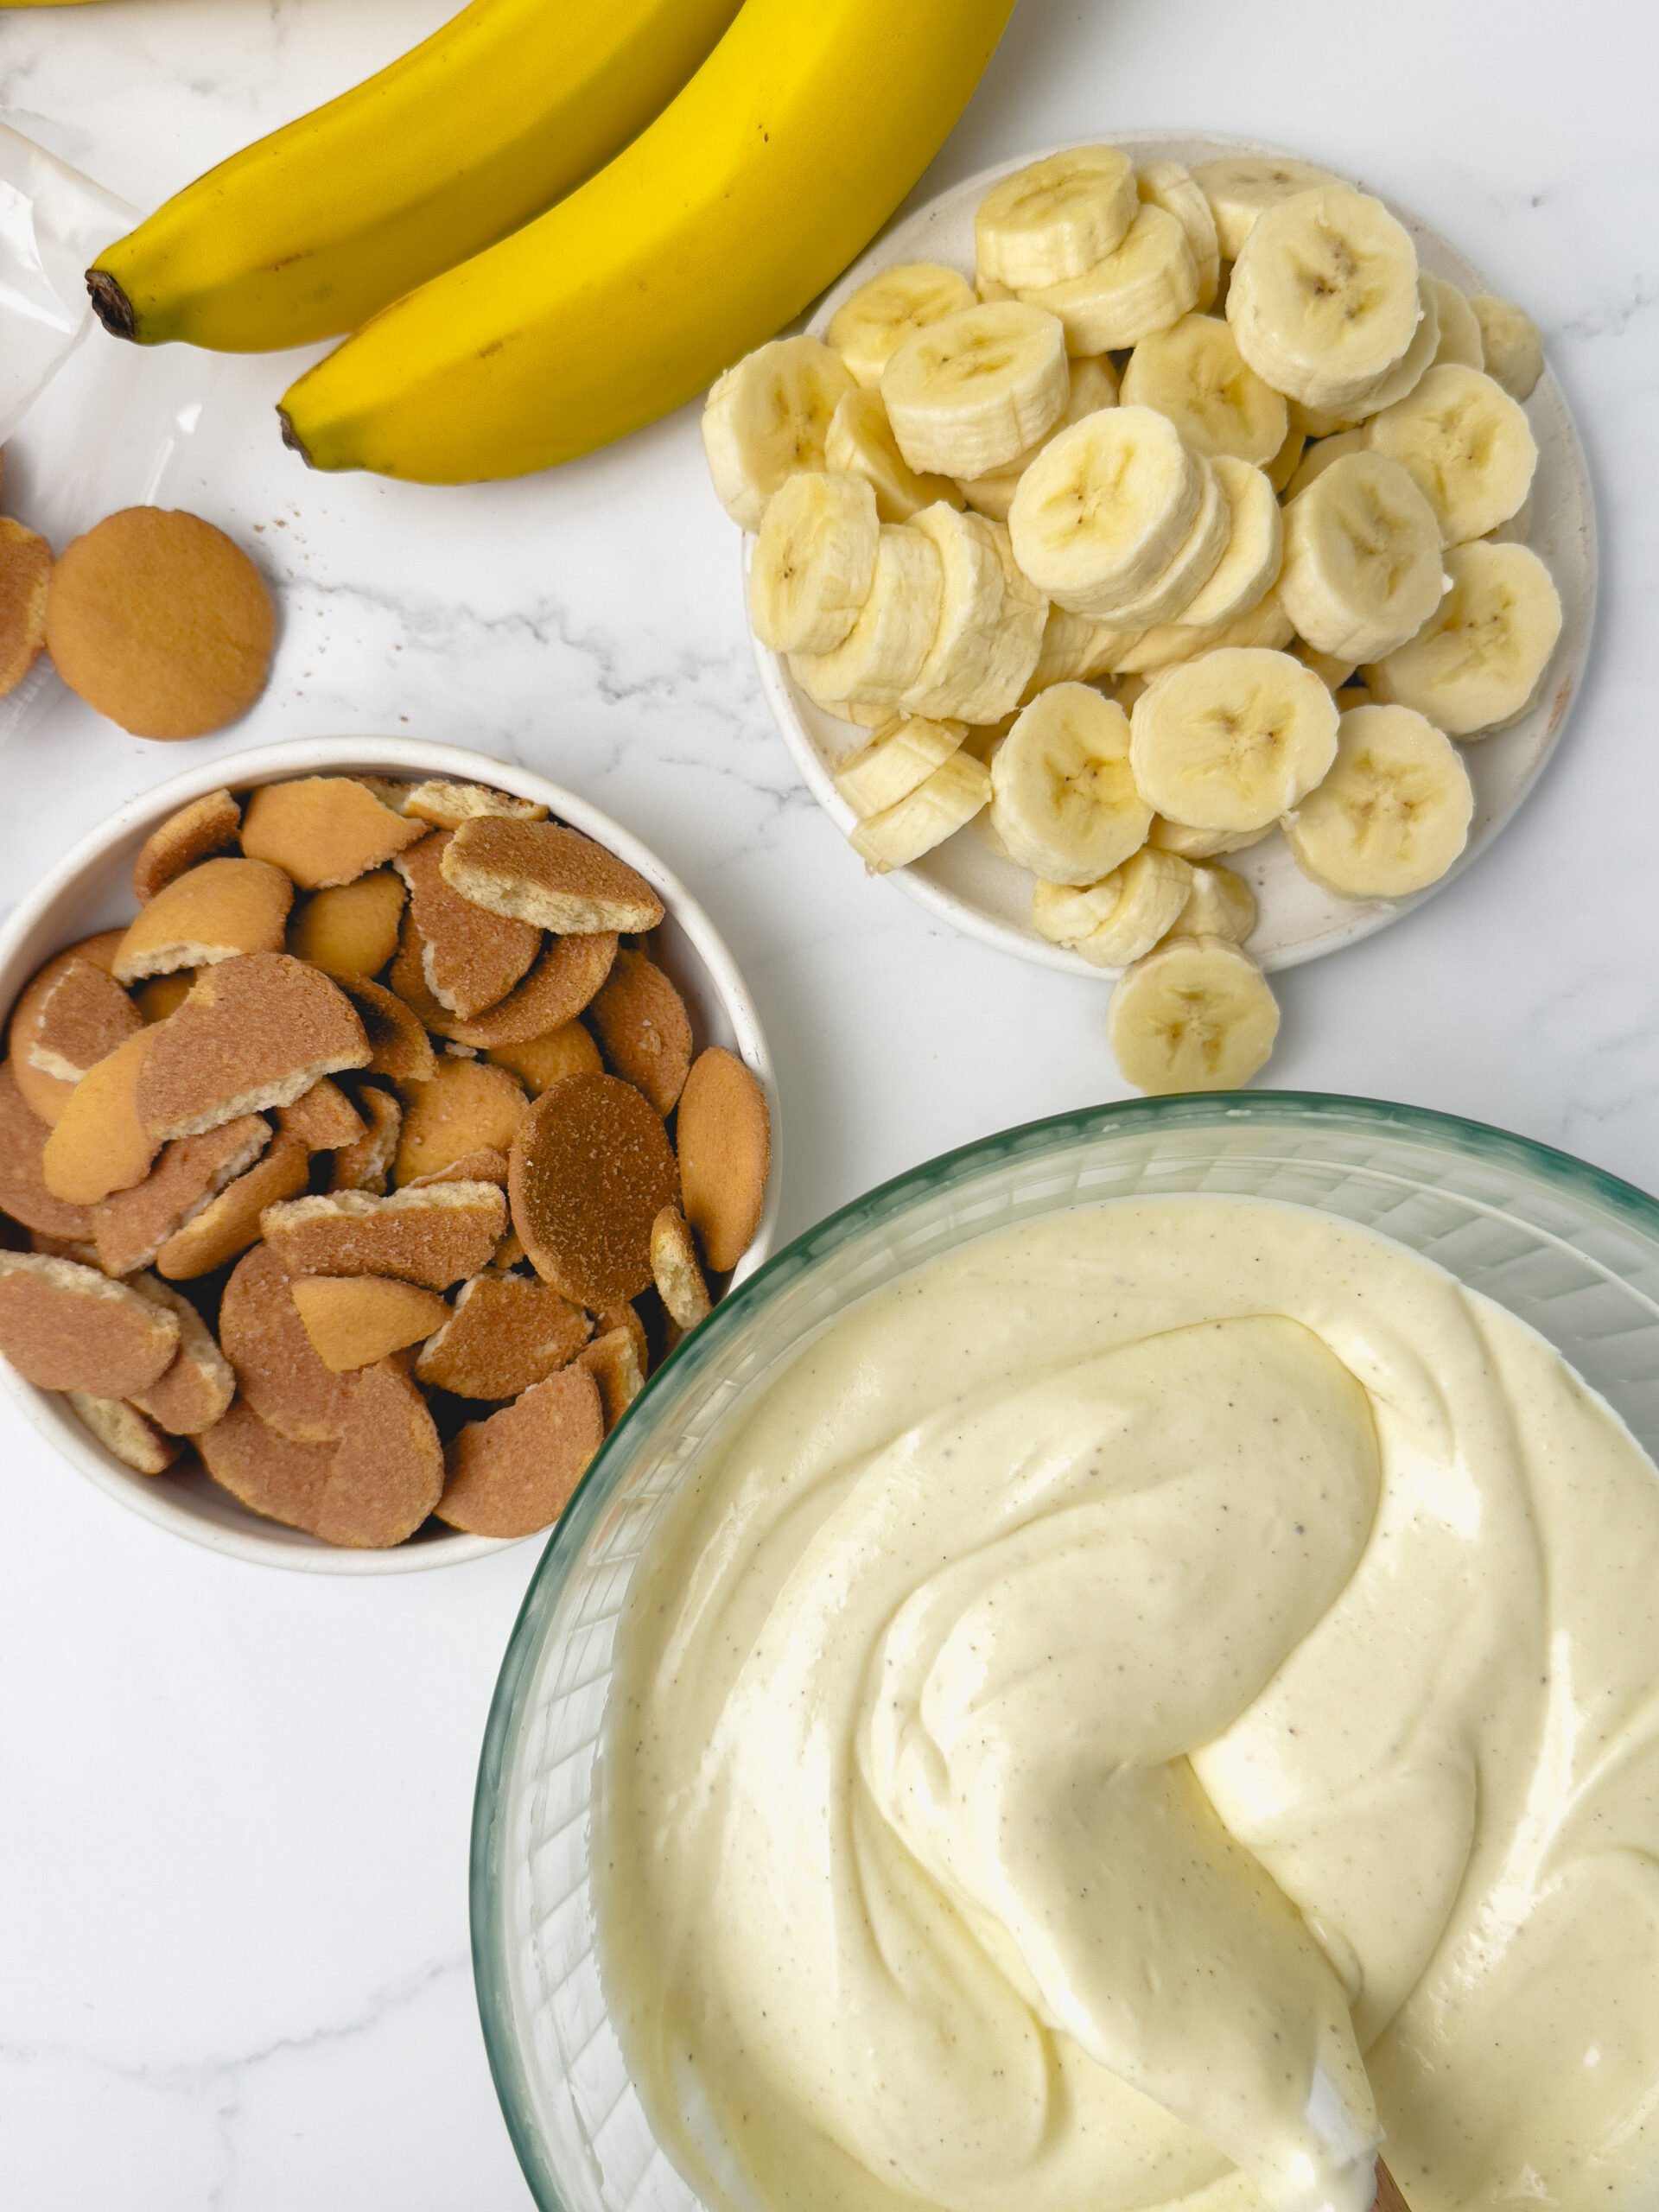
- Slice the bananas. Right before you’re ready to assemble, cut the bananas into ¼” slices
- Assemble the cups. Break nilla wafers into pieces and layer them into the bottom of you serving cup. Add a scoop of the pudding then a layer of the bananas. Add another layer of the pudding to top it off and use a small offset spatula to smooth the pudding across the top.
- Finish with whipped cream. Add a generous dollop of the reserved whipped cream to the top of each pudding cup then carefully cover with plastic wrap to keep them from drying out.
- Chill. Allow the cups to chill in the refrigerator for at least 2 hours, to allow the cookies to soften slightly. Then dive in with a spoon!
Recipe FAQs
Can these be made in advance?
The banana pudding cups should set in the fridge for about 2 hours before serving, however I wouldn’t recommend making them more than a few hours in advance. The bananas will start to turn brown and the cookies will become soggy the longer they sit.
How long will leftover banana pudding cups last?
I reccomend enjoying these fresh but they will keep in the fridge for up to one or two days.


What size cups should I use?
I used 8-ounce footed parfait cups and this recipe made 6 cups. Any small glass jar or ramekin would work. You could also use smaller cups to make if you’d like to make more individual servings.
Can I use store-bought pudding mix?
I highly recommend making the vanilla pastry cream from scratch – it comes together fairly quick and makes all the difference, however if you’re in a pinch, a box pudding mix would work too. You will still want to mix fold whipped cream into it.
What other cookies can I use instead of vanilla wafers?
Nilla wafers are the classic cookie that’s paried with banana pudding but you could try other options like graham crackers, shortbread cookies, or even biscoff cookies would be a fun twist!
More Individual Dessert Recipes You’ll Love
Baking Tip: Weigh Your Ingredients!
I highly recommend using a kitchen scale to weigh your ingredients rather than using measuring cups because it is the most accurate way to bake. Weighing your ingredients will give you more consistent results with your recipes and a better success rate, every time. Using a scale also saves you dishes which means easier cleanup! I provide gram measurements in all my recipes and this is the scale I love to use.
If you make this recipe and love it, be sure to leave a comment below. Happy baking!

Banana Pudding Cups
Ingredients
For the Vanilla Pastry Cream
- 6 large egg yolks
- ½ cup (108g) granulated sugar
- 3 Tablespoons (28g) cornstarch
- 2 teaspoons vanilla bean paste
- ¼ teaspoon salt
- 2 cups (480mL) whole milk
- 3 Tablespoons (42g) unsalted butter, cut into cubes
For the Whipped Cream
- 1½ cups (360mL) heavy cream
- ¼ cup (30g) powdered sugar
- 1 teaspoon vanilla extract
For Assembly
- 4 medium, ripe bananas
- 11- ounce box Nilla wafers
Instructions
- Vanilla Pastry Cream: In a medium saucepan, whisk together the egg yolks, sugar, cornstarch, vanilla bean paste, and salt until well combined (the mixture should lighten in color). Slowly stream the milk into the egg mixture while whisking.
- Cook over low heat, whisking constantly until the mixture thickens and starts to bubble, about 10-15 minutes. Remove the pastry cream from the heat and strain it through a fine-mesh sieve. Stir in the butter. Place plastic wrap directly over the custard and chill in the fridge until completely cooled.
- For the Whipped Cream: When you are ready to assemble the cups, make the whipped cream. In the bowl of a stand mixer fitted with a whisk attachment, add the heavy cream, powdered sugar, and vanilla extract. Mix on low speed until combined, then slowly increase the speed to medium-high and whip until the cream thickens and forms medium-stiff peaks.
- Add about half of the whipped cream to the cooled pastry cream, reserving the remaining for topping the cups. Gently fold in the whipped cream using a rubber spatula until it is fully combined.
- Assembly: Right before assembling, cut the bananas into slices. In individual dessert cups or jars, add a layer of Nilla wafers, breaking them into pieces. Add a scoop of the pudding mixture, covering the cookies. Add a layer of the sliced bananas, then another scoop of the pudding. Add a dollop of the reserved whipped cream to the top of each cup.
- Chill in the fridge for at least 2 hours. When ready to serve, finish with more Nilla wafers, then serve and enjoy!