
Chocolate Pudding Cake
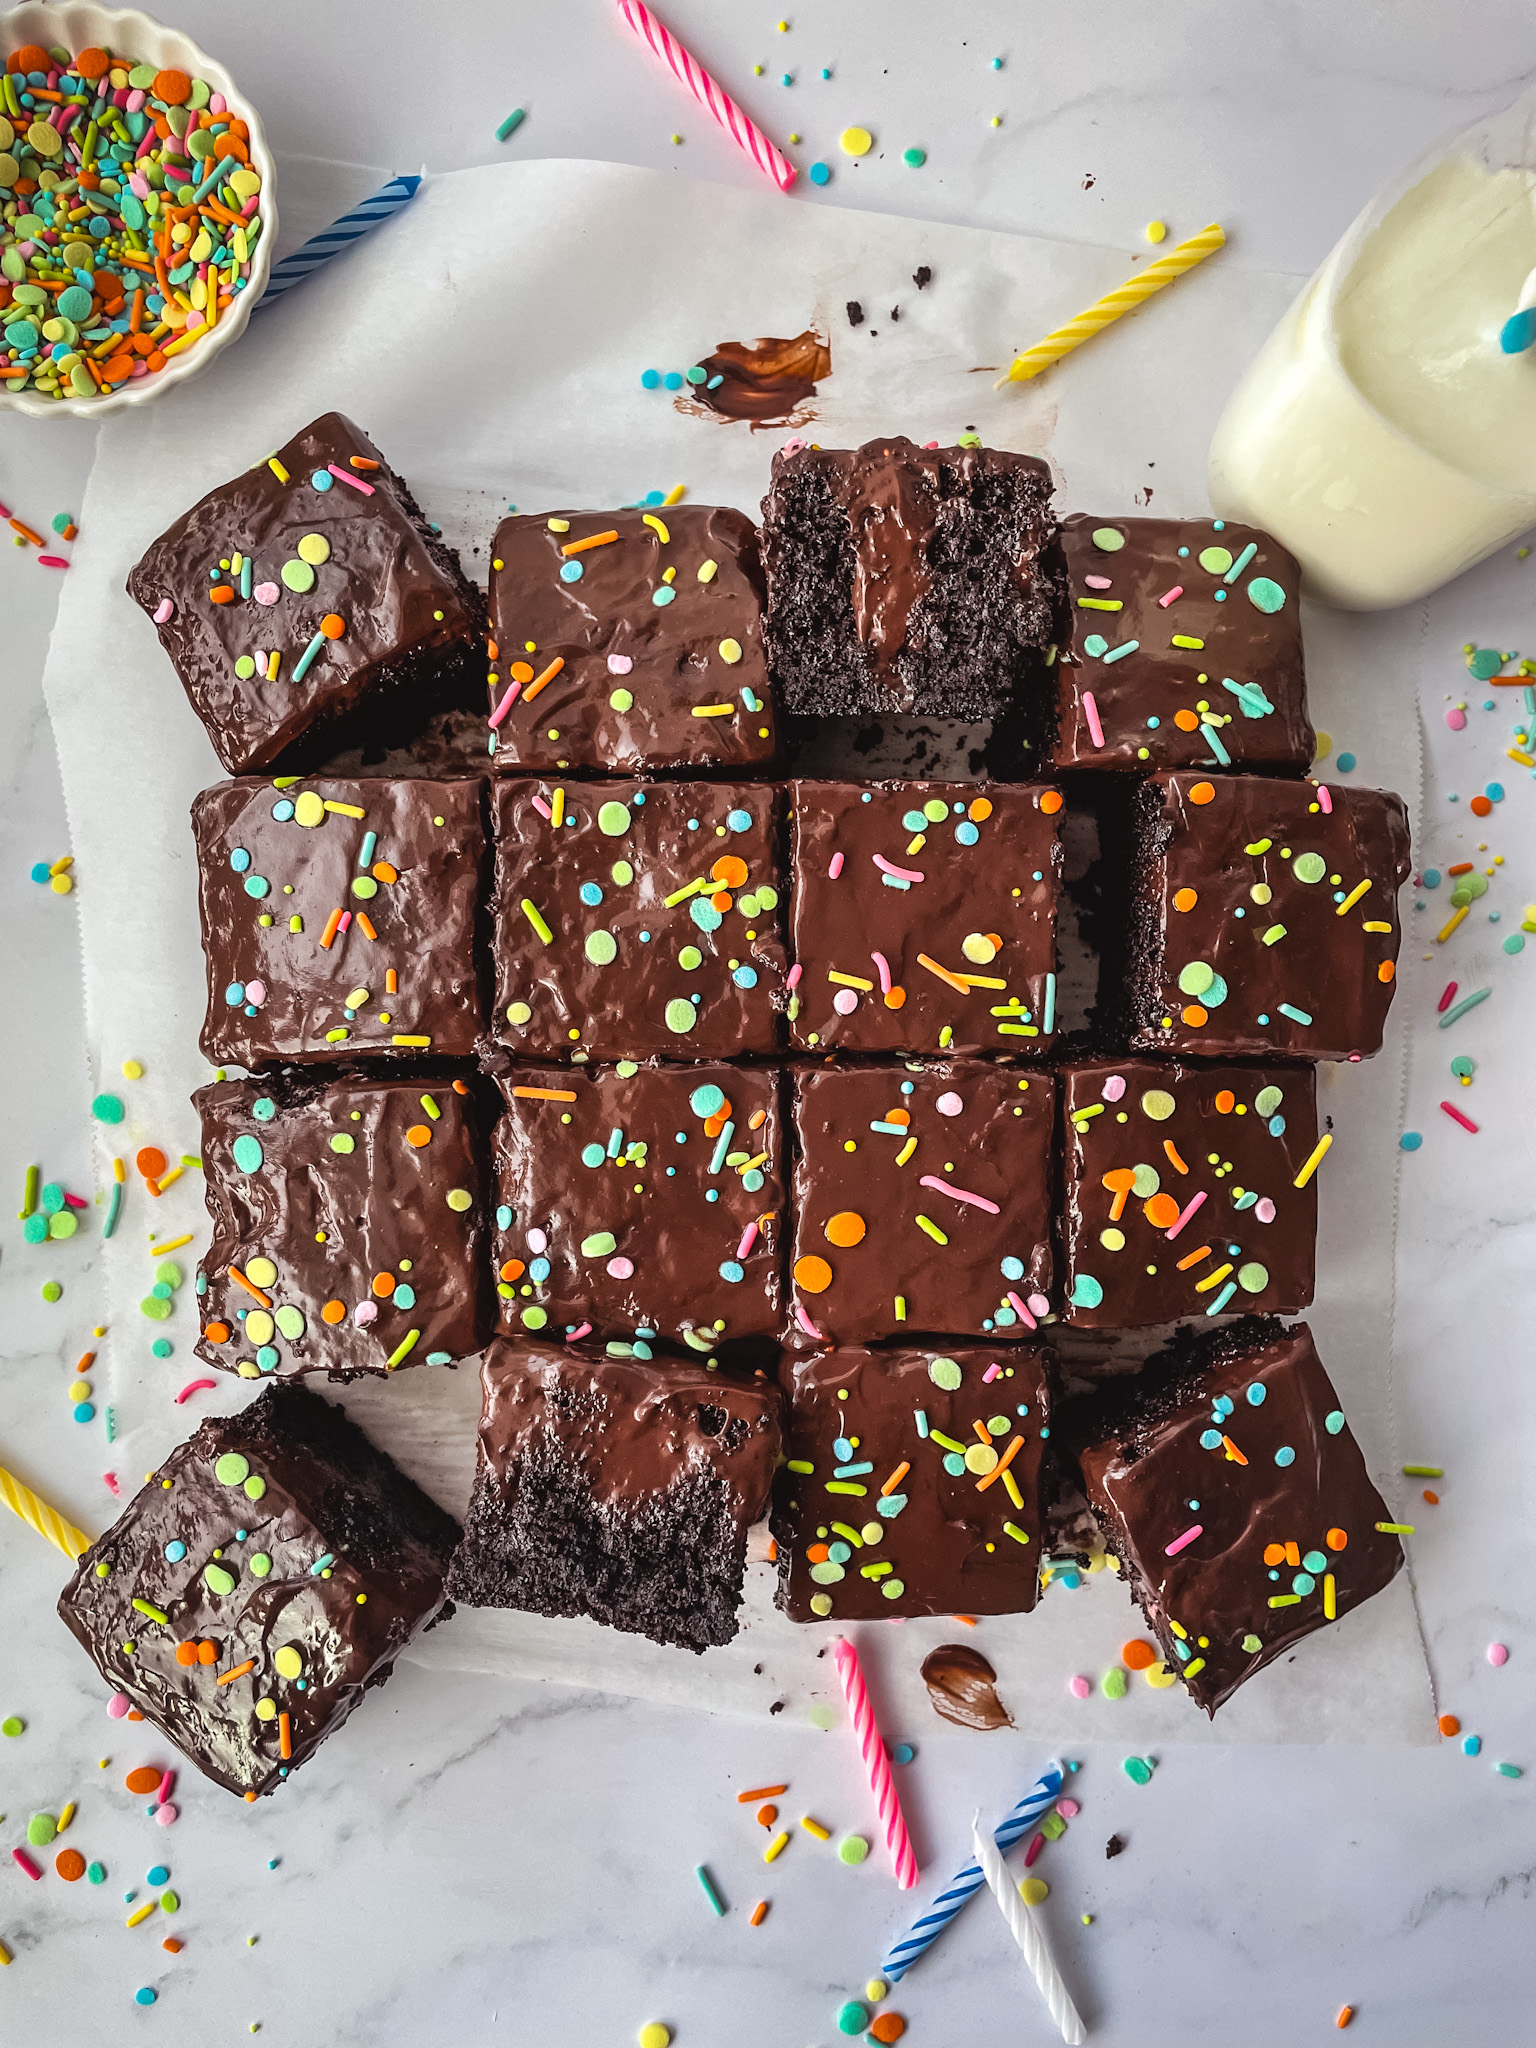
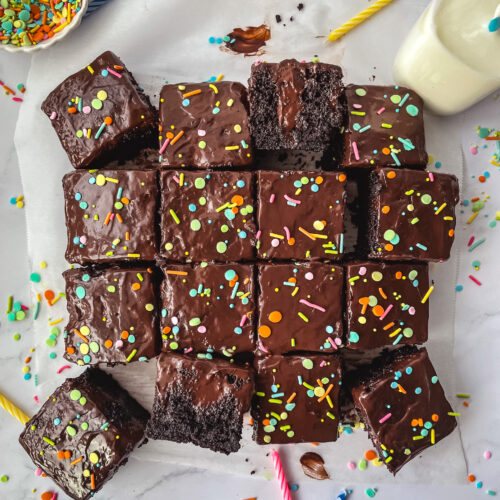
This rich and decadent Chocolate Pudding Cake is my scratch-made version of the cake my mom has always made me for my birthday. A moist chocolate cake with pockets of homemade creamy chocolate pudding that also doubles as the frosting on top!
The Inspiration
My mom has been making me a chocolate pudding poke cake almost every year for my birthday. She always made her version simply with a box of chocolate cake mix and a box of instant chocolate pudding. As soon as the cake came out of the oven, she’d poke holes in it with the end of a wooden spoon. The pudding would get poured over and seep into each hole and cover the top like frosting. I set out to recreate a scratch-made version of this recipe and after several attempts and tweaks, I finally landed my own moist, rich, and decadent chocolate pudding cake. My birthday was this past week so it felt very fitting to recreate this nostalgic cake to celebrate!

Chocolate Pudding
First I needed to create the perfect homemade chocolate pudding, similar to a chocolate pastry cream but not quite as thick. The pudding has to be just the right consistency so that it’s thin enough to pour over the cake and fill the holes but thick enough to set up like a pudding. Unlike pastry cream, I didn’t use any eggs or egg yolks and instead only relied on a little bit of cornstarch to thicken everything up. A few simple ingredients, including milk and cocoa powder, are mixed and warmed on the stove until thick. You need a little bit of patience while the pudding thickens, this can take up to 20 minutes but it’s absolutely worth the wait.
Chocolate Cake
I wanted this chocolate cake to be super moist to mimic that classic box cake texture. My first attempt was a butter-based chocolate cake recipe but the cake got a little too firm and dried out after sitting in the fridge. I swapped out the butter for oil which resulted in a perfectly moist cake, even after sitting in the fridge overnight. Using oil instead of butter also allowed me to change the mixing method from the creaming method to the muffin mixing method. Essentially, dry ingredients are combined then the wet ingredients are added to the mix which makes for a simple one-bowl cake. The best part is that you don’t even need a mixer for this one!

Why You’ll Love This Cake
- It’s rich, fudgy, and extra chocolatey
- The cake comes together in one bowl
- Easy to make pudding that’s used as the filling and frosting for the cake
- No need to frost the sides or even remove the cake from the pan!
How to Make Chocolate Pudding Cake
- Make the cake. This cake is super simple it all comes together in one bowl. The dry ingredients get mixed together then the wet ingredients are added which include eggs, oil, and water. The oil helps keep the cake super moist. The cake batter is poured into a 9” x 9” square cake pan and then bakes for about 30 minutes.

- Poke holes in the cake. Once the cake is baked and removed from the oven, you want to immediately poke holes in the top of the cake while it’s hot. I like the use of the end of a wooden spoon or a large dowel. The holes should be about ½” in diameter. I like to make even rows of holes so for a 9” x 9” cake, I did 7 rows with 7 holes in each row.
- Make the pudding. Start the pudding after the cake is baked and the holes have been poked. Sugar, cocoa powder, cornstarch, and instant espresso powder are combined in a small saucepan then milk is slowly whisked in. This mixture cooks on the stove over low heat until thickened, which can take about 15-20 minutes. Once the mixture starts to bubble and has thickened, you’ll add vanilla and your pudding is ready for the cake.

- Fill the cake. Once the pudding is done and still hot, immediately pour it over the warm cake. Fill each hole and use the remaining pudding to cover the entire top of the cake. The pudding will start to set up as you’re pouring so you want to work fairly quickly. You can spread out the pudding on top with an offset spatula or the back of a spoon to even it out. Press plastic wrap directly on top of the pudding to prevent a skin from forming.
- Chill the cake. Let the cake cool at room temp for at least 30 minutes then put it in the fridge and chill for at least 8 hours or overnight. Once chilled, remove the plastic wrap, add sprinkles if desired then cut, serve, and enjoy!

Chocolate Pudding Cake FAQs
Can I make the pudding ahead of time?
I do not recommend making the pudding ahead of time. The pudding needs to be hot when poured over the cake so that it fills each hole and easily spreads over the top. The pudding sets up quickly and would be too thick to fill the holes if it’s made ahead of time.
Can this cake be served in the cake pan?
Yes! This cake is made to be served right in the pan – that’s how my mom always made hers! I recommend greasing the bottom and sides of the pan well, so the slices come out easily when you serve the cake. If you do want to remove the whole cake from the pan once the pudding sets up, lightly grease the cake pan and line the bottom and sides with a parchment paper sling, with an overhang on all 4 sides. Use the sling to carefully lift out the finished cake before slicing.
Would this recipe work in a different pan?
I found this recipe to work best in a 9” x 9” square pan. An 8” x 8” square pan would work too if that’s what you have – you’ll just end up with a slightly taller cake.
How should I store the cake?
Chocolate Pudding Cake needs to be stored in the fridge. Store slices in an airtight container in the fridge for up to 5 days.

More Recipes for Chocolate Lovers
- Chocolate Espresso Truffles
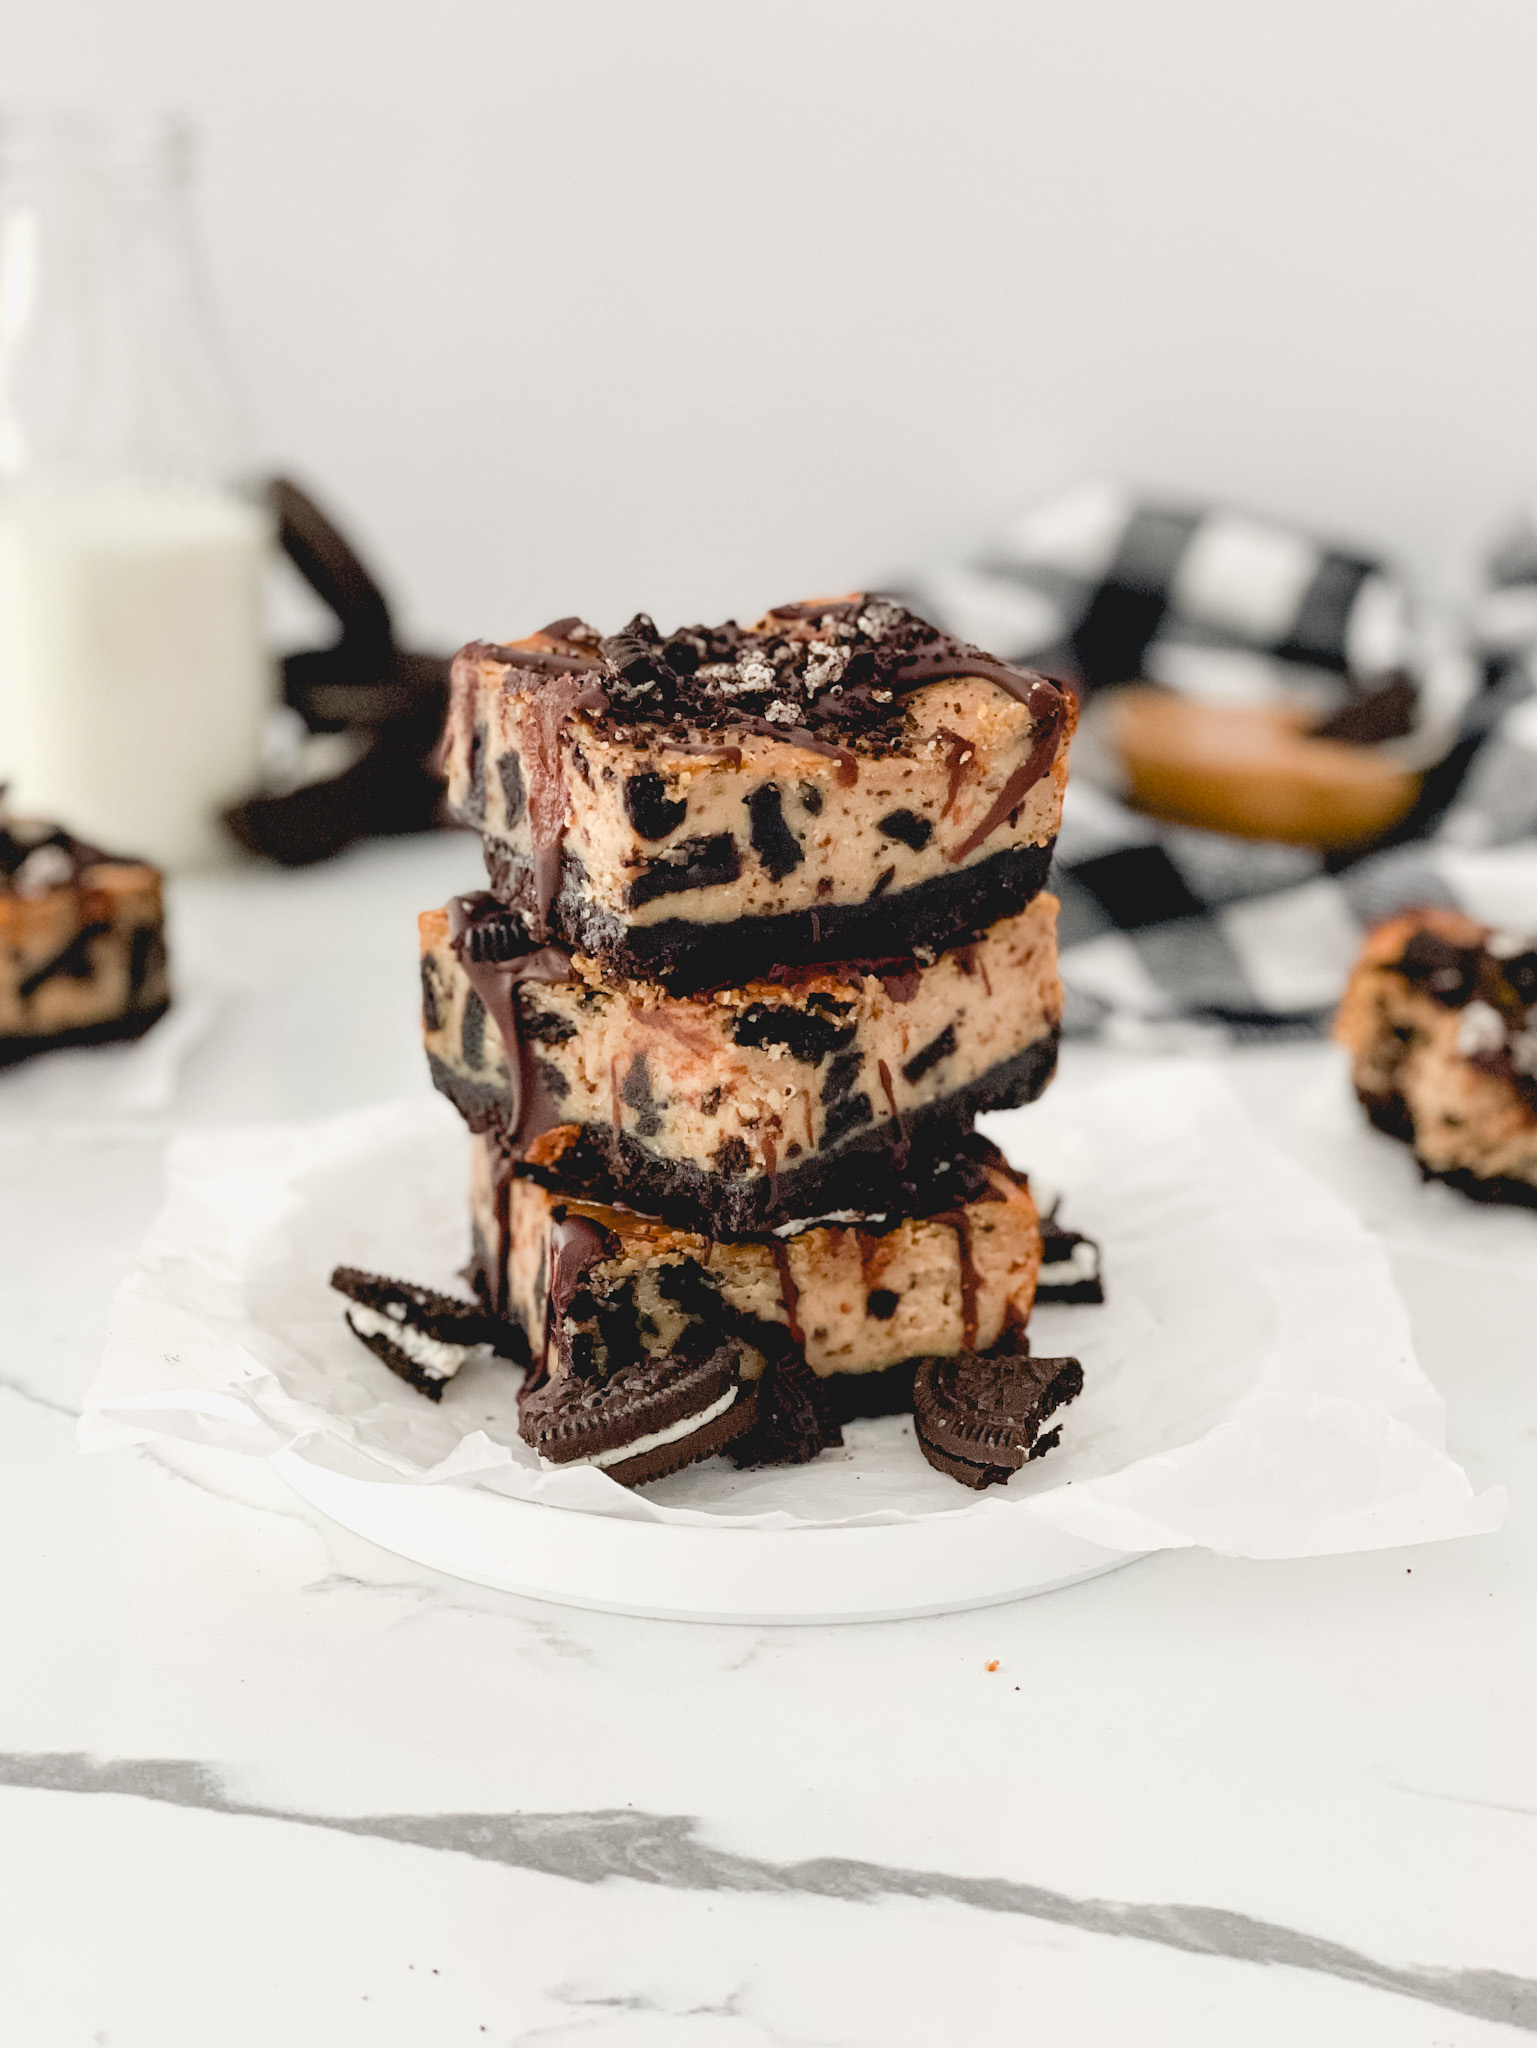
- Baileys Irish Cream Cheesecake Brownies
- Chocolate Chip Banana Cake with Chocolate Frosting
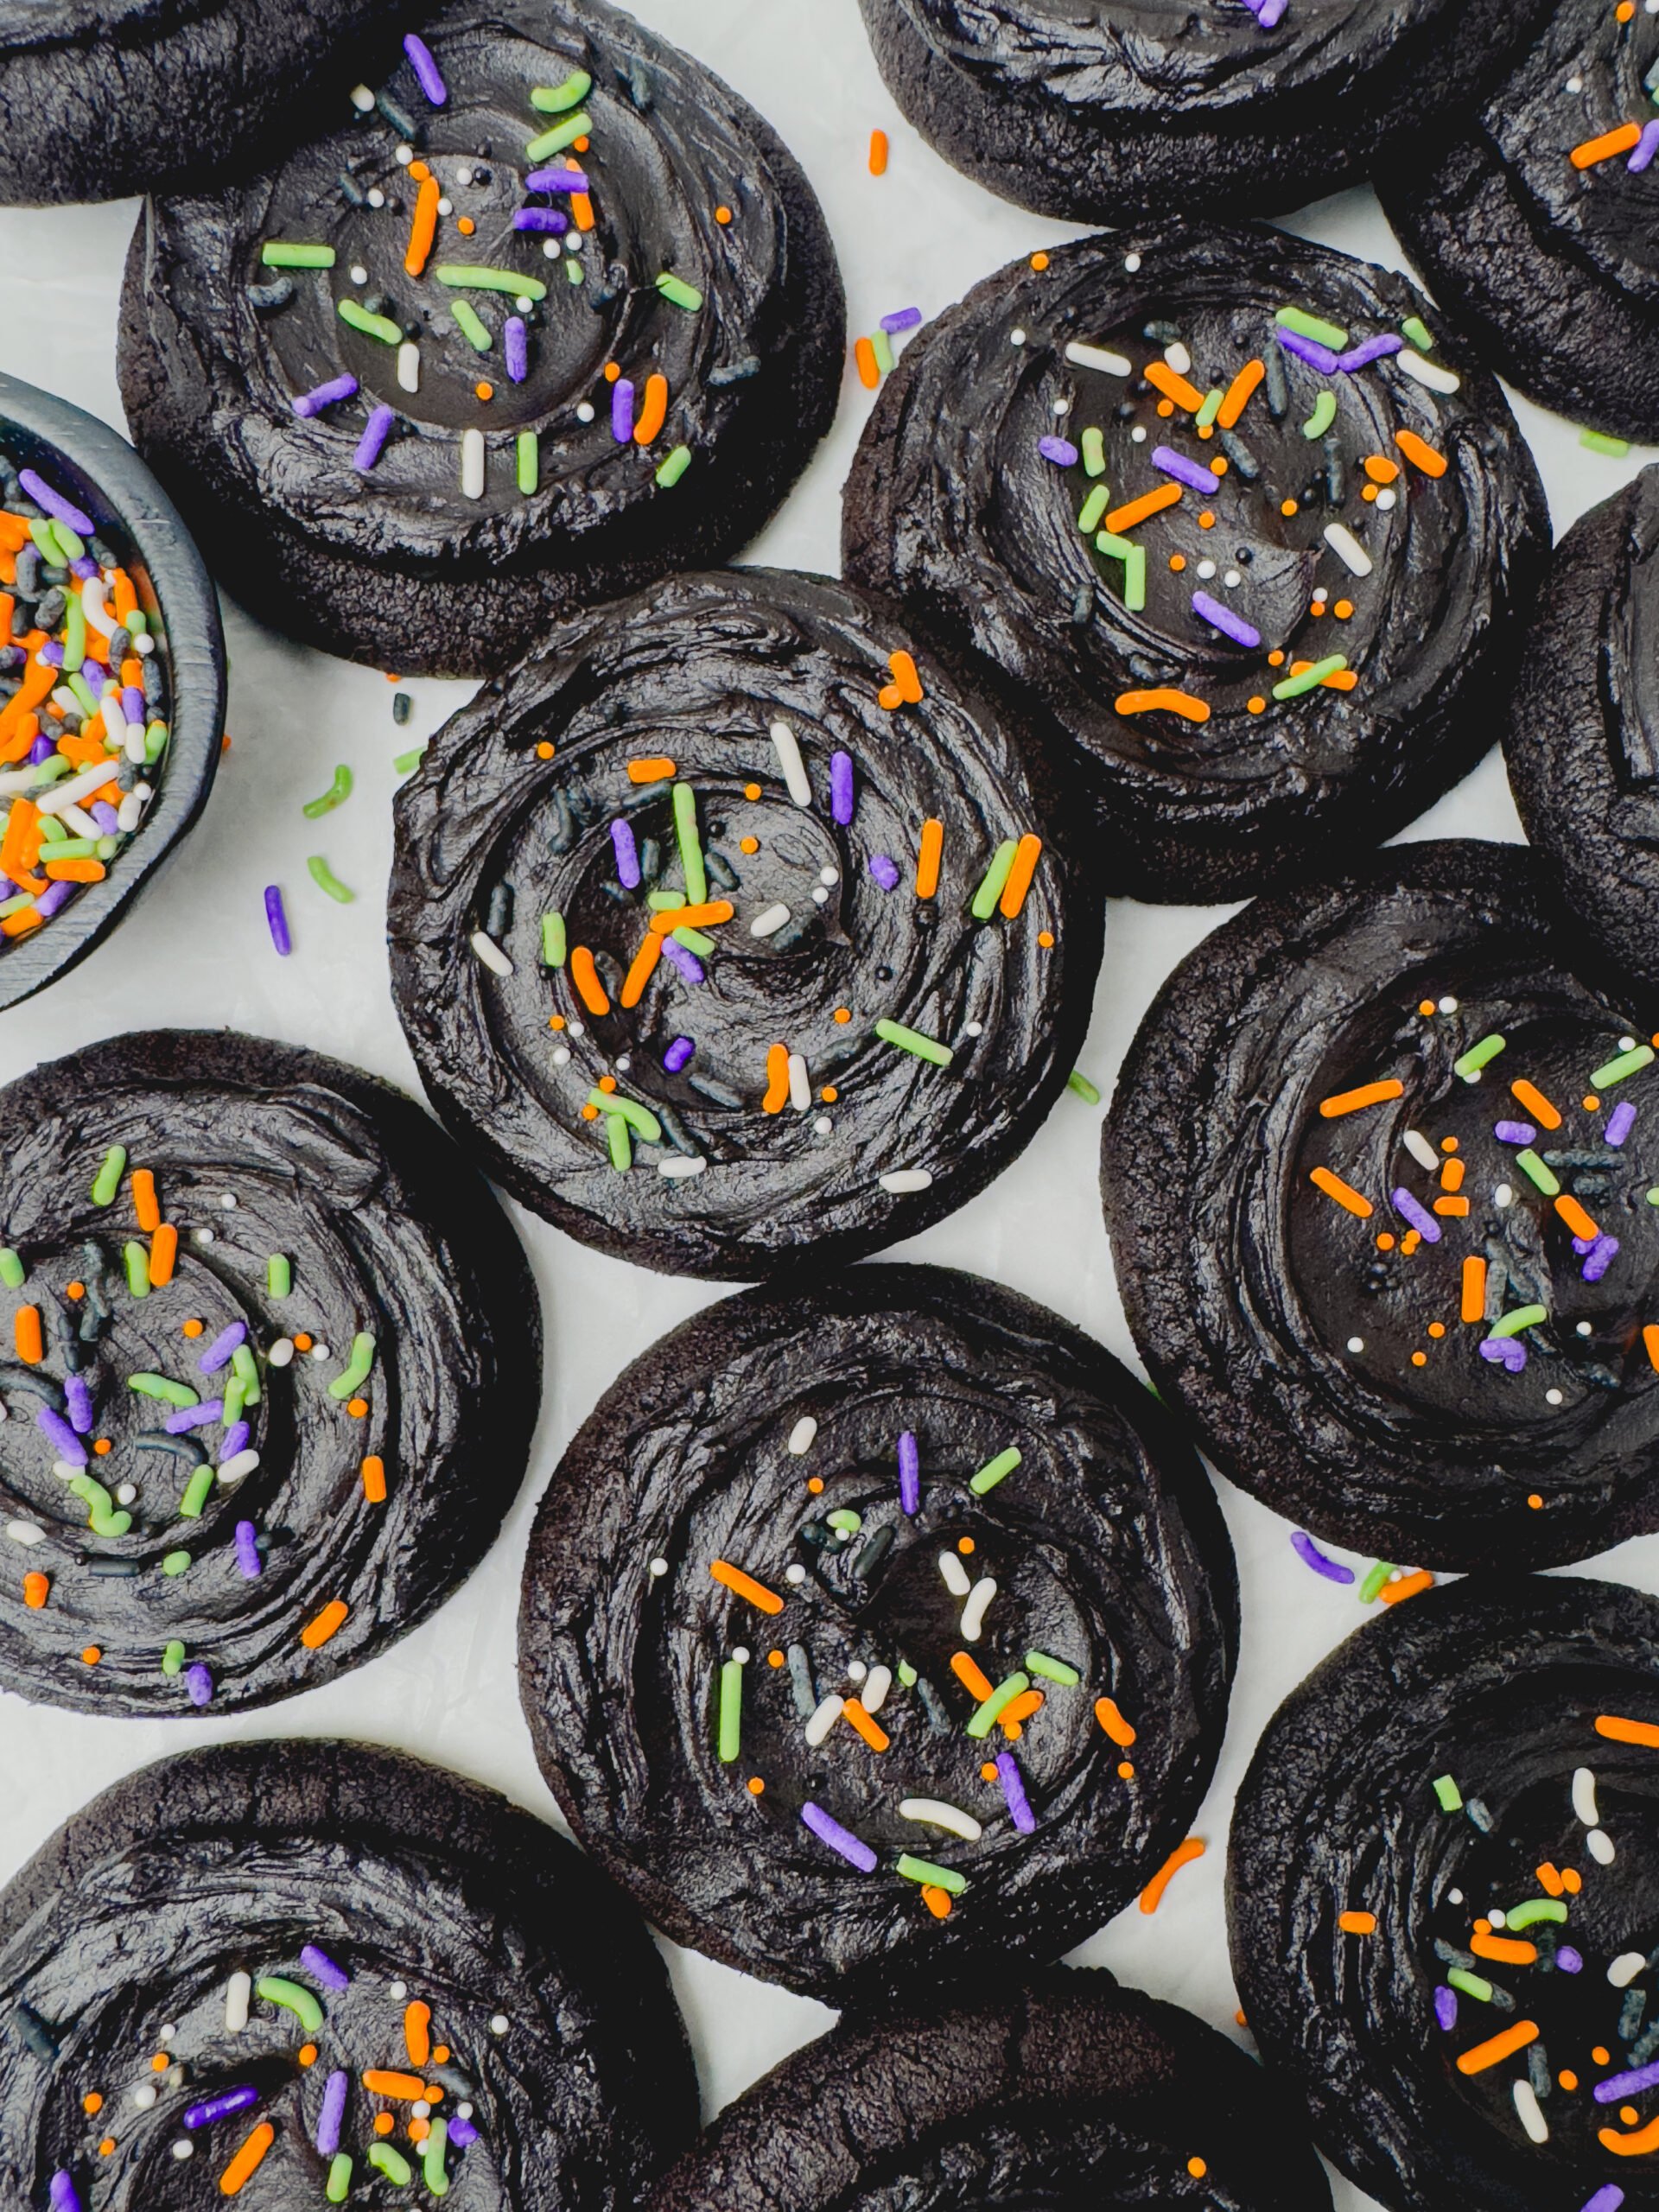
- Chocolate Sprinkle Cookie Ice Cream Sandwiches
- Chocolate Peanut Butter Snack Cake
If you make this recipe and love it, be sure to leave a comment below. Happy baking!
Chocolate Pudding Cake
Ingredients
For the Chocolate Cake
- 1 ½ cups (160g) cake flour, sifted
- 1 ⅓ cups (285g) granulated sugar
- ½ cup (56g) cocoa powder
- 1 teaspoon baking soda
- ½ teaspoon baking powder
- ¼ teaspoon salt
- 2 large eggs, at room temperature
- 1 teaspoon vanilla extract
- ½ cup (110g) canola or vegetable oil
- 1 cup (204g) water
For the Chocolate Pudding
- ⅔ cup (135g) granulated sugar
- ⅓ cup (40g) cocoa powder
- 5 teaspoons (17g) cornstarch
- 1 teaspoon instant espresso powder, optional
- 2 ½ cups (605g) whole milk
- 1 teaspoon vanilla extract
Instructions
- Preheat oven to 350°F. Grease the bottom and sides of a 9” x 9” square cake pan generously with cooking spray.
- Chocolate Cake: In a large mixing bowl, combine the flour, sugar, cocoa, baking soda, baking powder, and salt with a whisk until combined. Add the eggs, vanilla, oil, and water and whisk until combined and smooth, about 1 minute.
- Pour the cake batter into the prepared pan. Bake for 28-30 minutes or until the center of the cake springs back to the touch (or a toothpick comes out mostly clean). Immediately poke several holes in the cake with the end of a wooden spoon or a wooden dowel. Set aside.
- Chocolate Pudding: In a medium saucepan, combine the sugar, cocoa, cornstarch, and espresso powder. Slowly stream in the milk while whisking.
- Cook the pudding mixture on the stove over low heat and stir continuously with a rubber spatula until the mixture thickens and starts to boil, about 15-20 minutes.
- Immediately pour the hot pudding over the warm cake, allowing the pudding to fill each of the holes you poked in the cake. Spread the remaining pudding all over the top of the cake. Press a piece of plastic wrap directly on the top of the pudding and refrigerate for 8 hours or overnight.
- Once the cake is chilled, add sprinkles (if desired), cut it into slices, serve, and enjoy!
Notes
- Storing: Keep the cake in an airtight container and store it in the fridge for up to 5 days.
- Serving: This cake is easiest to cut and serve right out of the cake pan. If you prefer to remove the whole cake from the pan once the pudding is set, you can line your cake pan with parchment paper. Before baking the cake, lightly grease the pan with cooking spray and line with parchment paper to create a sling, with an overhang on all four sides. Follow the recipe instructions as-is then use the parchment paper to carefully lift out the cake right before slicing and serving.


For a larger crowd could you double this recipe and use a 9× 13 pan?
I haven’t tired this myself but it should work just fine! The cake may just be slightly taller than what’s pictured.
This might be the best cake I have ever tasted. The pudding on top is much better than any kind of frosting. Thank you for the recipe – it will be in my baking rotation from now on.
Thank you Anne! This is one my personal favorites. I’m so glad to hear you enjoyed it! 😊