Coconut Layer Cake
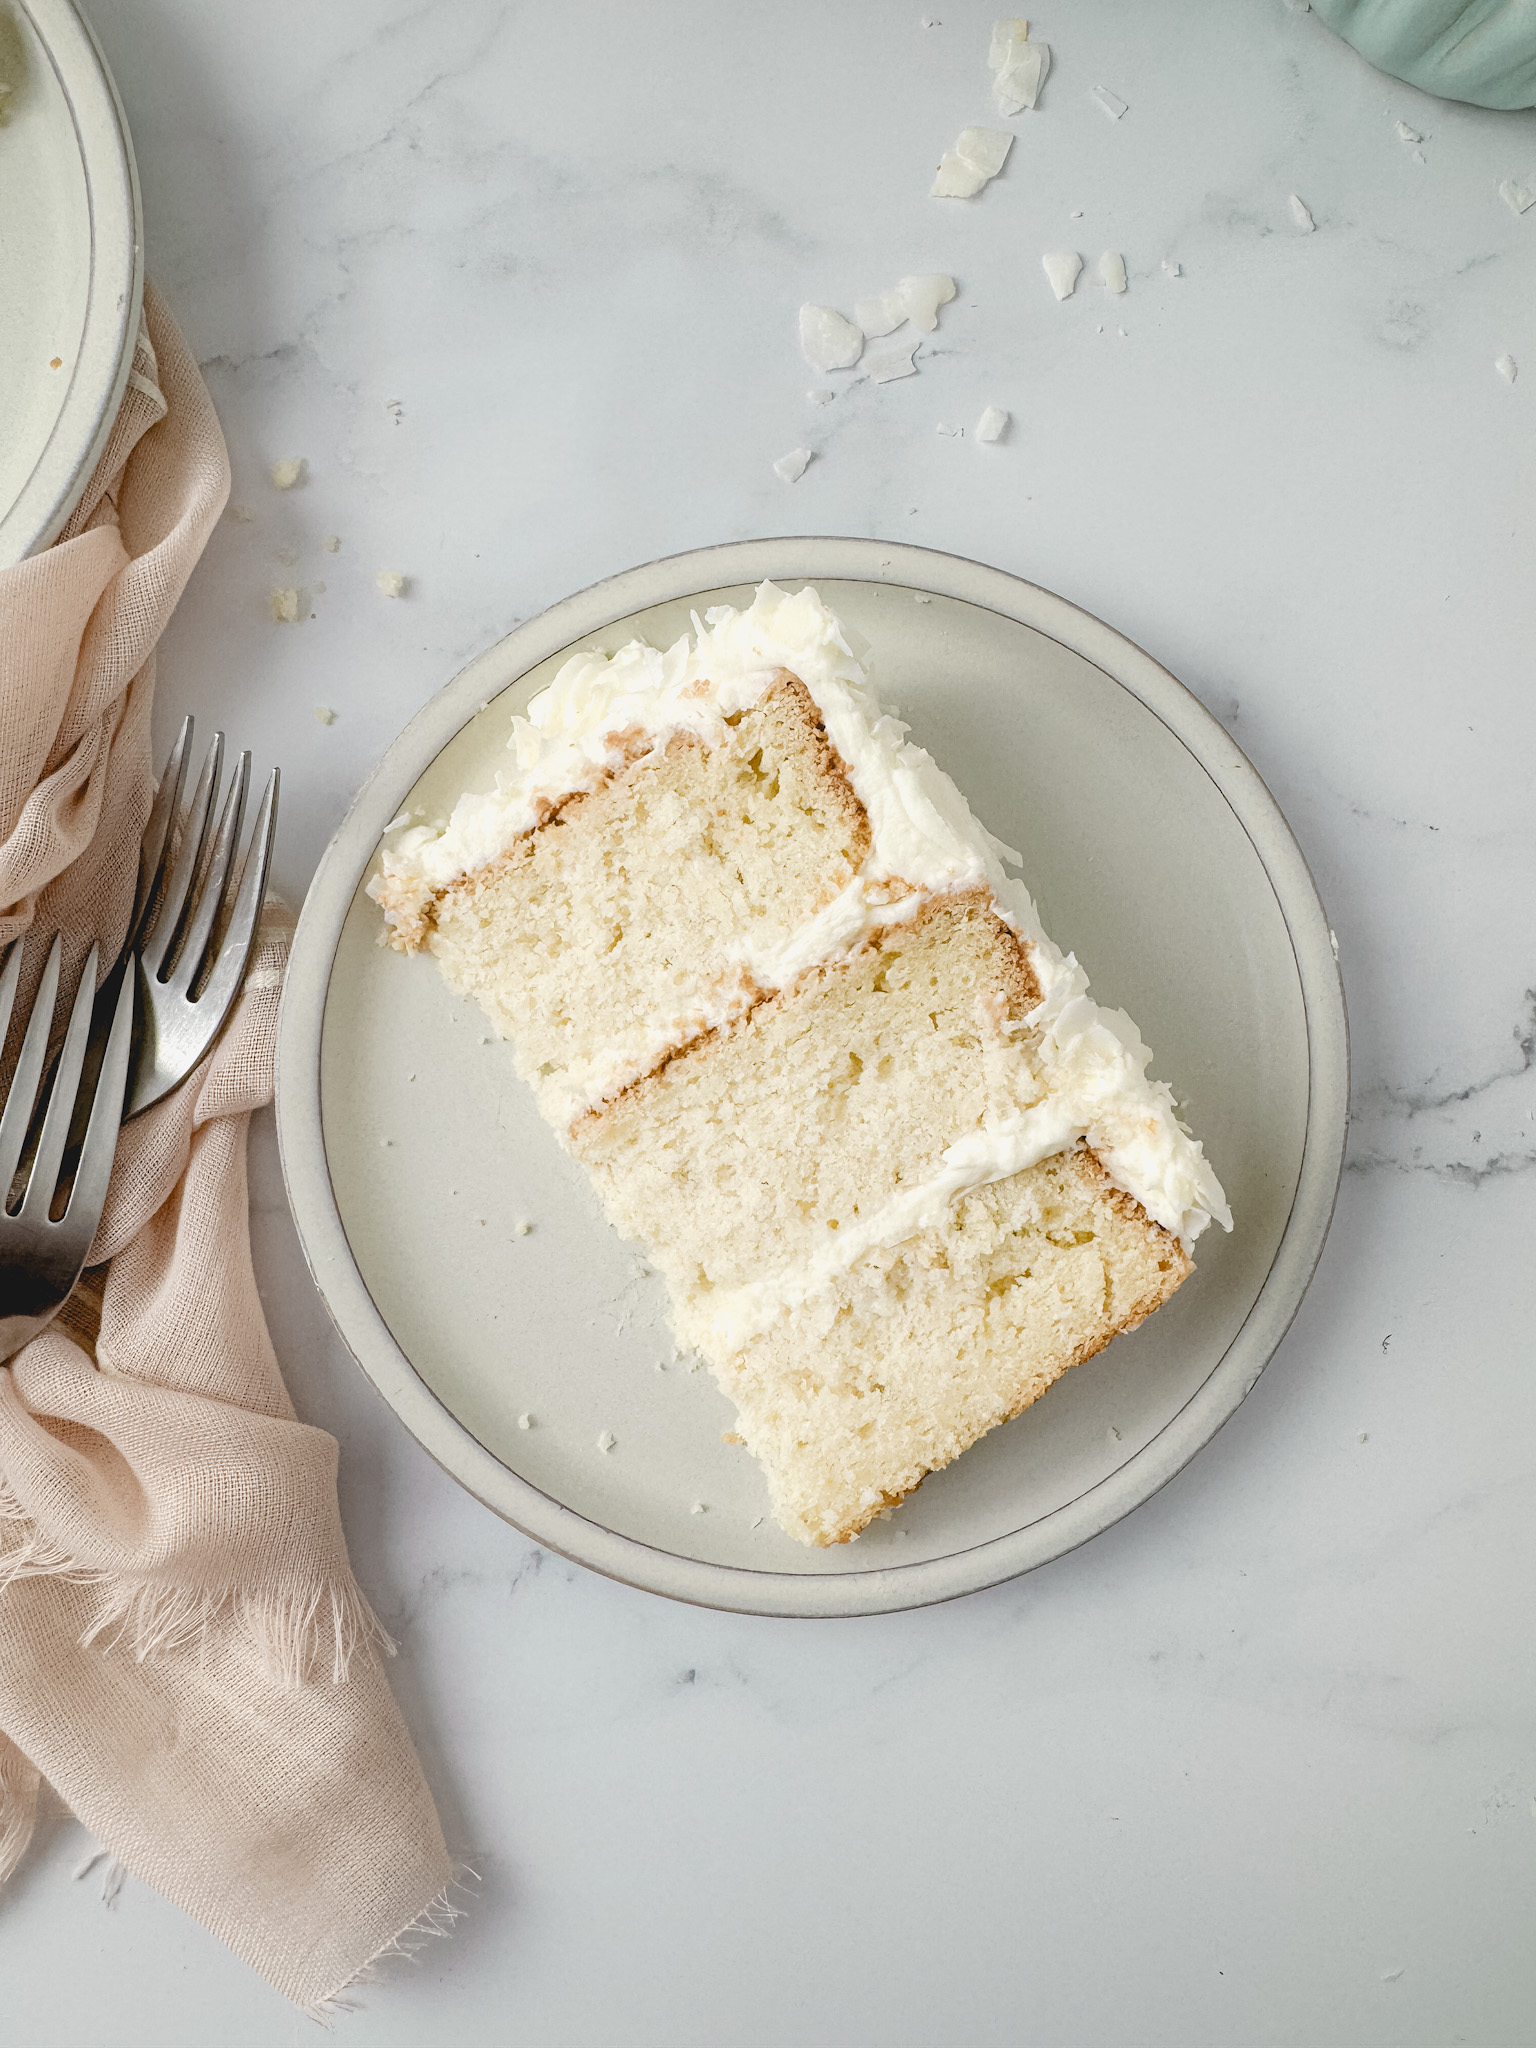
This Coconut Layer Cake is made up of tender coconut cake layers, creamy almond chantilly frosting, and a generous coating of coconut flakes. Simple yet stunning and perfect for Easter!
This post may contain affiliate links. Please read my full disclosure policy.

Nothing says Spring quite like a white, fluffy coconut layer cake. Three layers of moist coconut cake are paired with light and fluffy almond chantilly frosting, all coated with giant coconut flakes. This one is for coconut lovers and the perfect cake for your Easter dessert table!
Check out my Chantilly Frosting post for more detailed tips and tricks to make this luscious, silky frosting!

Ingredients for the Coconut Flavor
From coconut milk and extract in the cake layers, to the large shaggy coconut flakes covering the outside, this cake has just the right amount of coconut flavor without being too overpowering.
Coconut milk – You want to use canned unsweetened coconut milk, which is typically used for cooking and can be found on the Asian aisle of the grocery store. Make sure that your coconut milk is not cold. If the coconut milk has separated, heat it in the microwave and whisk together until completely smooth and no lumps remain.
Coconut Flakes – Large coconut flakes, sometimes also labeled coconut chips, are my favorite ones to use to adorn the outside of this cake. You can also use shreds. If you want an even deeper coconut flavor, you can even lightly toast the coconut.
Coconut Extract – To add just a hint more of coconut flavor, I like to add a little bit of coconut extract to the cake batter. You can omit this if you want a much more subtle coconut flavor.
Prepping the Cake Pans
I’ve found the best way to prep cake pans so that the cake seamlessly slides out is simply with a little nonstick cooking spray and parchment paper. Spritz inside the bottom and sides of the cake pan with the nonstick spray. Use a paper towel to wipe out any excess spray so there is a light, even coating all over the inside of the pan. Trace the cake pan on a piece of parchment paper then cut out three parchment circles (or you can purchase pre-cut parchment circles), and press them in the bottom of the greased cake pan. Now you’re ready to fill them with batter and bake!

Tips for the Best Coconut Layer Cake
- Use room-temperature ingredients. Pull out your butter, eggs, and sour cream ahead of time so the ingredients can come to room temperature which will help the cake batter blend together better.
- Don’t overmix. Cake layers can easily become tough and dense when the batter is overmixed. Be sure to mix just until the ingredients are combined for tender, fuffy layers.
- Weigh your batter. For perfectly even cake layers, I recommend using a scale to weigh your cake batter in the cake pans. First, weigh all of your finished batter then divide that number by 3, and fill each of the 3 cake pans with that amount. This is the best way to ensure that each cake layer is equal.

Favorite Tools & Supplies
Coconut Cake FAQs
How should the cake be stored?
Store cake slices in an airtight container in the fridge, for up to 5 days. To store the full cake, cover tightly in plastic wrap to keep it from drying out. I recommend pulling the cake out of the fridge at least 30 minutes before serving so the cake can come to room temperature.
Can I add more coconut flavor?
If you want even more coconut flavor, you can swap out the almond extract in the frosting for coconut extract instead. Or try toasting the coconut on the outside of the cake for a deeper, toasty coconut flavor.
What kind of coconut should I use?
I use large unsweetened coconut flakes on the outside of the cake but shreds would also work. I haven’t tried using sweetened coconut shreds but if you choose to go that route, be mindful that it will add quite a bit of additional sweetness to the cake.

Can I make this into an 8” cake?
This recipe makes three 6” round layers but you could instead make two 8” or 9” layers. You will just need to adjust the baking time.
What is the best way to get the coconut to stick to the sides?
I simply grab a handful of coconut flakes and gently press it up the sides of the cake and into the frosting. You can do this with the cake sitting in the center of a baking sheet to catch the excess coconut that falls, then scoop it back up and continue pressing it into the cake. This works best right after the cake is frosted.

Baking Tip: Weigh Your Ingredients!
I highly recommend using a kitchen scale to weigh your ingredients rather than using measuring cups because it is the most accurate way to bake. Weighing your ingredients will give you more consistent results with your recipes and a better success rate, every time. Using a scale also saves you dishes which means easier cleanup! I provide gram measurements in all my recipes and this is the scale I love to use.
More Spring Sweets You’ll Love
- Berry Chantilly Cupcakes
- Carrot Snack Cake
- Lemon Mascarpone Tart
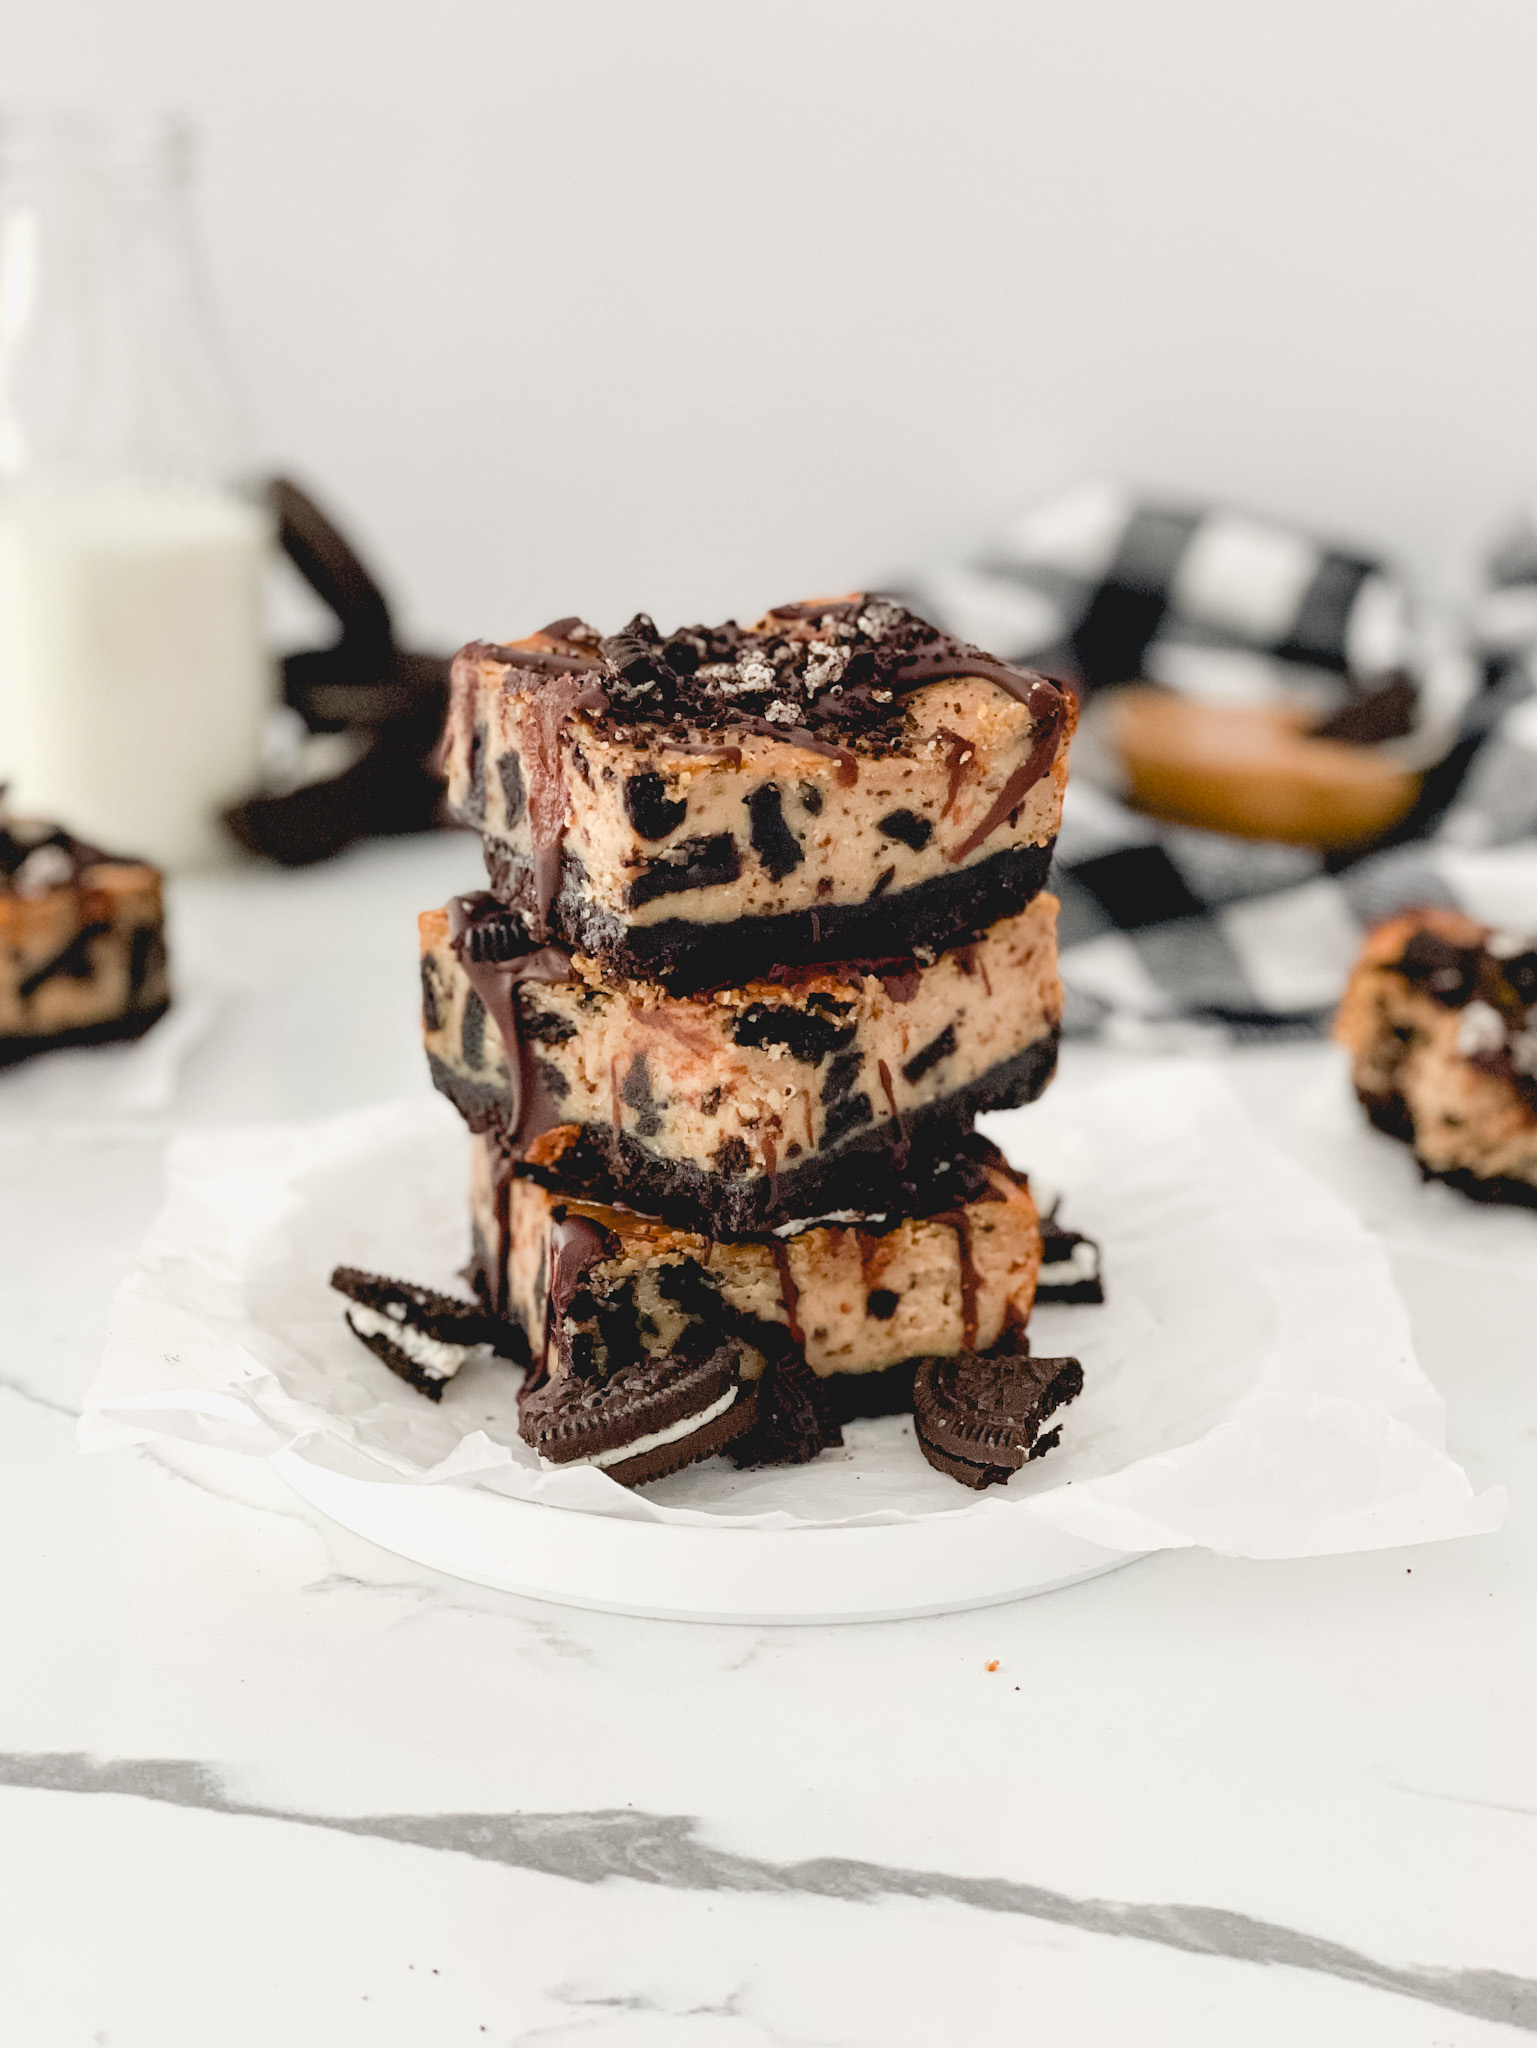
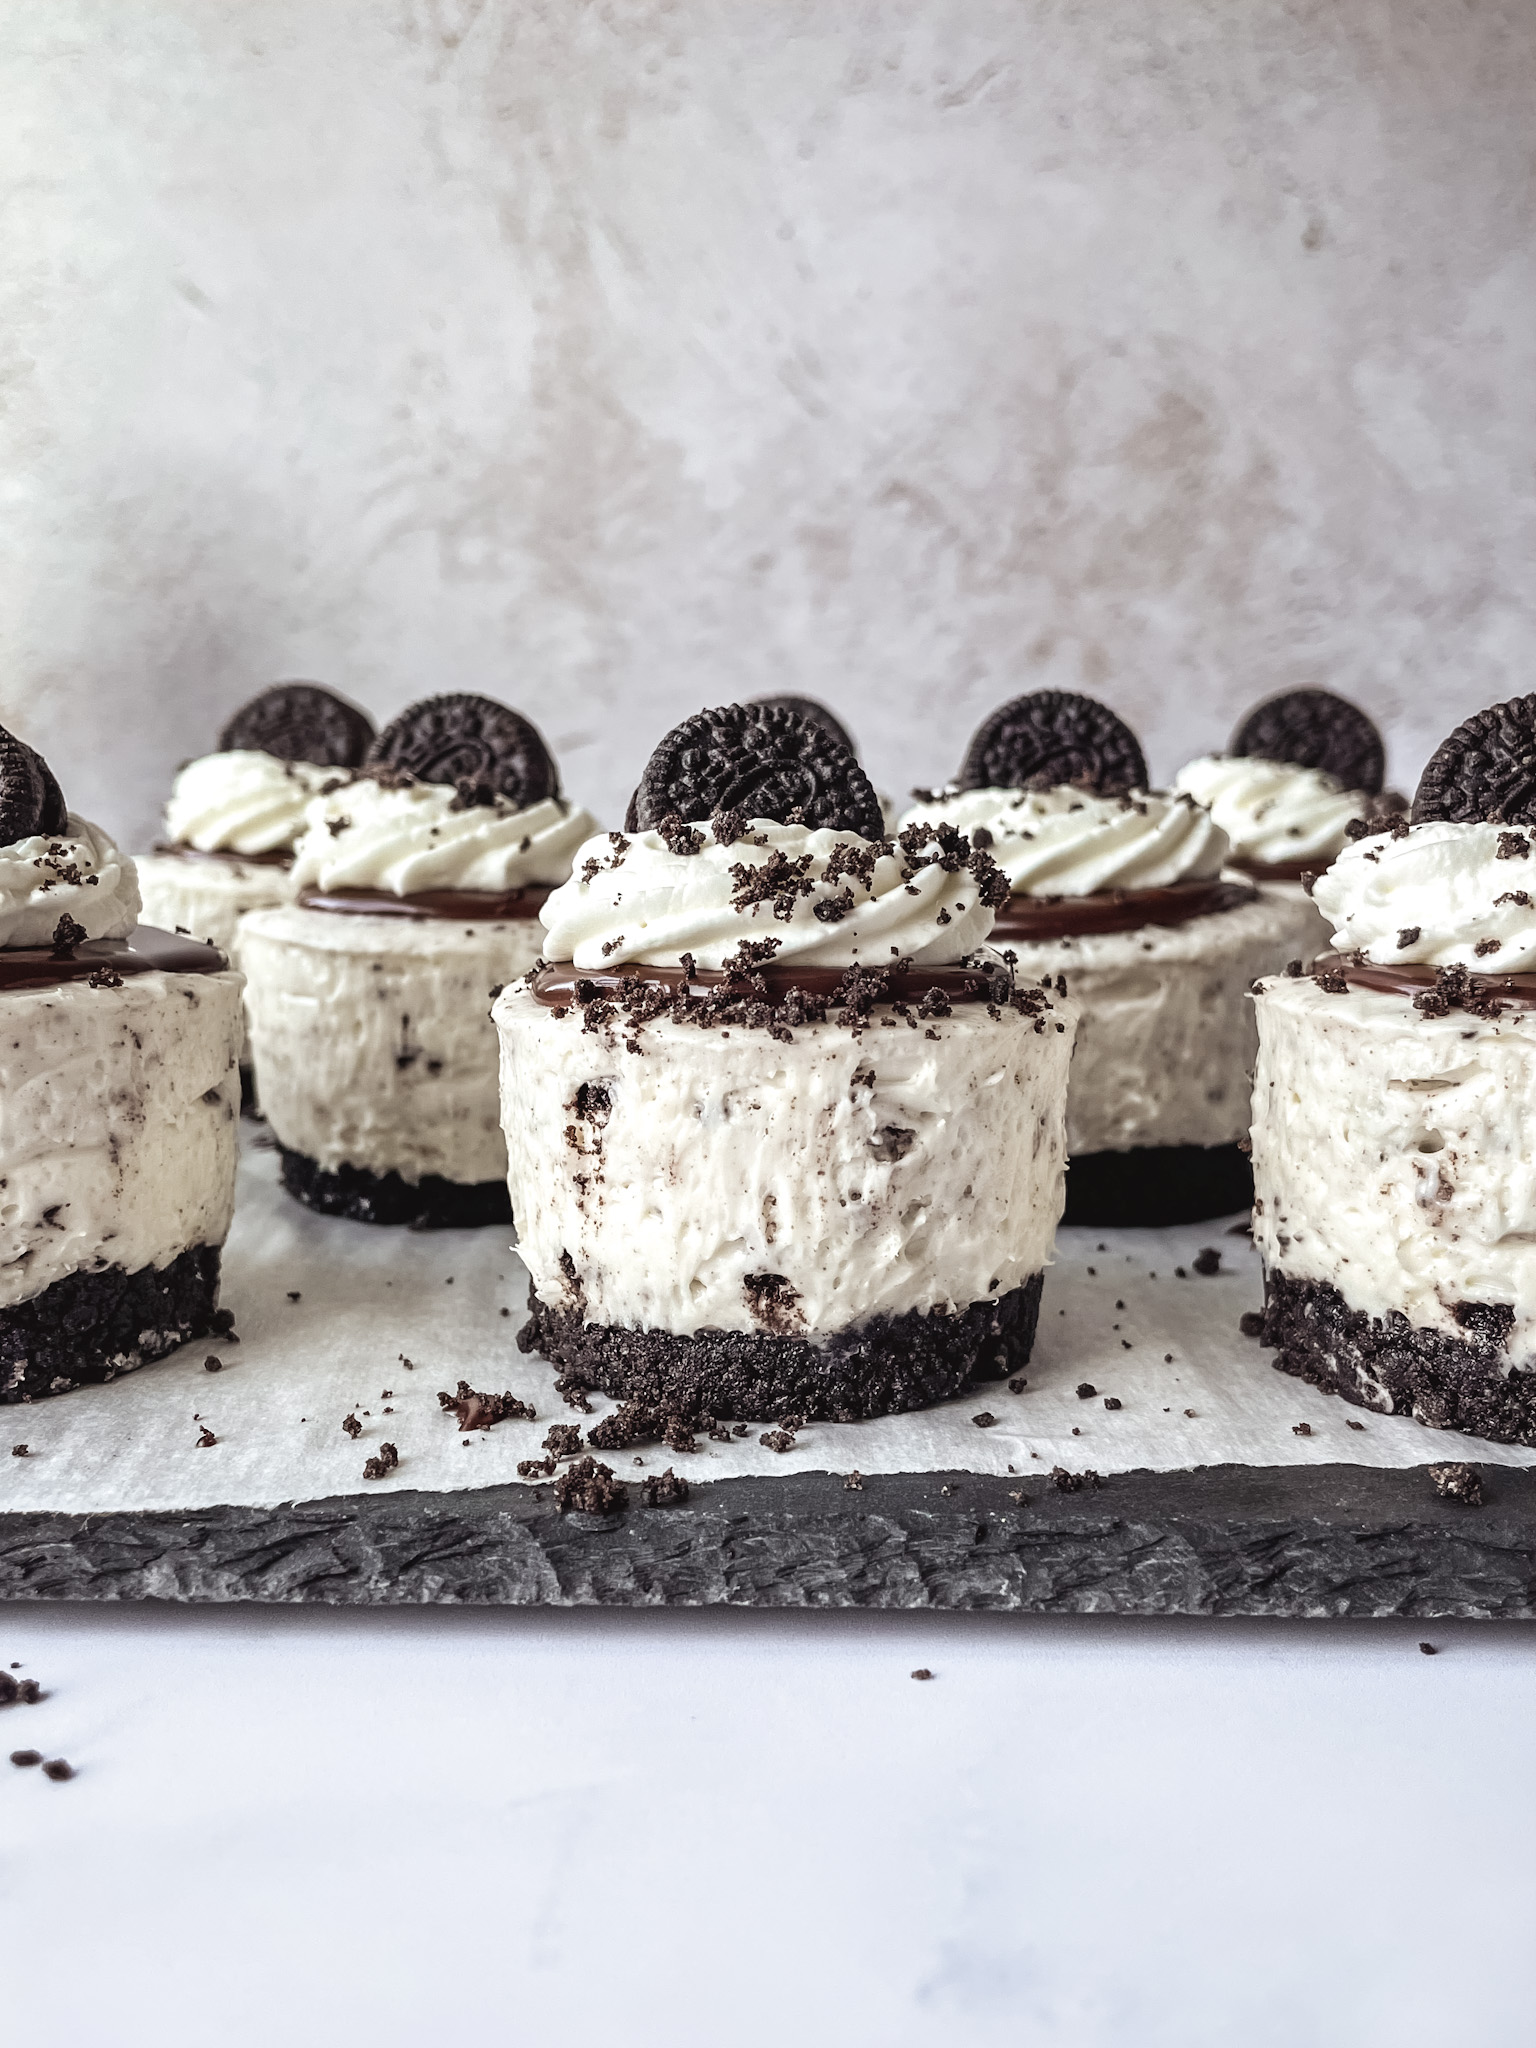
- Mini Oreo Cheesecakes
- Lemon Brulee Bars
If you make this recipe and love it, be sure to leave a comment below. Happy baking!

Coconut Layer Cake
Ingredients
For the Vanilla Cake
- ¾ cup (12 Tablespoons or 170g) unsalted butter, at room temperature
- 1¼ cup (250g) granulated sugar
- 1 large egg + 1 large egg white, at room temperature
- 2 teaspoons coconut extract
- 1 teaspoon vanilla extract
- 2¼ cups (280g) cake flour
- 1½ teaspoons baking powder
- ½ teaspoon baking soda
- ½ teaspoon salt
- ½ cup (120g) sour cream, at room temperature
- 1 cup (8.5oz or 240g) unsweetened coconut milk*
For the Chantilly Frosting
- 8 oz (226g) cream cheese
- 8 oz (226g) mascarpone cheese
- 1 teaspoon almond extract
- ½ teaspoon vanilla extract
- 2 cups (480mL) heavy cream
- 1 ½ cups (180g) powdered sugar, sifted
For Decorating
- Unsweetened coconut flakes
Instructions
- Coconut Cake: Preheat oven to 350°F. Lightly grease three 6” round cake pans with non-stick cooking spray and line the bottoms with parchment paper circles.
- In the bowl of a stand mixer fitted with a paddle attachment, cream the butter and the sugar until fluffy and light in color, about 3 minutes. Scrape the bowl well with a rubber spatula.
- Slowly add the eggs, coconut extract, and vanilla extract, combining well after each addition. Scrape the bowl then mix until everything is incorporated.
- Sift together the cake flour, baking powder, baking soda, and salt. Add half of the flour mixture and the sour cream to the bowl. Start the mixer on low speed and slowly stream in about half the coconut milk. Mix just until combined then scrape the bowl. Add the remaining flour and slowly stream in the remaining coconut milk with the mixer on low speed until combined. Scrape the bowl again and give the mixture a few final folds with a spatula to ensure everything is well incorporated.
- Evenly divide the batter among the prepared cake pans (I like to use a scale to weigh the batter into each pan). Bake for 30-32 minutes, until the center of the cakes spring back to the touch (or a toothpick comes out clean). Set aside to cool.
- Chantilly Frosting: In the bowl of a stand mixer fitted with a whisk attachment, combine the cream cheese and mascarpone. Mix just until combined and smooth. Scrape the bowl with a rubber spatula. Add the almond extract, vanilla extract, and powdered sugar. Mix just until combined and scrape the bowl again.
- Start the mixer at medium speed and slowly stream in the heavy cream. Mix until the frosting has slightly thickened. Scrape well to the bottom of the bowl. Increase the mixer to high speed and whip until the mixture thickens, forms stiff peaks, and has no lumps remaining. Be careful not to overmix.
- Assemble and Decorate: Once the cakes are completely cool, use a large serrated knife to slice off the domed tops of each cake layer to create a flat surface.
- Place the first cake layer, cut side up on a cake board or cake stand. Add about ½ cup of frosting and spread it out to the edges. Place your next cake layer cut side down on top and gently press down. Repeat the same process for the last layer of frosting and cake, placing the final cake layer cut side down.
- Coat the cake top and sides of the cake with an even layer of chantilly frosting using an offset metal spatula and straight-sided icing comb. Press coconut flakes into the sides of the cake, all the way up to the top. Fit a piping bag with a star or French piping top and fill it with the leftover chantilly frosting. Pipe rosettes on the top of the cake and sprinkle the top with more coconut flakes. Slice and enjoy!


This looks really good! Can I freeze the cake before thawing and frosting or no? Thinking of making for Greek Easter and hoping to get some baking done early.
Hi Jill! Yes, you can freeze the cake layers prior to stacking and frosting the cake. Just be sure to wrap each layer individually in plastic wrap and then let them thaw at room temperature when you’re ready to frost it. Happy baking!