
Lemon Brûlée Bars
A buttery lemon shortbread crust, with a thick and creamy layer of lemon custard, topped with a thin layer of caramelized sugar. These Lemon Brulee Bars are a perfect combination of a lemon bar and creme brulee!
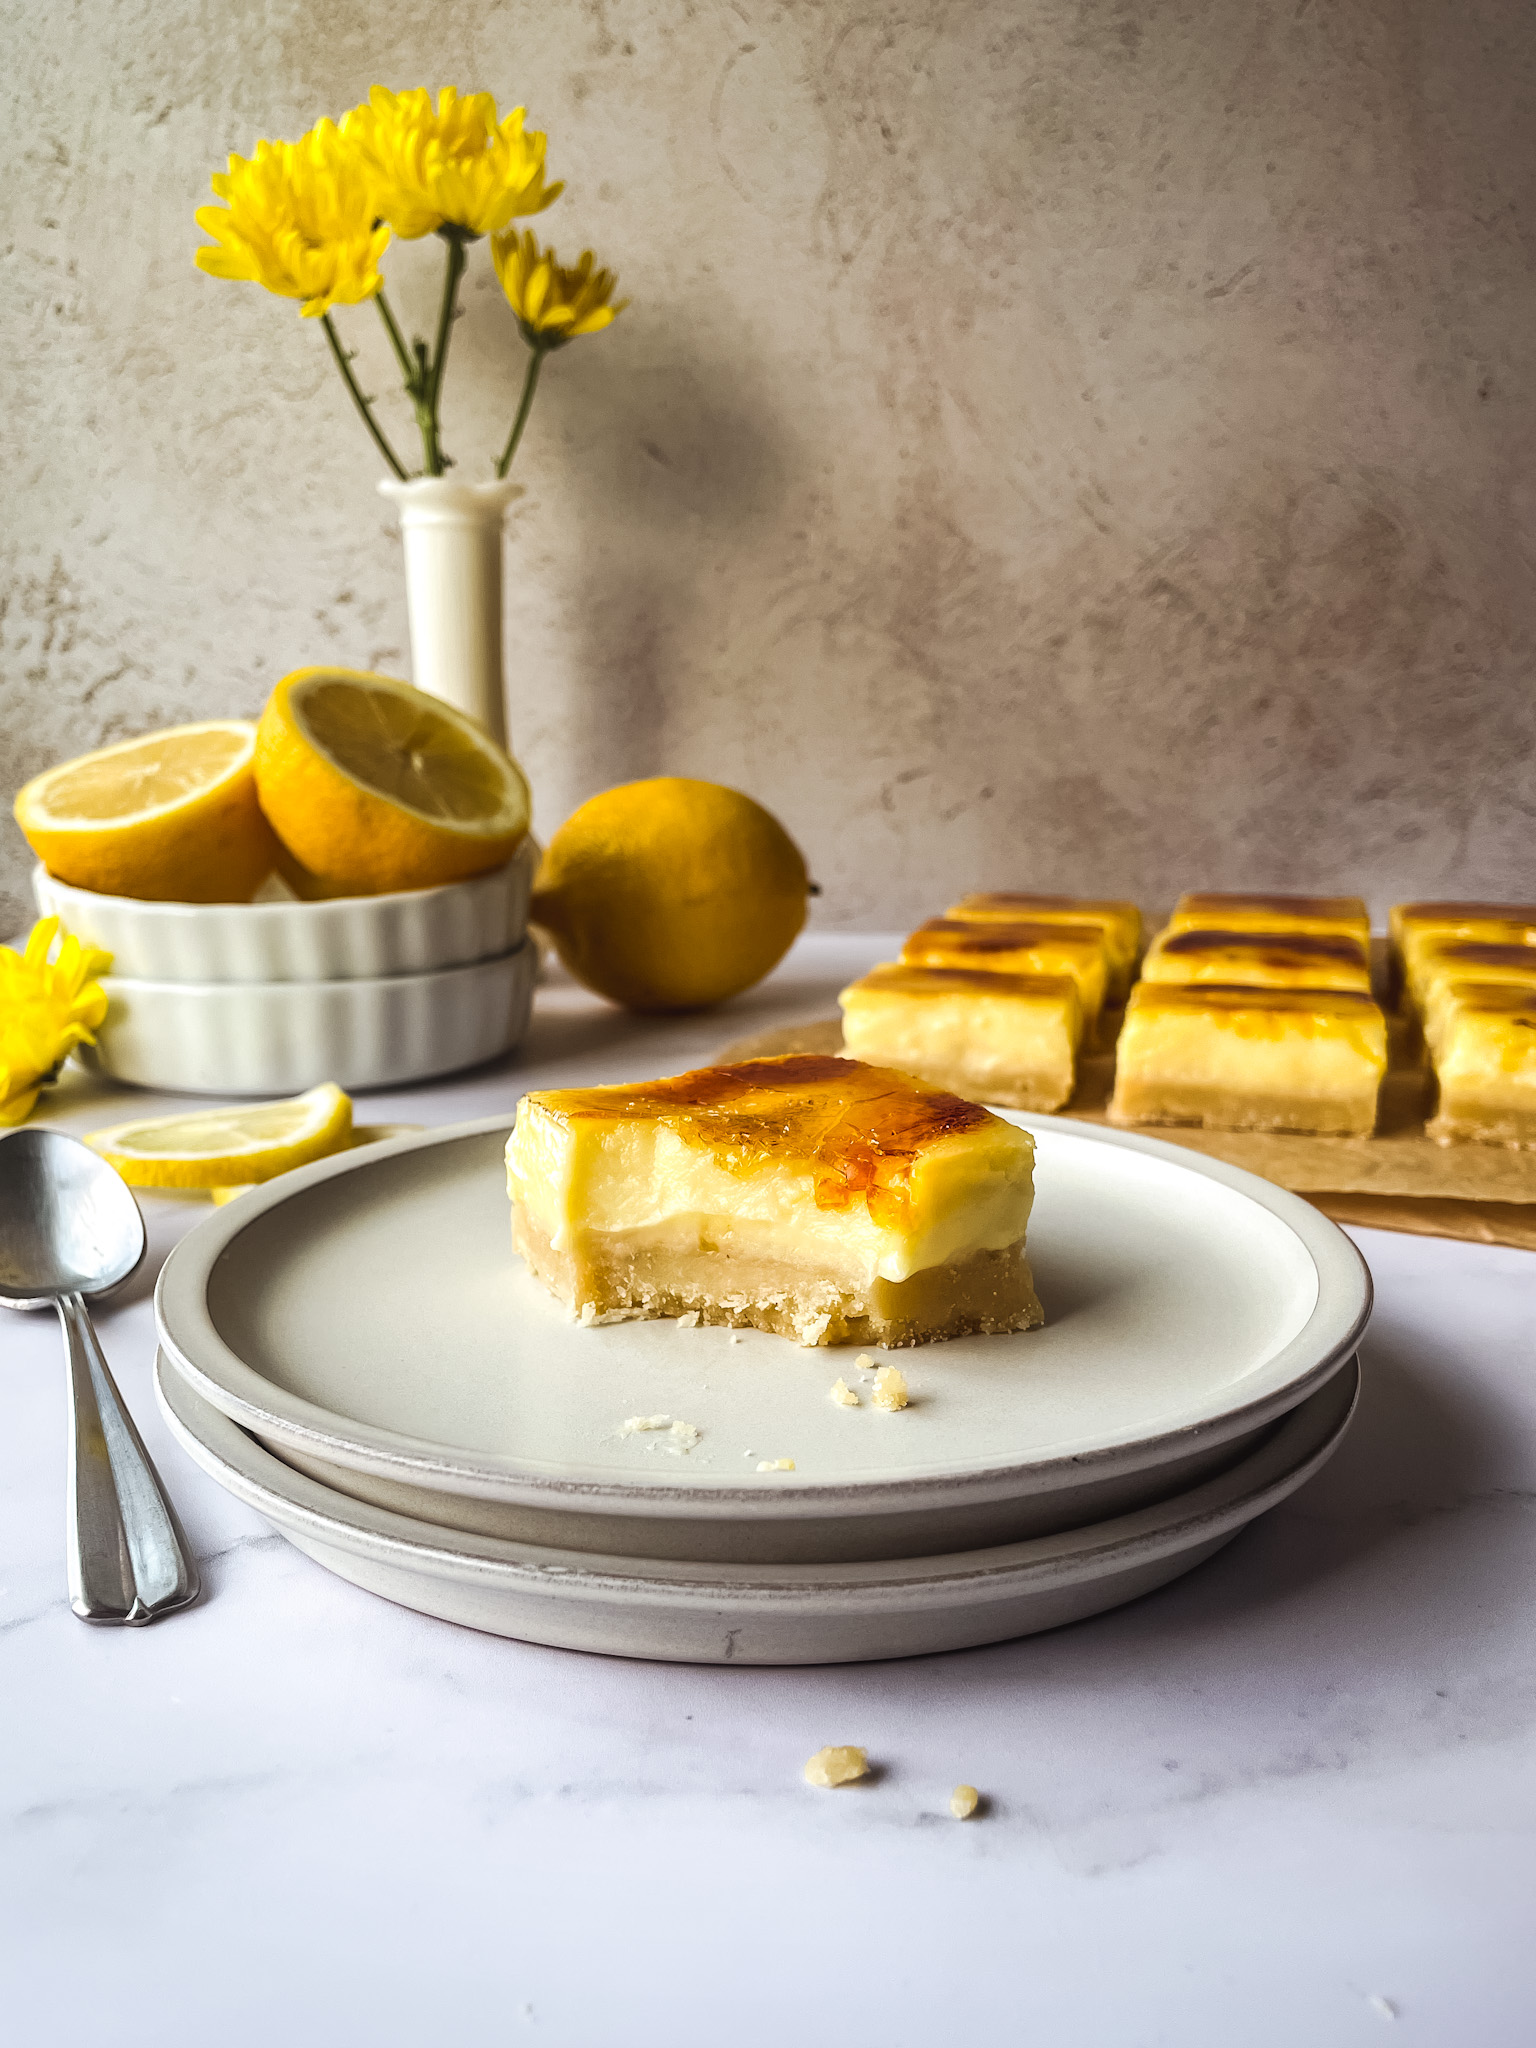
These Lemon Brûlée Bars are the perfect mix of a lemon bar combined with creme brûlée. A buttery lemon shortbread crust with a thick layer of creamy, silky lemon custard is topped with a hardened layer of crunchy caramelized sugar. My mom (and pretty much all the women in my family) love tart, tangy lemon desserts and their other favorite is my Vanilla Bean Creme Brûlée so I thought why not combine the two into one creamy, luscious dessert?! With Mother’s Day approaching, these sweet and tangy Lemon Brûlée Bars are sure to impress mom or any lady in your life!
Shortbread Crust
The shortbread base is crumbly, buttery, and hinted with just the right amount of fresh lemon zest. It bakes on its own until the edges get slightly crisp and start to turn golden brown, before adding a layer of lemon custard to the top. This lemony cookie crust pairs nicely with the tart and tangy lemon custard.
Lemon Custard
The lemon custard resembles a custard you would find in creme brûlée but instead of baking the mixture for a long period, the lemon custard filling gets cooked on the stove and then finished in the oven. It’s essentially a thick pastry cream that is made with sugar, egg yolks, cornstarch, and milk. I’ve also incorporated lemon juice, lemon zest for a strong lemon flavor, and some heavy cream to make the mixture creamy and thick. Fun fact: the cream will also keep the lemon juice from curdling. Once the custard is thickened on the stove, it’s spread onto the warm shortbread crust and baked just until set. I found that baking the custard in addition to cooking it on the stove helps the top setup nicely to create a smooth base for the caramelized sugar.
Caramelized Sugar Topping
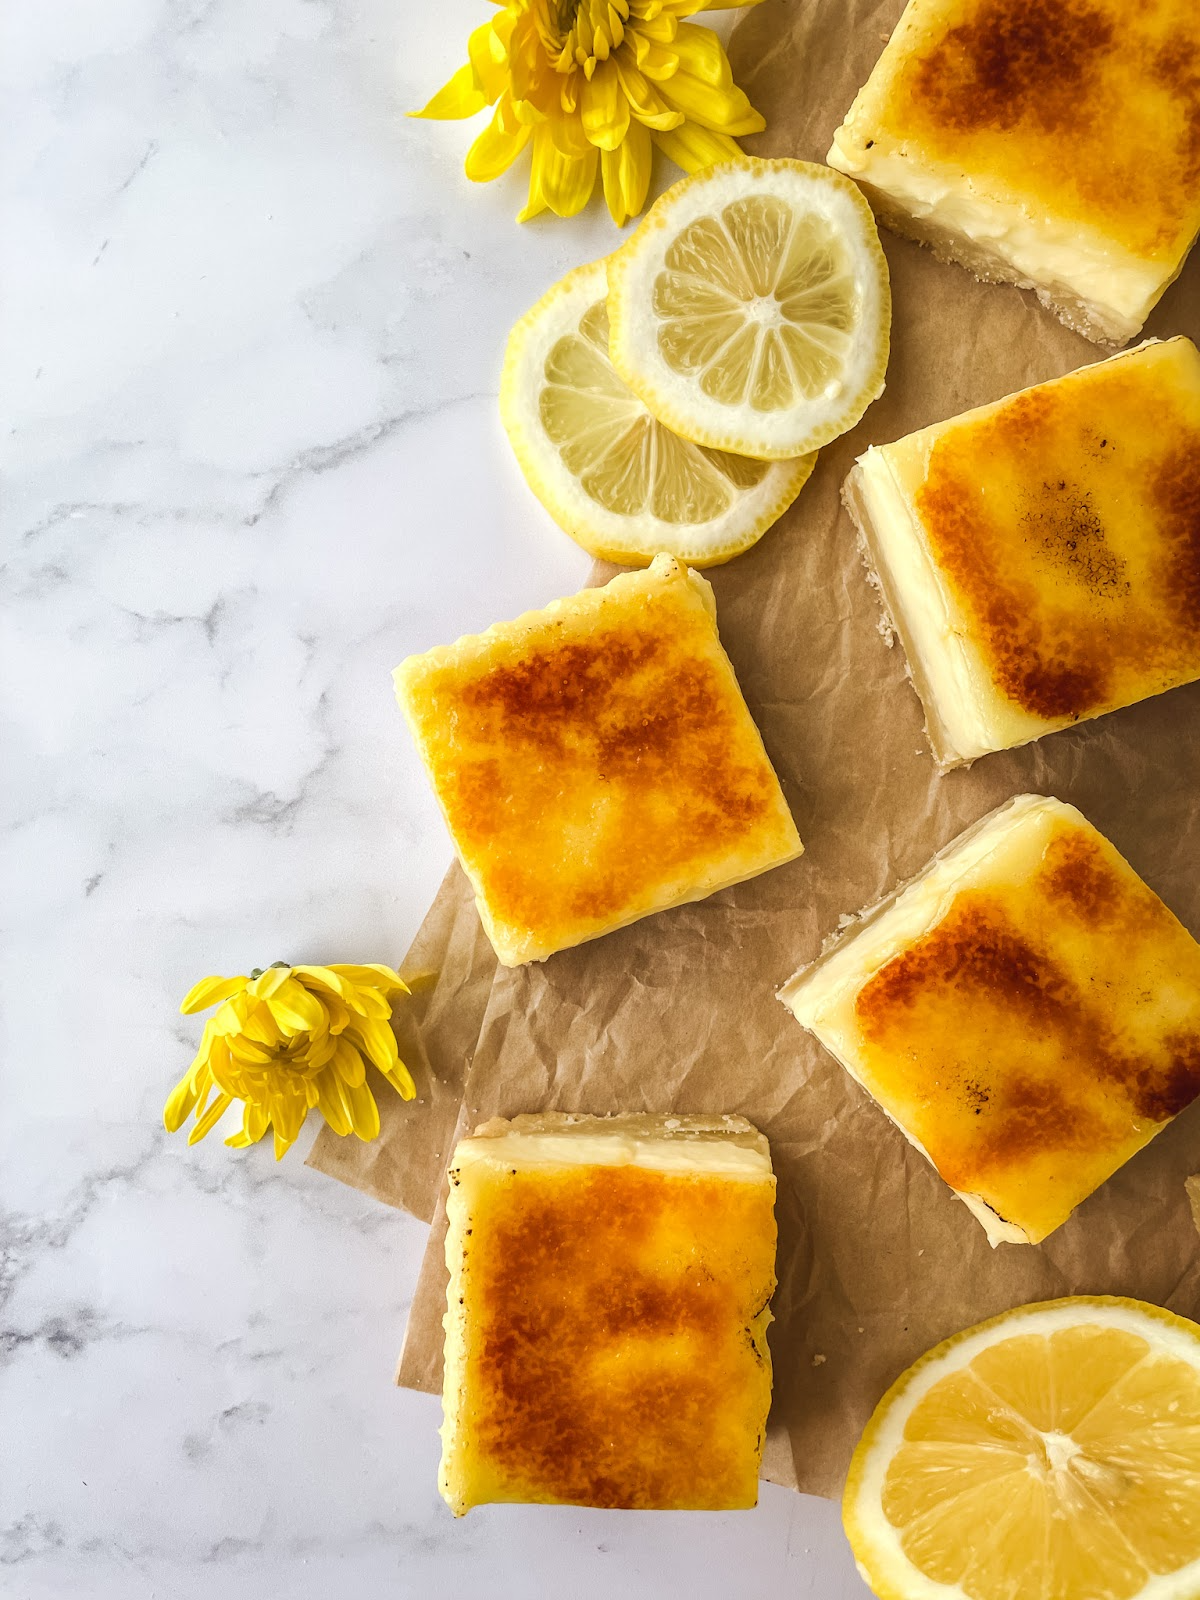
Let’s be honest, the caramelized sugar is the show-stopper in this recipe. A thick, crunchy layer of hardened toasty sugar with the perfect snap. Nothing is quite as satisfying as tapping your spoon on the top of the crisp layer of sugar to crush into the creamy, velvety lemon custard below. Trust me, this one is worth buying a kitchen torch for!

Tips for Torching the Brûlée Bars
- Use a metal, heat-safe surface. Since we are dealing with a flame to create the creme brûlée top, you want to make sure you are torching the lemon bars on a metal, heat-safe surface. Don’t put any parchment paper because it will most definitely burn. I like to use a large empty sheet pan to place all the squares on when I’m ready to sprinkle the sugar and then torch directly on there.
- Torch right before serving. After the bars have fully chilled in the fridge, I slice them into squares and pop them into the freezer for about 30 minutes so they don’t get too warm during the torching process. I love the contrast of a chilled custard with the warm caramelized sugar. The bars should not be refrigerated or left out after they’ve been torched because the sugar will melt and you won’t have that signature hardened crust on top anymore.
- Hold the torch a few inches from the sugar. You don’t want the flame too close to the sugar or it will burn too easily and get too dark. Most torches allow you to adjust the size of the flame. I like to have mine at about a medium level. The larger the flame, the further away you’ll want to hold the torch.
- Constantly move the torch. If you hold the torch in one spot too long, it will burn or caramelize the top unevenly. Make small circular motions around the sugar for the best caramelized coverage. This may take a little practice but it will make all the difference in achieving an evenly torched layer of sugar.

Helpful Tools
Kitchen Scale – I highly recommend investing in a kitchen scale for baking. Weighing your ingredients is the most accurate way to measure as opposed to measuring cups, which can actually produce a different weight each time. A scale will ensure that your amounts are always precise and consistent which leads to better results in your baking. I include gram measurements in all my recipes.
Microplane Zester – This tool is a staple in my kitchen. The sharp grater creates perfectly fine shreds of zest. Great for many baking recipes that call for citrus zest or shaved chocolate. It’s also my go-to in savory recipes when I need some finely grated cheese or fresh garlic.
Citrus Juicer – A must-have tool when juicing fresh citrus, especially when you need larger quantities. It keeps out the seeds and gets out every last drop of juice.
Square Pan – Don’t underestimate a simple square-shaped baking pan. I love this one from USA Pan because of the sharp, clean edges and corners it creates which is perfect for these bars. I use the 9”x9” size which can be cut into 16 nice-sized squares.
Kitchen Torch – This tool will help you evenly caramelize the sugar to give you that classic creme brûlée top. I have not found any other tool that works as well as a kitchen torch when it comes to caramelizing sugar.

Lemon Brûlée Bars FAQs
Can I substitute bottled lemon juice for fresh?
Bottled lemon juice is not the same as fresh lemon juice and I do not recommend making this swap. The bottled lemon juice will completely change the flavor of the custard, and not for the better. Fresh squeezed is best for this recipe.
What can I use if I don’t have a torch?
There is nothing that quite mimics a torch when it comes to a brûlée. I do not recommend broiling the top in the oven. Not only does the sugar not caramelize as evenly but this will also reheat the custard, which you want to stay mostly chilled. If you want to make these bars without the brûlée top, a simple dusting of powdered sugar would be delicious too!
Can I make the bars ahead of time?
You can make the crust and the filling ahead of time. Bake the squares as the recipe calls for and keep them chilled for a day or two until you’re ready to serve. You can cut the squares several hours ahead of time as well. Add the sugar and torch the squares right before serving. I do not recommend torching the tops of the bars too far in advance. The custard needs to stay refrigerated and the caramelized sugar will melt if it’s out too long or if it’s in the fridge.
How do I store lemon brûlée bars?
Store the baked lemon squares without the sugar top, in an airtight container in the fridge for up to 3 days.

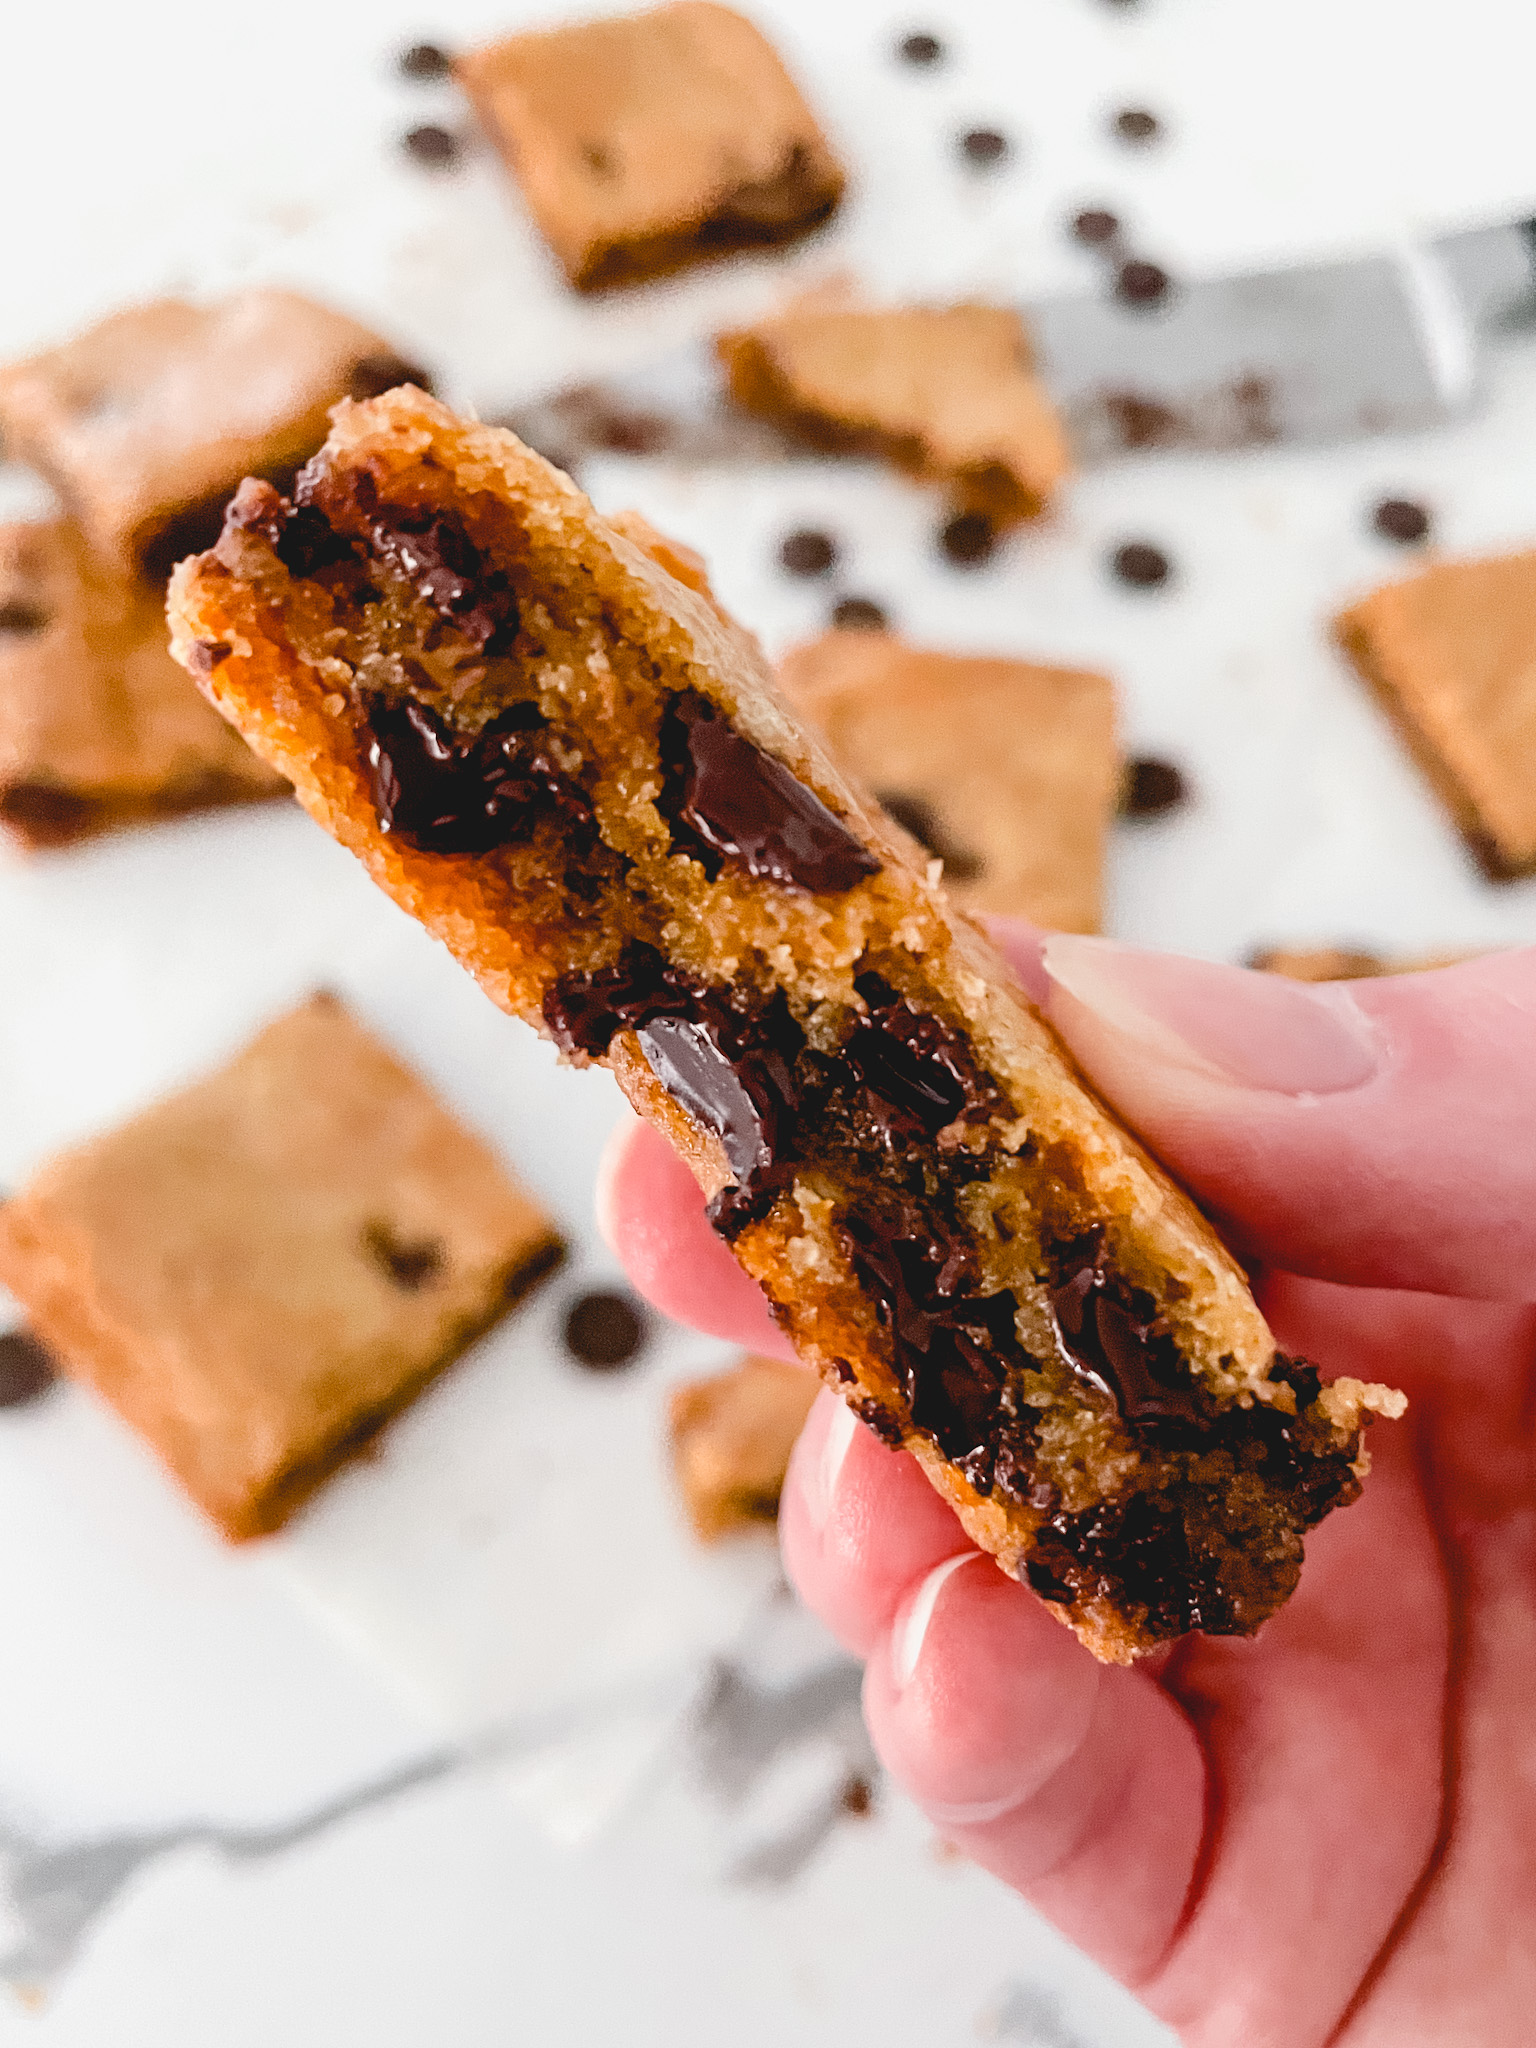
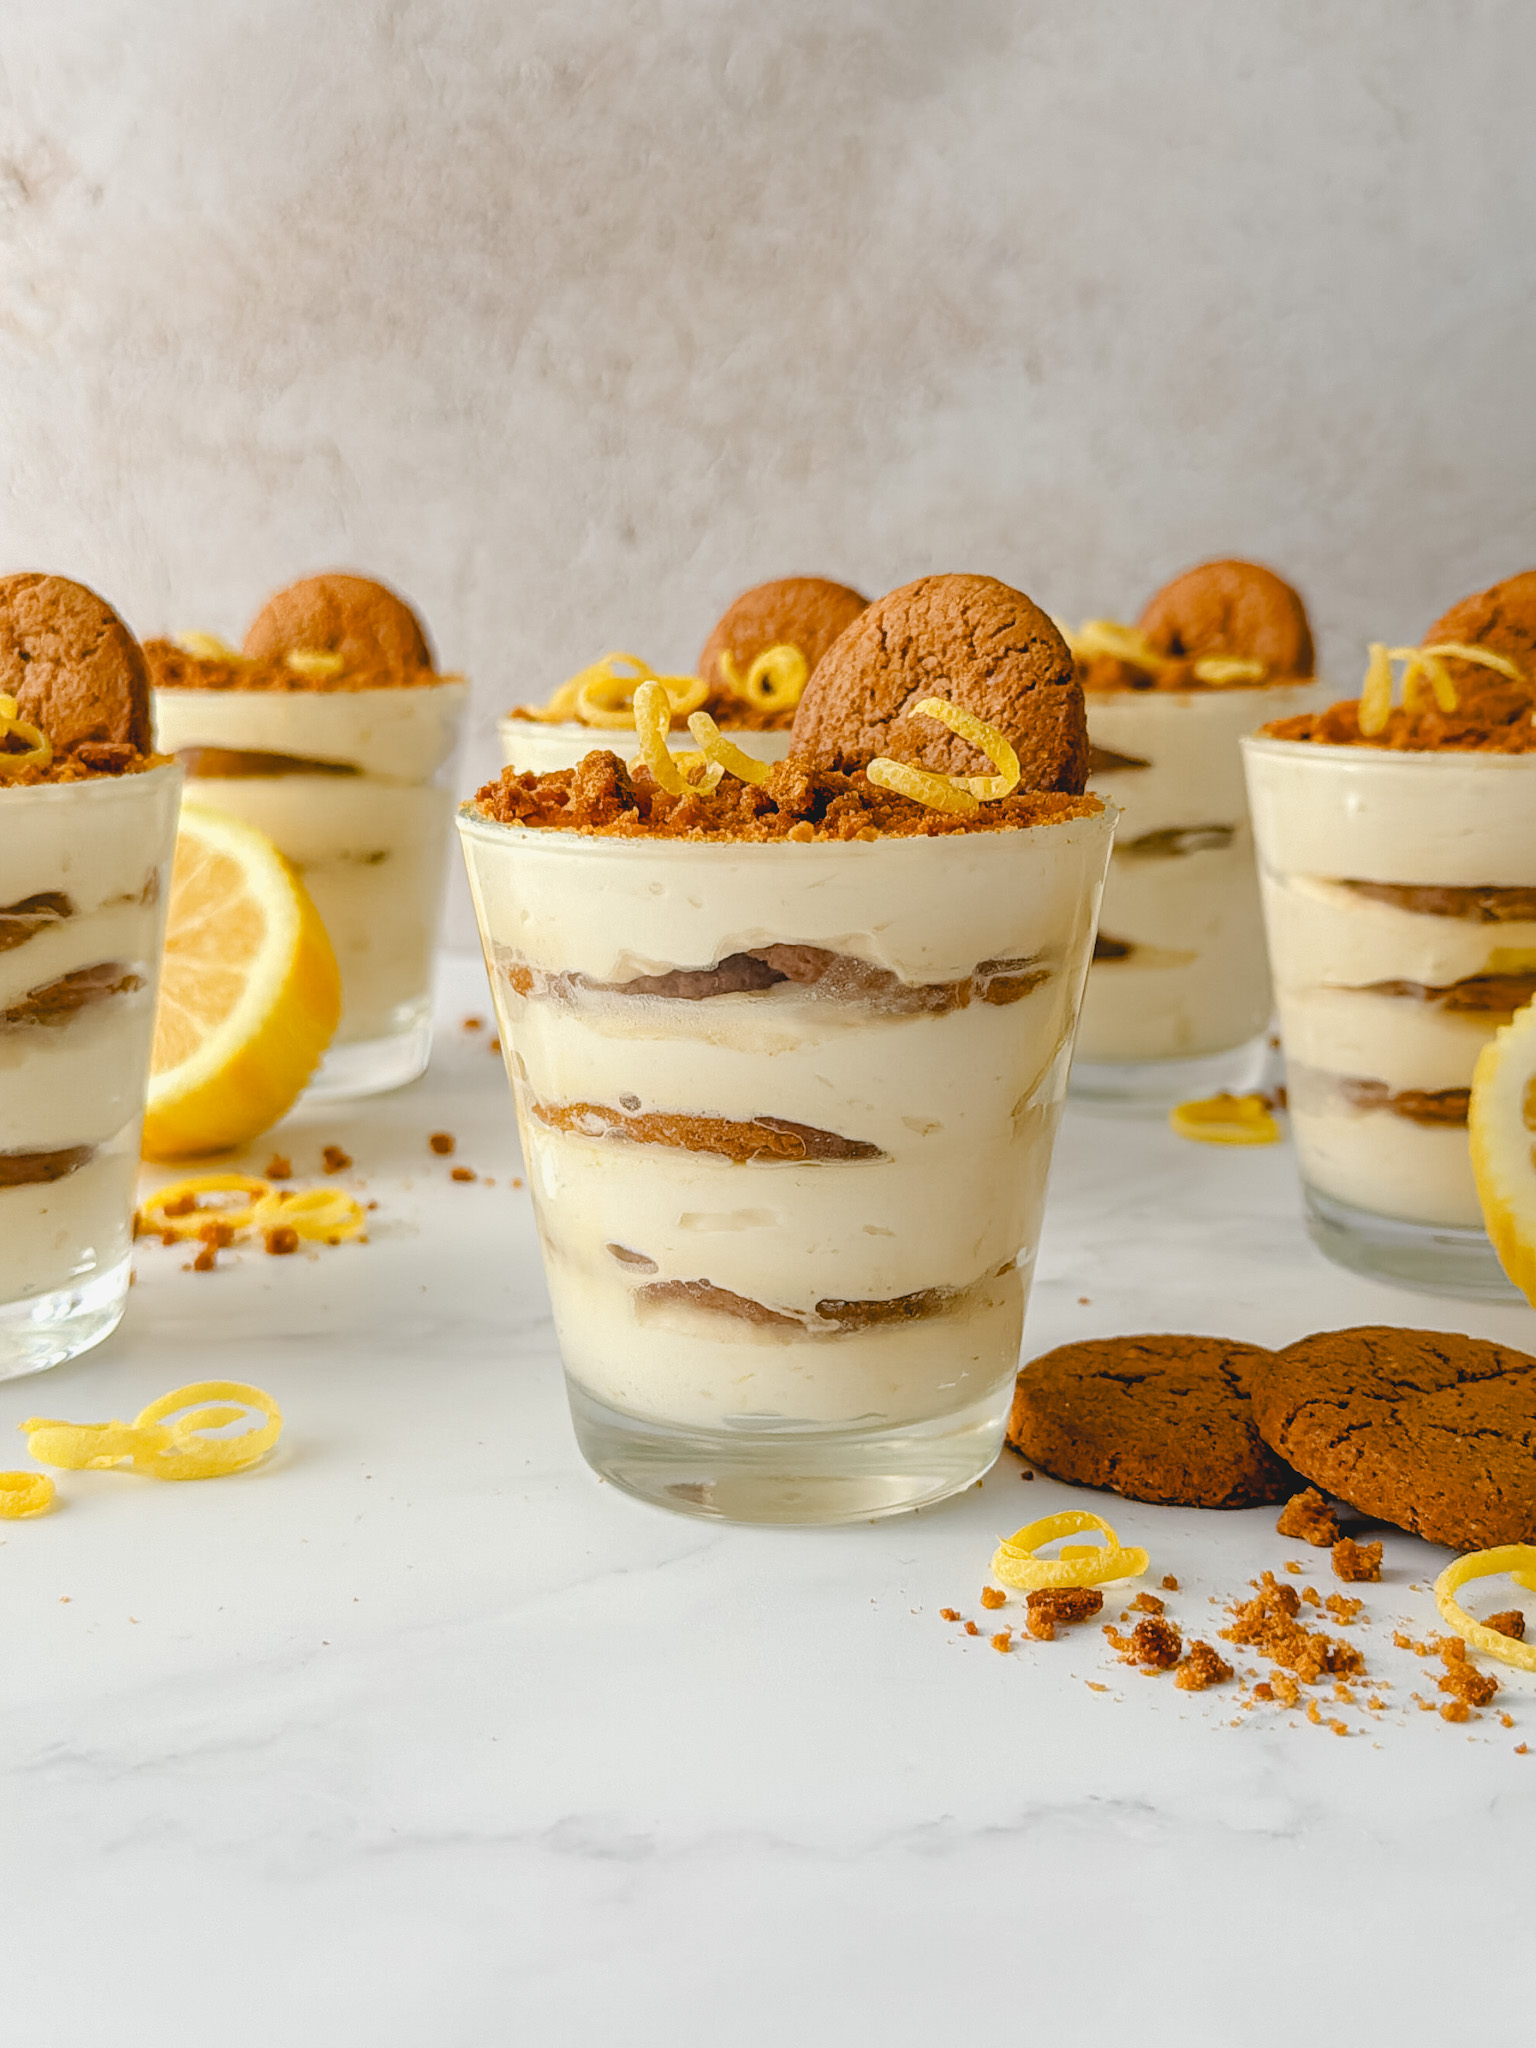
More Bars You’re Going to Love
- Mixed Berry Streusel Bars
- Chocolate Caramel Pecan Bars
- Brown Butter Blondie Bars
- Peanut Butter Oreo Cheesecake Bars
- Oreo Funfetti Blondies
Lastly, if you make this recipe, be sure to leave a comment below and tag @sweetkitchencravings on Instagram or TikTok. Or if Pinterest is more your style, you can save my recipes to your collection there. Happy baking!

Lemon Brûlée Bars
Ingredients
For the Shortbread Crust
- 1 cup (2 sticks or 226g) unsalted butter
- ½ cup (108g) granulated sugar
- ½ teaspoon lemon zest, from about 1 lemon
- 2 cups (260g) all-purpose flour
- ¼ teaspoon salt
- 1 teaspoon vanilla extract
For the Lemon Custard
- 4 large egg yolks
- ¾ cup (150g) granulated sugar
- ½ teaspoon lemon zest, from about 1 lemon
- ¼ cup (40g) cornstarch
- ¼ teaspoon salt
- ⅔ cup (155g) fresh lemon juice , about 3-4 large lemons
- 1 ¼ cup (300mL) heavy cream
- 1 ¼ cup (300mL) whole milk
- 2 Tablespoons (28g) unsalted butter
For the Topping
- ½ cup (100g) granulated sugar
Instructions
- Preheat oven to 350°F. Lightly grease a 9” x 9” square pan with cooking spray. Line with parchment paper to create a sling, with an overhang on all four sides.
- Shortbread Crust: Melt the butter and allow it to cool slightly. In a large mixing bowl, combine the granulated sugar with the lemon zest and rub it between your fingers to release the oils. To the sugar mixture, add flour and salt and whisk together until well combined. Add the melted butter and vanilla. Mix until everything is combined and no pockets of flour remain.
- Use your fingers or a small offset spatula to evenly press the shortbread dough into the bottom of the prepared pan. Bake for 16-18 minutes, or until the edges just start to turn golden brown. While the shortbread crust is baking, make the lemon custard.
- Lemon Custard: In a medium saucepan, whisk together the egg yolks, sugar, lemon zest, cornstarch, and salt. Slowly stream in the lemon juice while whisking then stir in the heavy cream and milk. Cook over low heat and stir constantly with a heat-safe spatula until the mixture thickens and just starts to bubble, about 10-15 minutes. Remove the custard from heat and strain through a fine mesh sieve to remove the zest. Stir in the butter.
- Pour the hot lemon custard onto the warm shortbread crust. Spread the custard out into an even layer. Return to the oven for an additional 8-10 minutes, just until the top is set and the custard starts to bubble around the edges. Allow the bars to cool to room temperature then move them to the fridge to chill for 8 hours or overnight.
- Once the bars are chilled, remove them from the pan and slice into 16 even squares. Wipe your knife off between each cut for clean slices. Move the squares to a large empty sheet pan (no parchment paper) and freeze for about 30 minutes before torching.
- Torching: Remove the squares from the freezer and working with 2-3 squares at a time, sprinkle an even layer of the granulated sugar over each bar. Use a kitchen torch to carmelize the sugar, holding it a few inches away and moving it in a small circular motion. Repeat with the remaining bars, torching 2-3 at a time. Cool for a few minutes to allow the sugar to harden. Serve immediately and enjoy!
Notes
- Storing: Store the bars (without the topping) in an airtight container in the fridge for up to 3 days. Sprinkle on the sugar and torch right before serving.
- Torching: Be sure to check out the blog post above for helpful tips!


It turned out beautifully. I made it for a gathering and everyone absolutely loved it.
So happy to hear that you all enjoyed these Felix!
Absolutely fabulous – love these.
Thank you so much Louise! I’m so happy to hear that you’ve enjoyed these 😊
I made these dairy free and with passion fruit instead and OMG I cannot put into words how amazing they are!!! So glad I found this recipe!
I’m so glad you enjoyed these Nikki! Love your fun twist with the passion fruit!
Absolutely delicious!! I made these today and they turned out wonderful 🙂
Thank you Anna! I’m so glad you enjoyed these 😊
wouldnt it be too sour because if the amount of lemon juice?
Hi Maybel, the lemon juice gives the lemon custard a lot of it’s flavor, which is balanced out with sweetness from the sugar. It’s definitely not too sour, especially if you enjoy lemon desserts!