Espresso Oreo Ice Cream
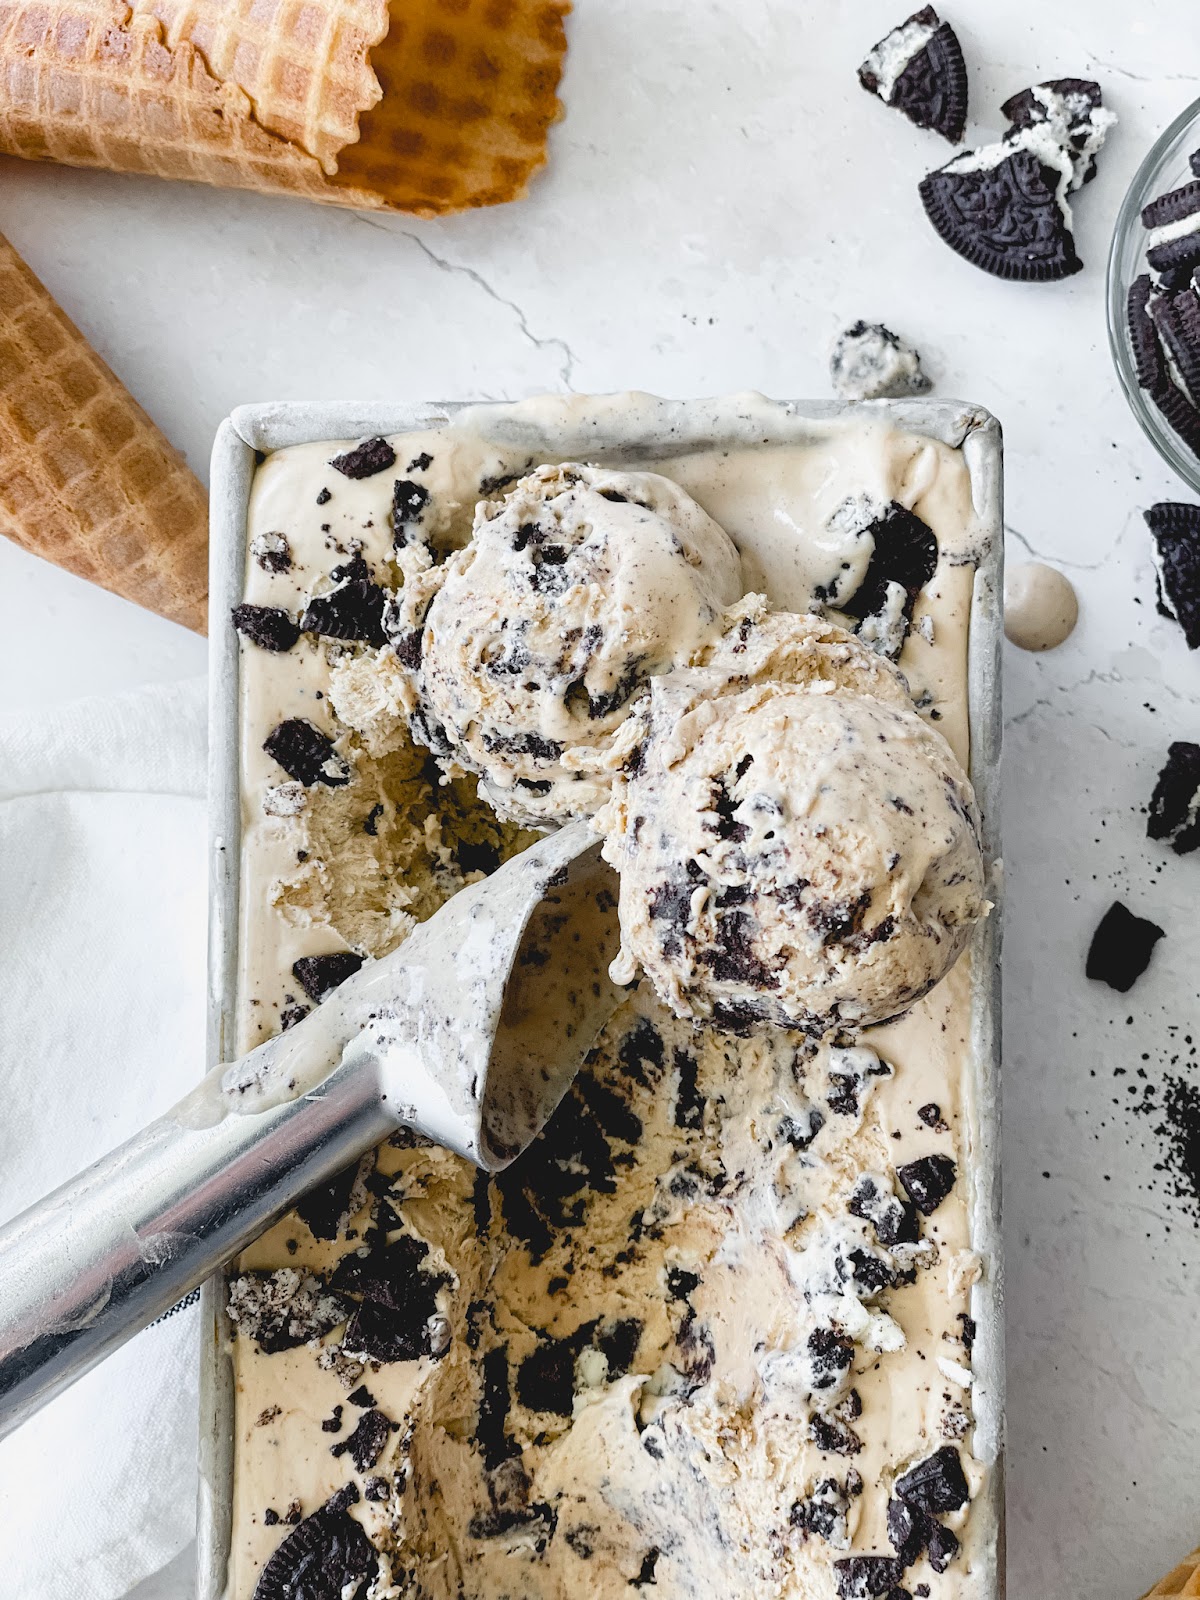
Creamy, luscious, and so simple. This no-churn Espresso Oreo Ice Cream is infused with the most amazing espresso flavor and loaded up with lots of crushed Oreos. It’s the perfect treat for those hot days of summer.

You’re going to love this no-churn Espresso Oreo Ice Cream. It’s so simple to make, only requires 5 ingredients, and comes together in about 10 minutes. No fancy ice cream machine is needed. What’s not to love about that? This was actually my first time testing or even tasting no-churn ice cream and to be honest, I was a little skeptical at first. I’m happy to report though that the method, flavors, and texture turned out amazing and better than expected!
This no-churn ice cream is creamy yet light and this flavor combo is my new favorite. After tasting espresso + Oreos together, I can’t believe I haven’t tried these together sooner! I’m already thinking of all the ways I’m going to incorporate espresso and Oreos into my desserts. For now, I’m going to savor the combo in this creamy, luscious ice cream during these last few scorching summer days.
What is “No-Churn” Ice Cream?
Traditional ice cream is made with milk, cream, sugar, and eggs which are cooked over low heat to create a custard (known as crème anglaise), which is the ice cream base. This mixture is then poured into an ice cream machine which churns it, while also freezing it, to create that classic thick and creamy texture.
“No churn” style ice cream is instead made with heavy cream and sweetened condensed milk that is frozen for several hours which creates a light, soft, and creamy mixture. This produces a texture that resembles traditional ice cream, without fancy equipment or techniques. With both of these methods, there are endless possibilities for flavor combinations!

5 Ingredient Ice Cream
You can easily make this recipe into vanilla ice cream with just the first 3 ingredients. If you’re a coffee lover, you must make this Espresso Oreo version though and it’s still only 5 ingredients. Let’s go over what you’ll need.
- Heavy Cream. This is often labeled as “heavy whipping cream” but make sure that it has “heavy” in the name. Anything labeled “whipping cream” contains a lower fat percentage and will not whip up as well, which will result in a much softer, looser ice cream. The same goes for the many store brand or off-brand varieties. I recommend using a brand that specializes in producing dairy products (such as Darigold) for a higher-fat heavy cream.
- Sweetened Condensed Milk. I tried this recipe with a couple of other substitutes but sweetened condensed milk beat them all out by far. It has both the sweetness and the thickness that this no-churn ice cream needs and it also helps add some smoothness to the ice cream so you don’t end up with a grainy or icy mixture.
- Vanilla Extract. Go for the good stuff. I always recommend using pure vanilla extract because the flavor is so much better than imitation but it’s especially important when a recipe has so few ingredients like this one because the flavor will come through even more.
- Espresso Powder. My favorite instant espresso powder that I’ve ever used is this one. I’ve tried other espresso powders in my baking recipes (not thinking it would even make a difference) but none of them compare, in my opinion. I’ve also found that most grocery stores carry this brand in the coffee aisle.
- Oreos. I like having a big chunk of Oreo in every bite so I go heavy on the Oreos in this recipe. Feel free to reduce the amount if you don’t like as many mix-ins or if you want more of the espresso flavor to shine through. For a gluten-free version of this no-churn ice cream, simply use gluten-free Oreos!
How to Make Espresso Oreo Ice Cream
- Whip the cream. First, whip the cream to soft peaks. It’s important for the texture of the ice cream that you don’t overwhip the cream. A Soft peak means that when you pull the whisk or beater out of the whipped cream, a small peak forms but then falls over. If your peak is firm and keeps its shape, then you’ve gone too far.
- Make the ice cream mixture. Whisk together the sweetened condensed milk, vanilla, and espresso powder, then fold it into the whipped cream. When there are still a few streaks left, fold in the crushed Oreos. The espresso powder will make the mixture speckled at first but it always dissolves by the time the ice cream mixture is combined so there’s no need to dissolve it in water first.
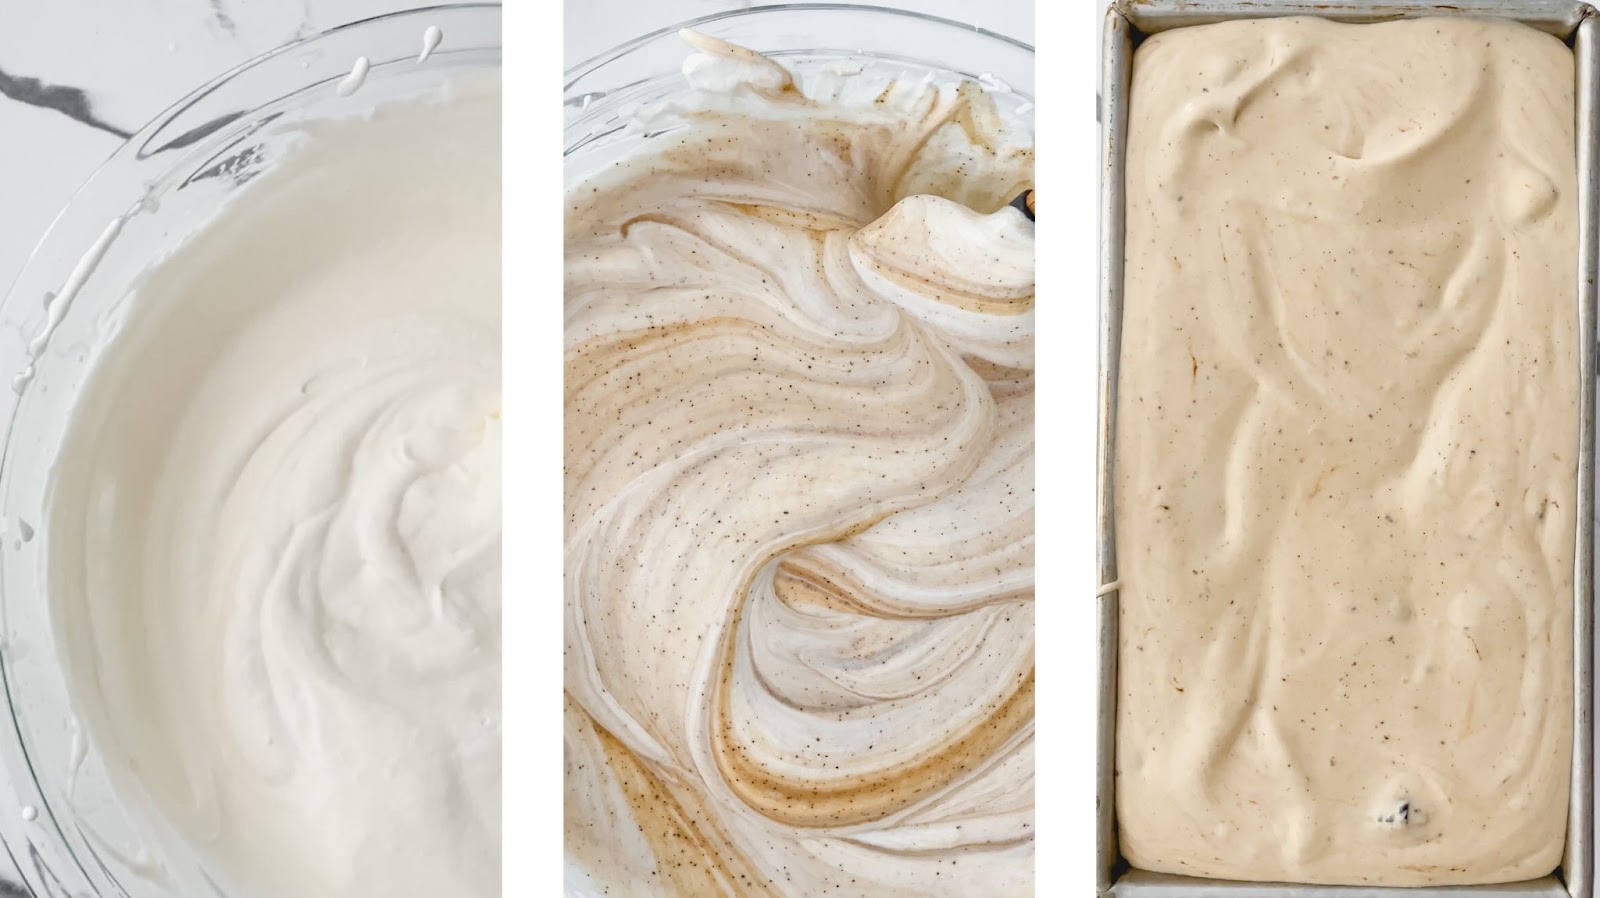
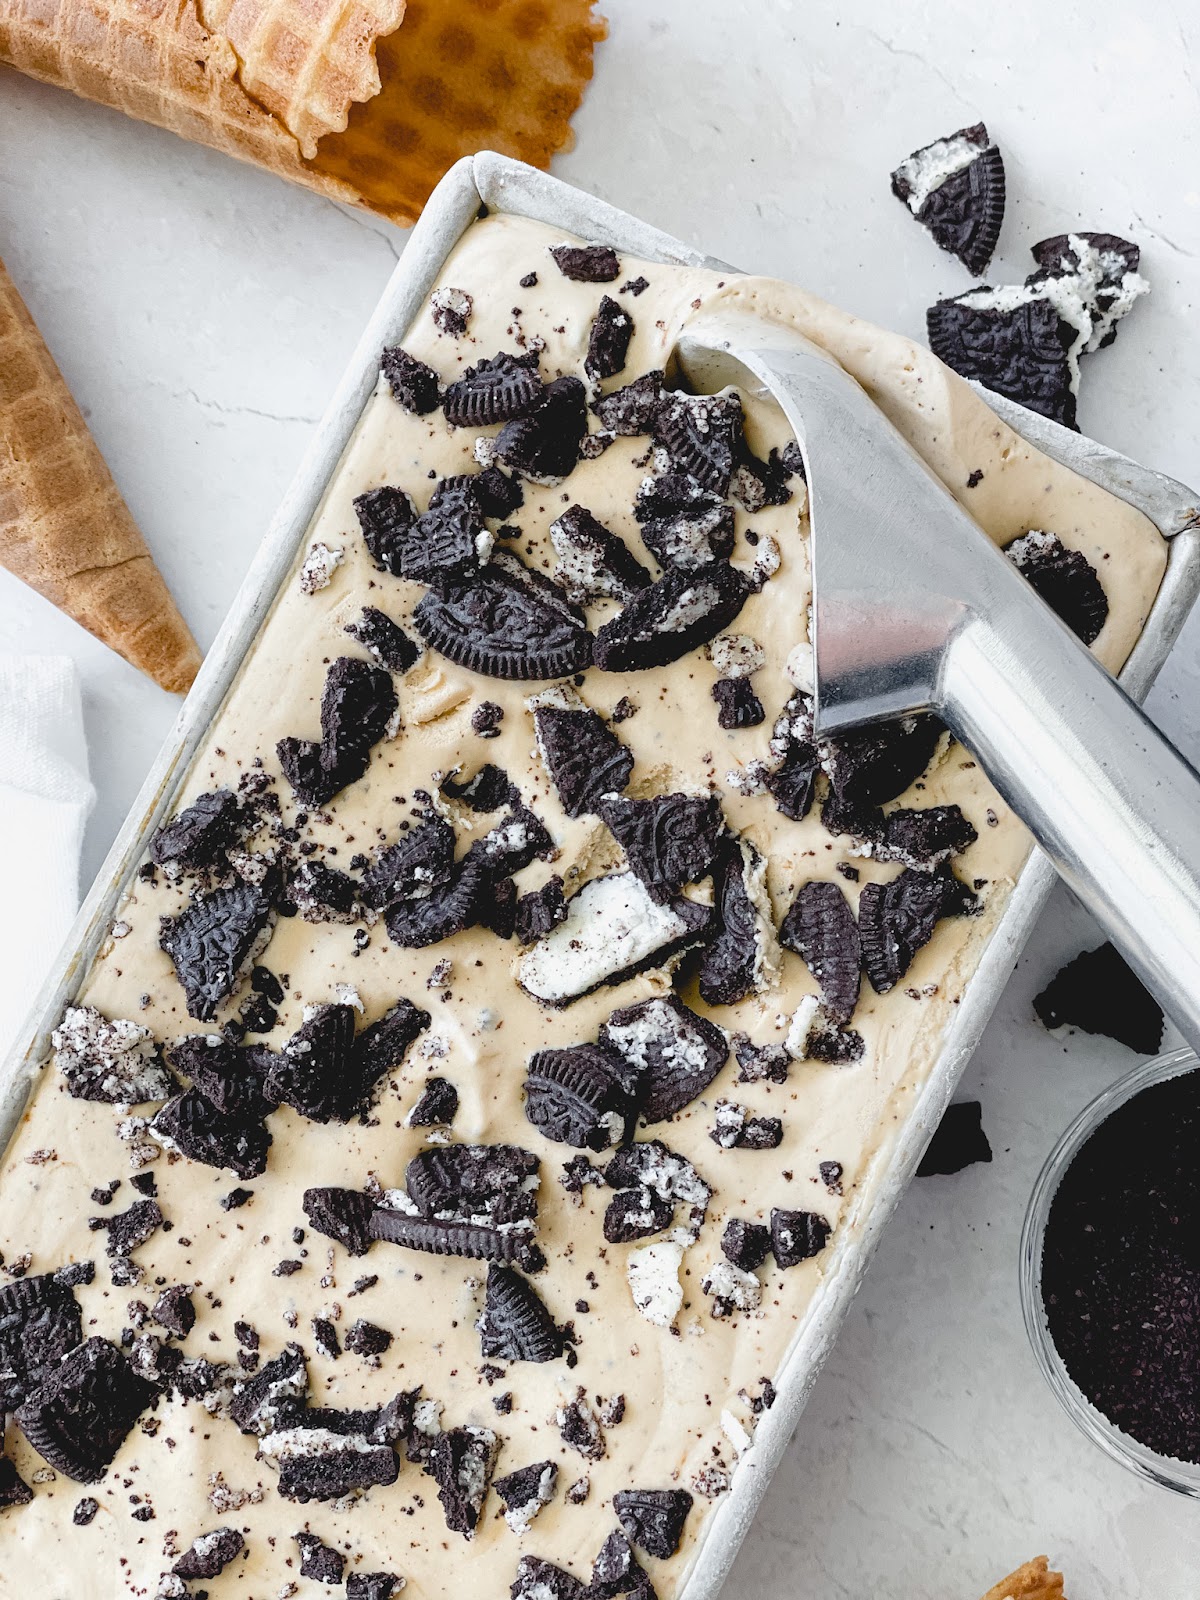
- Add to pan. Pour the ice cream mixture into a baking pan. An 8.5” x 4.5 loaf pan perfectly holds this recipe although an 8” x 8” square pan or even a round cake pan would work too. No need to spray or line the pan either – just pour the mixture right in. Sprinkle more crushed Oreos on top, if you’d like.
- Freeze. The mixture needs to be frozen for at least 6 hours but I prefer leaving it in the freezer even longer so it gets nice and firm. I’ve found that overnight or 12 hours is best.
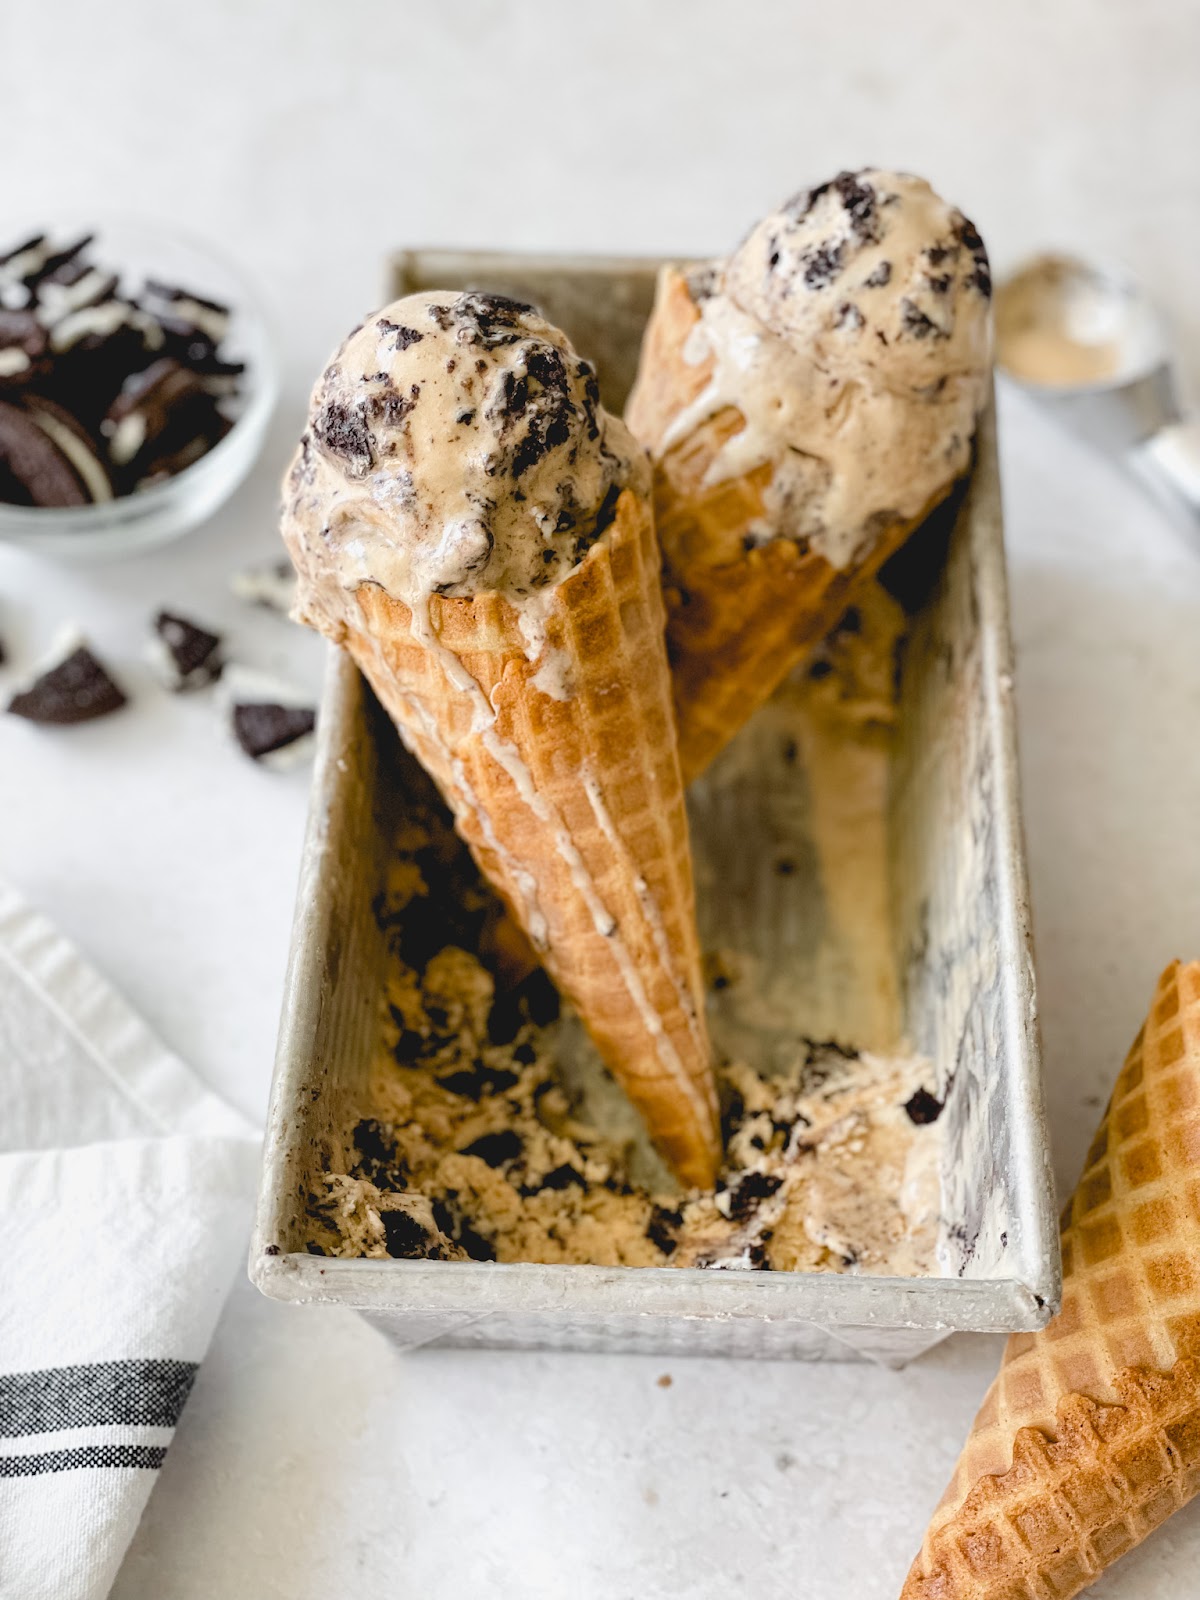
- Scoop and enjoy. This espresso Oreo ice cream is good all on its own but I can confirm that it’s also delicious in a waffle cone. Or make it into the ultimate ice cream sundae with hot fudge, whipped cream, and crushed Oreos!
More Sweet Summer Recipes
- Chocolate Sprinkle Cookie Ice Cream Sandwiches
- Tiramisu Cupcakes
- Strawberry Crunch Cheesecake
- Caramel Cone Crunch Cookies
- Brown Butter Toffee Cookie Skillet
- S’mores Blondies
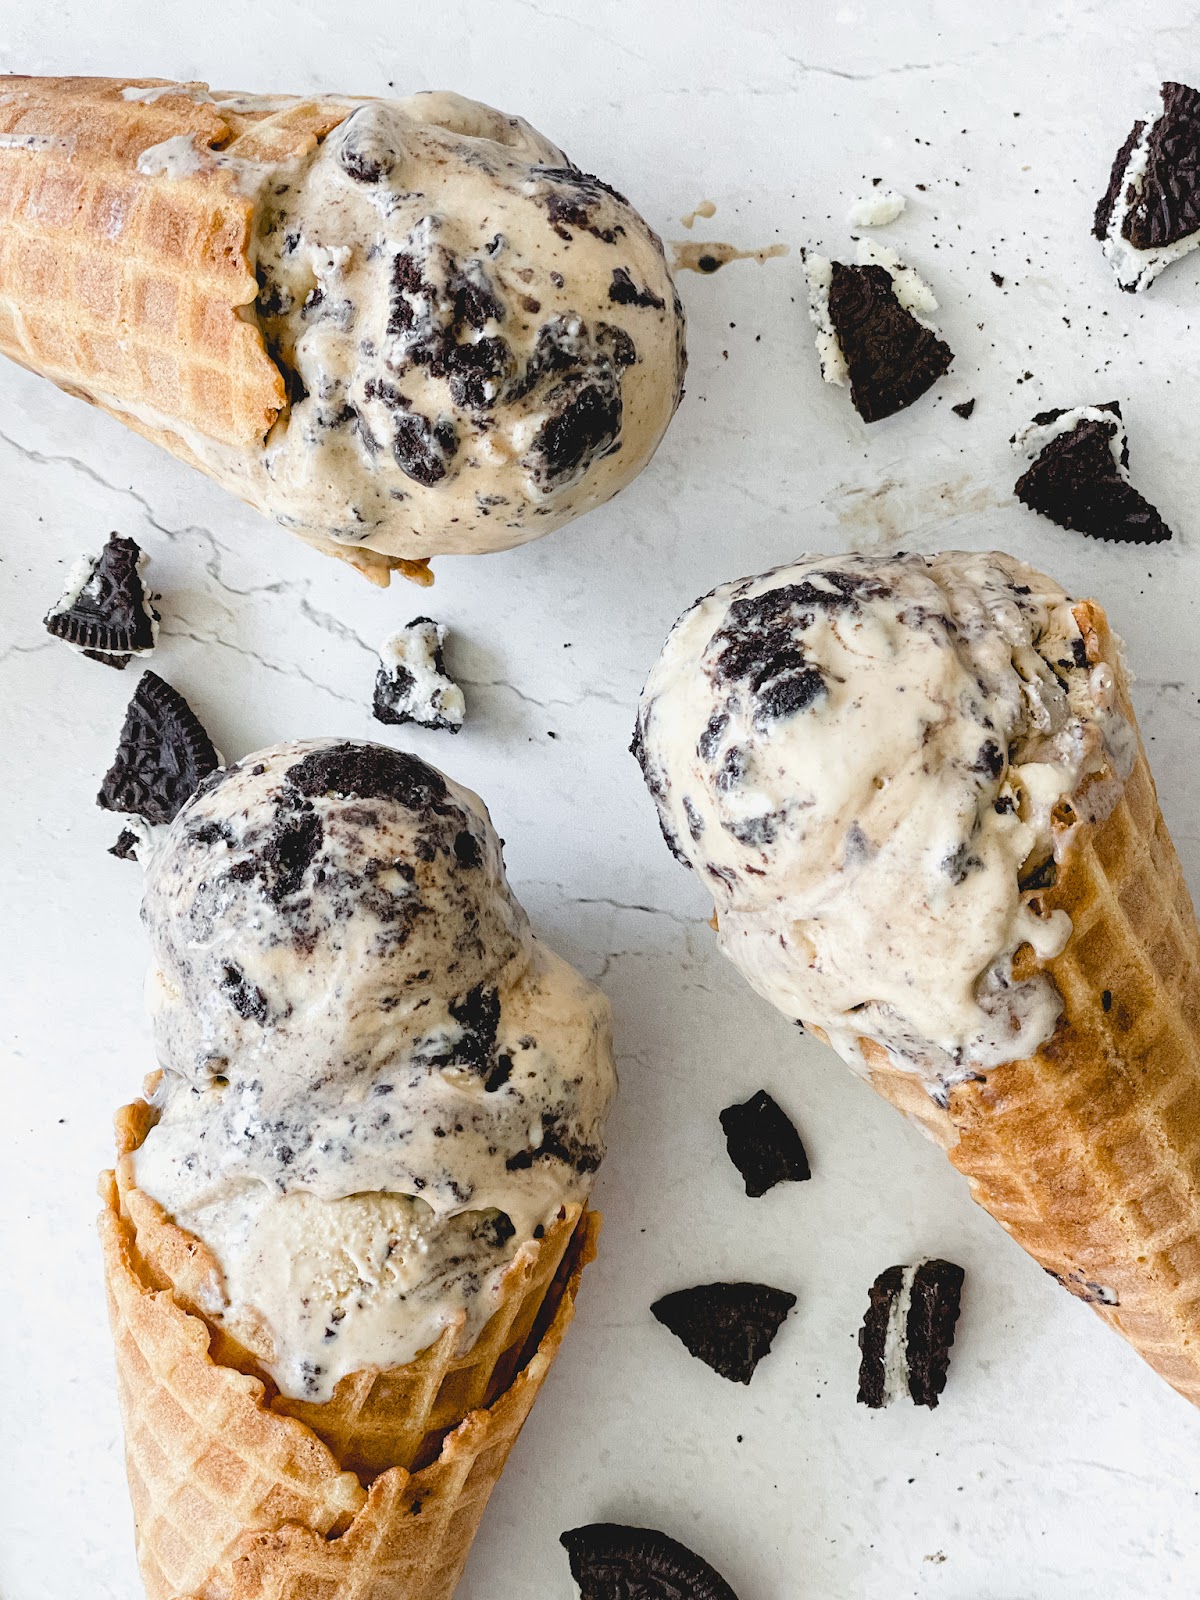
If you haven’t tried no-churn style ice cream before (and even if you have), I definitely recommend giving this one a try. You won’t regret it! Lastly, if you make this recipe, be sure to leave a comment below and tag @sweetkitchencravings on Instagram or TikTok. Or if Pinterest is more your style, you can save my recipes to your collection there. Happy ice cream making!

Espresso Oreo Ice Cream
Ingredients
- 2 cups (470ml) heavy cream
- 1 (14oz) can sweetened condensed milk
- 1 Tablespoon (13g) vanilla extract
- 4 teaspoons instant espresso powder
- 16 Oreos, chopped or crushed
Instructions
- In the bowl of a stand mixer fitted with a whisk attachment, add the heavy cream and whip until it reaches soft peaks. Set aside.
- In a mixing bowl, whisk together the sweetened condensed milk, vanilla, and espresso powder. Gently fold the mixture into the whipped cream, until only a few streaks remain.
- Add the chopped oreos to the mixture, reserving some for the top, and gently fold until everything is combined.
- Pour the ice cream mixture into a loaf pan measuring 8.5” x 4.5” and sprinkle the top with the reserved Oreos. Freeze for at least 6 hours or until set.
- Once the ice cream is set, scoop and enjoy!
Notes
- Pan Size: If you don’t have a loaf pan, a square or round baking pan works too.
- Freezing: For firmer ice cream, freeze for 8-12 hours.

