
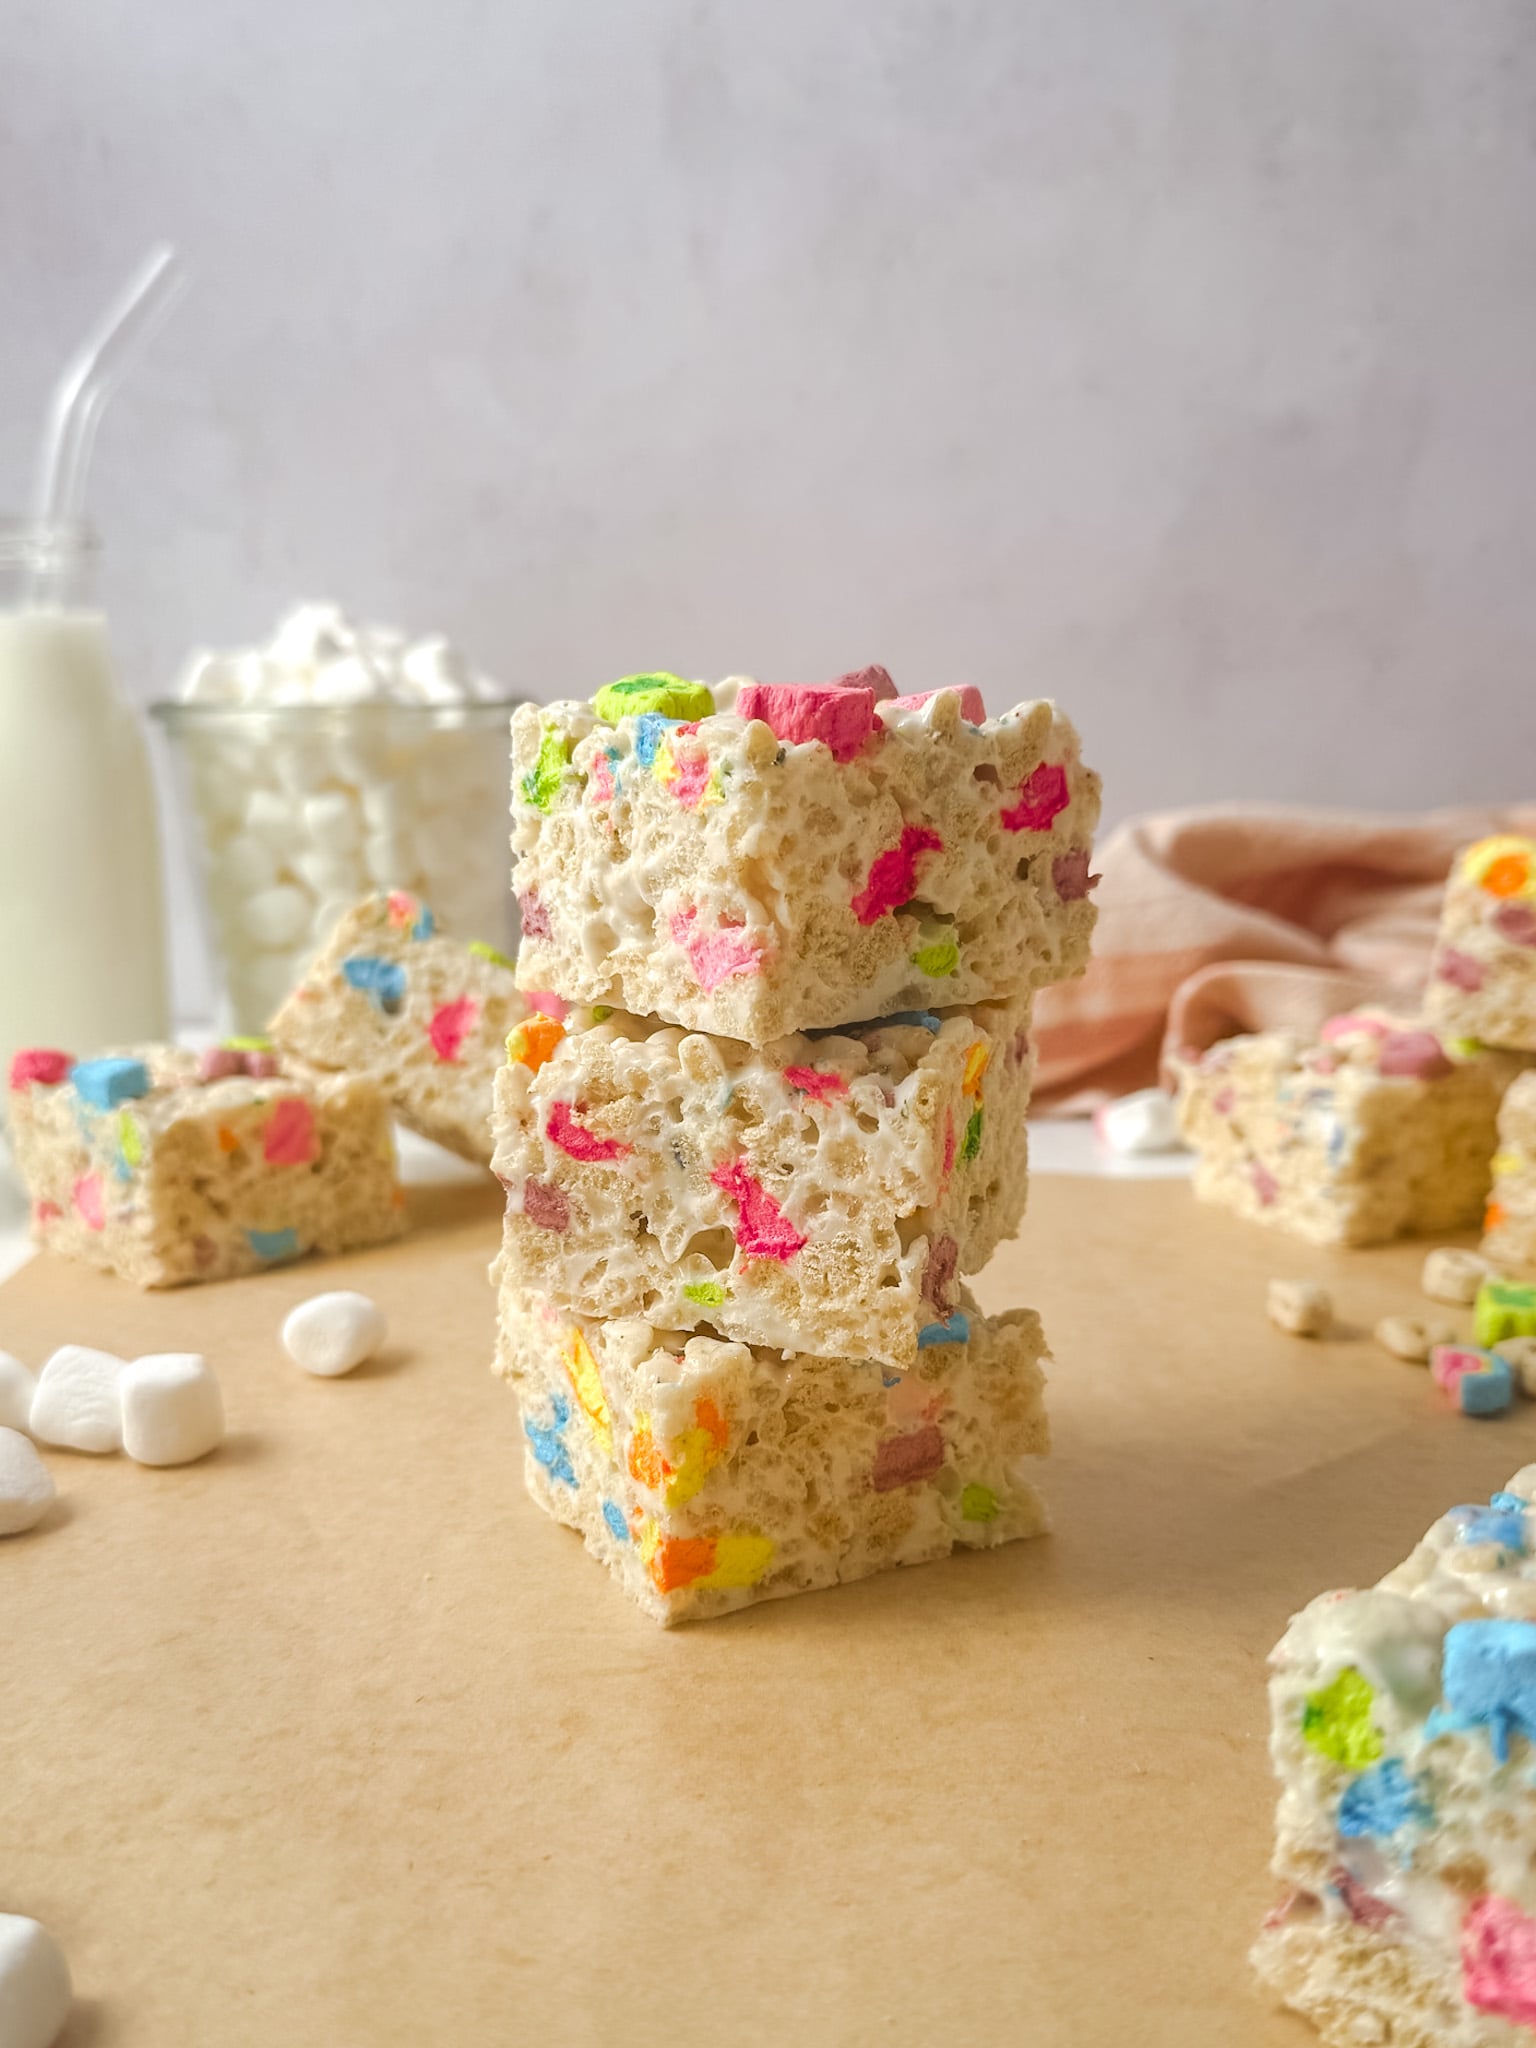
Lucky Charms Krispie Treats
These magically delicious treats are gooey, marshmallowy, and loaded with Lucky Charms cereal. Breakfast and dessert come together in the best way to make these Lucky Charms Krispie Treats!
This post may contain affiliate links. Please read my full disclosure policy.

These magically delicious Lucky Charms Krispie Treats are loaded with ooey-gooey marshmallow goodness, Lucky Charms cereal, and of course those vibrant little marshmallow charms. This nostalgic cereal has been a favorite of mine since I was a kid so I couldn’t *not* put it into a dessert! These come together quickly and only require a few ingredients, making them a perfect last-minute treat. Whether you need an easy St. Patrick’s Day dessert or just a sweet treat to quench your cereal craving, you will not be disappointed with these!
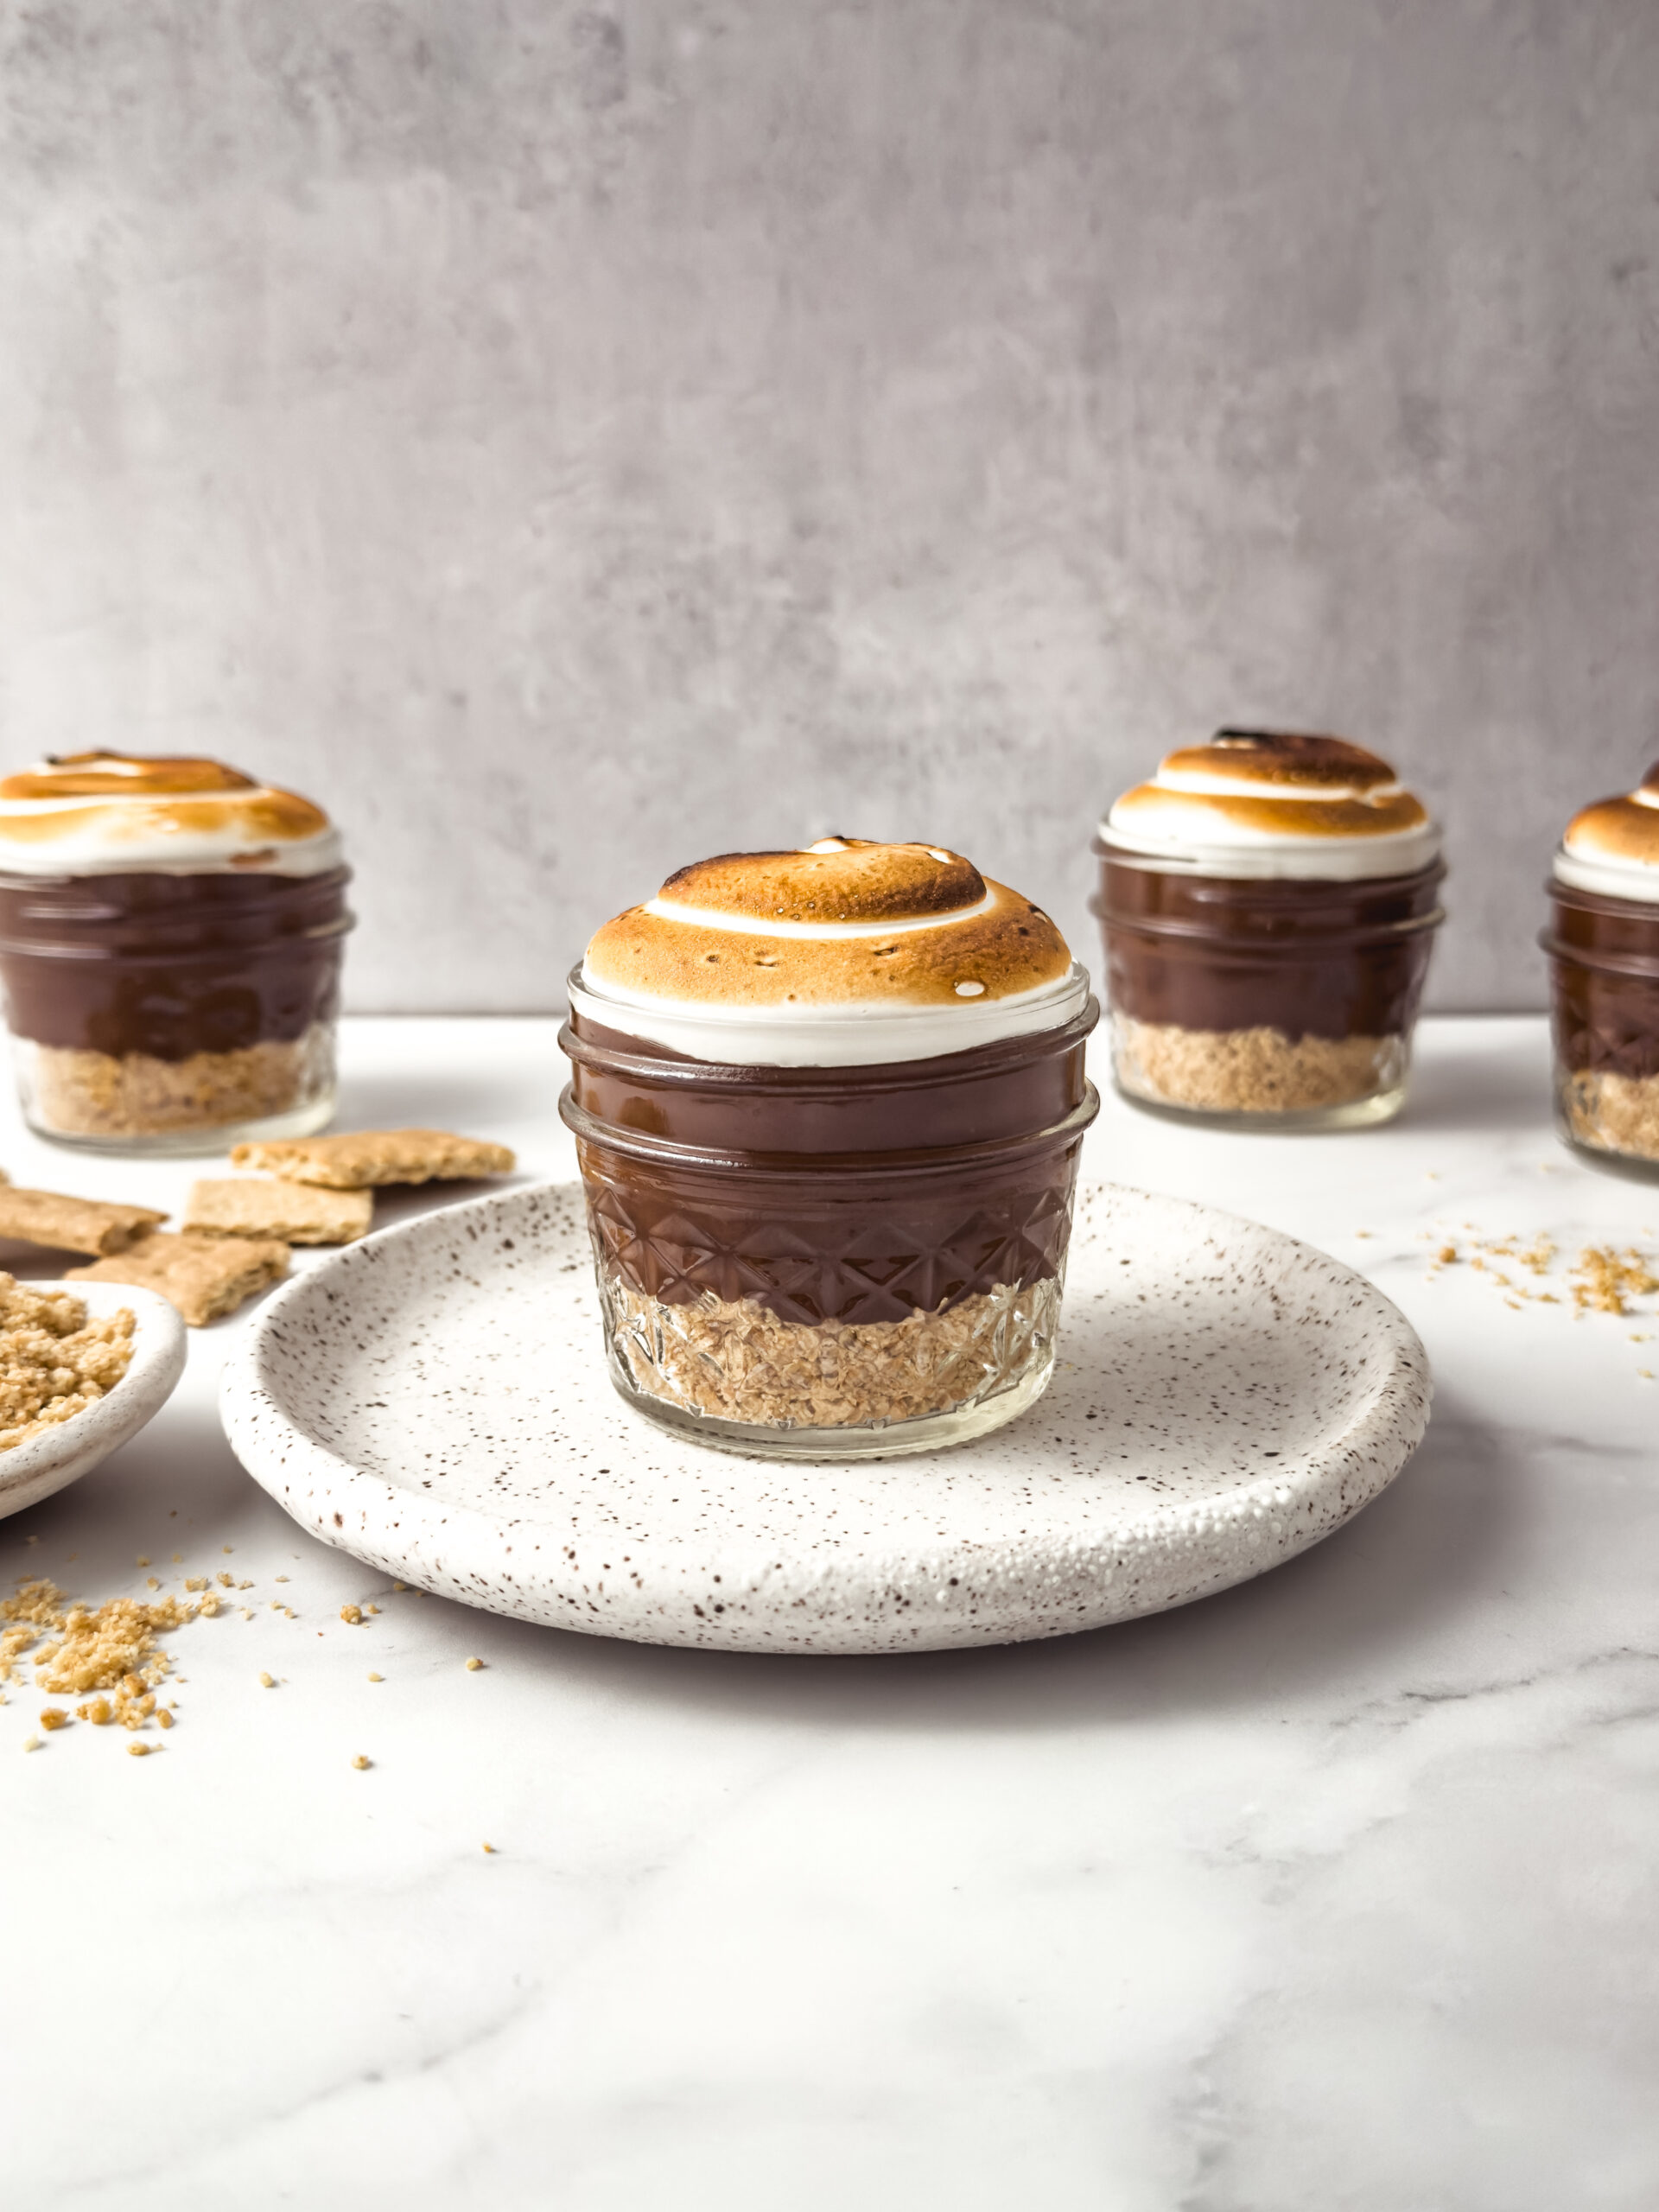
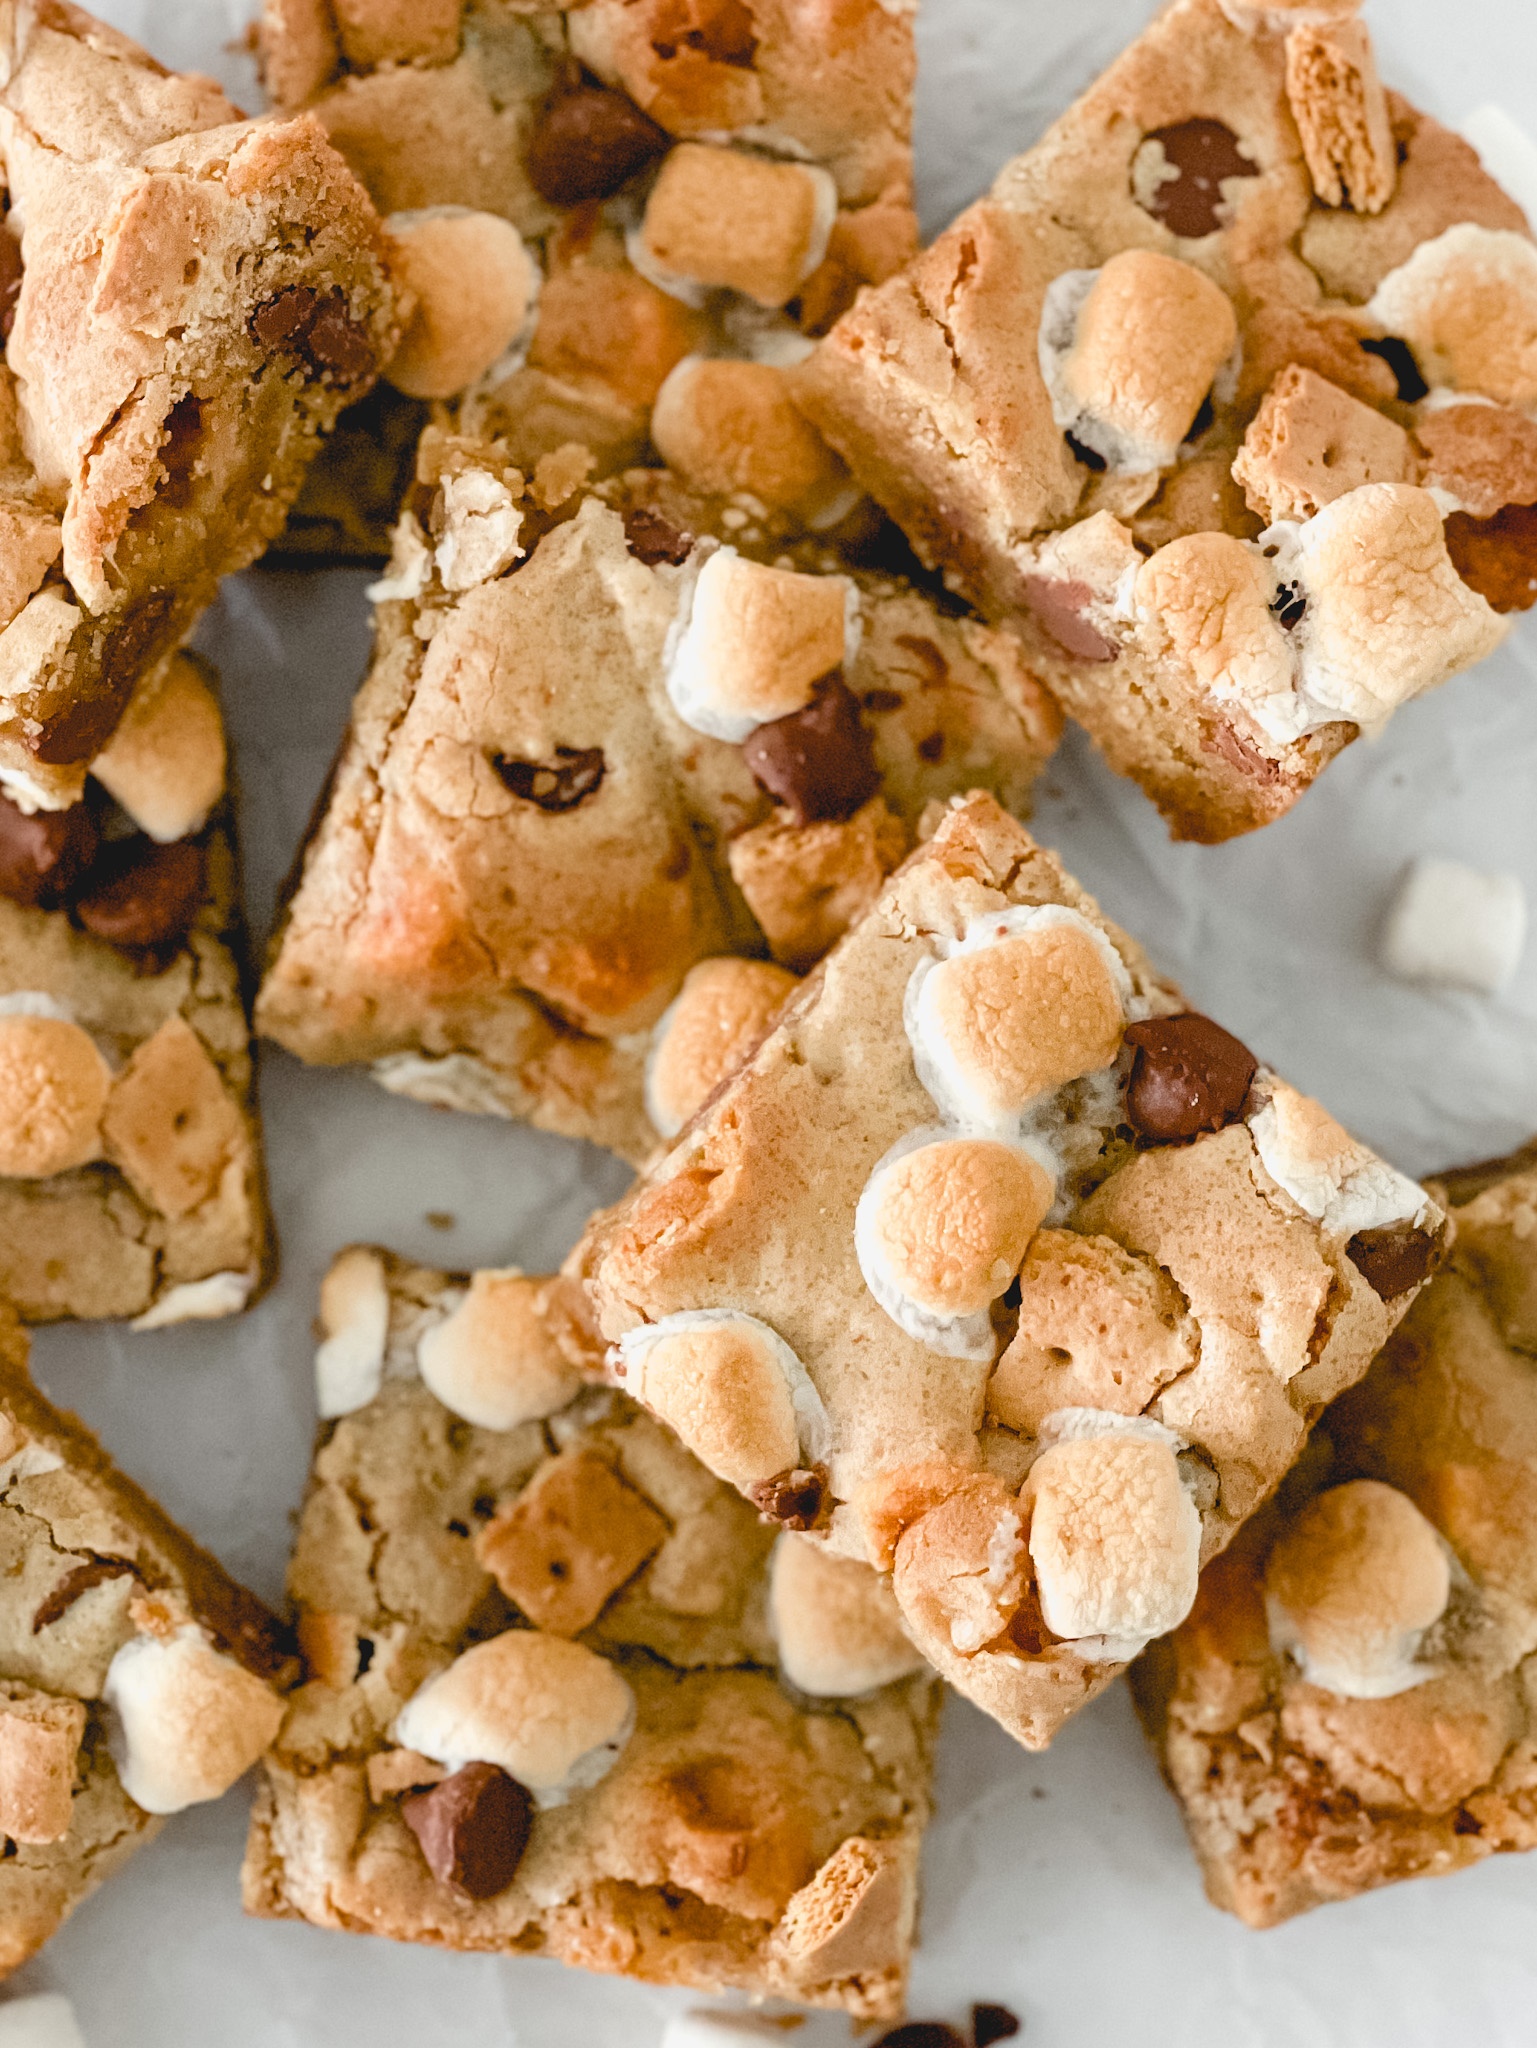
If you want more delicious marshmallow treat recipes, be sure to check out my S’mores Krispie Treats and my Reeses Pieces Krispie Treats too!

Ingredients
Butter: Use unsalted butter so you can control how much salt you’re adding in. You’ll need one stick of butter (4 ounces).
Rice Cereal: The rice cereal adds some nice texture and crunch in addition to the Lucky Charms cereal, so I like to use about equal parts of both.
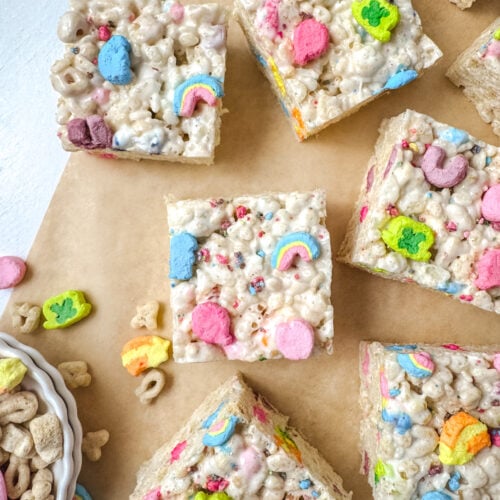
Lucky Charms: These are what make these marshmallowy bars taste just like that bowl of cereal you love. Be sure to pick out and reserve extra marshmallows to finish the top with for an extra special touch.
Marshmallows: I like using mini marshmallows because they melt a little quicker, but jumbo marshmallows would also work. Be sure to use fresh marshmallows because I’ve found that older ones (like that bag in the pantry that is all stuck together) don’t melt well.
Salt: A little bit of salt goes a long way to offset the sweetness of these treats!
See the full list of ingredients and measurements in the recipe card below!

How to Make Lucky Charms Rice Krispie Treats
- Combine the cereal. Mix the rice cereal along with the Lucky Charms cereal in a bowl, until well combined. Also, prepare a 9” x 9” square pan by greasing it well with nonstick cooking spray.

- Melt the butter. Melt the butter in a pot over medium-low heat. Be sure to use a pot large enough to fit all the marshmallows and the 8 cups of cereal, plus room to stir it all together.
- Melt the marshmallows. Turn the heat off once the butter has melted and stir in the marshmallows. The heat from the butter and the pan should be enough to melt the marshmallows, just by stirring vigorously. You can turn the heat back on low if you need a little more to get the marshmallows fully melted but be careful not to overheat them.

- Stir in the cereal. Once the marshmallows are fully melted, the cereal gets mixed in. Start with just half and mix until incorporated then add in the second half of cereal and mix until all the cereal is fully coated. I’ve found that mixing in the cereal in two batches helps get every piece nicely coated with the gooey marshmallow.
- Pour and press. The krispie mixture gets poured into the prepared pan and pressed down gently. Using a rubber spatula or piece of parchment sprayed lightly with nonstick cooking spray helps to keep the marshmallow from sticking to everything. Then the treats need to cool and set. It’s so tempting to just dive while they’re still warm but the final result is worth the wait!

- Cut and enjoy. Once the treats are firm, use a sharp knife to cut them into squares, and enjoy!
Tips for the Best Treats
- Don’t overheat the marshmallows. I’ve made this mistake more times than I’d like to admit but don’t make the same mistake! If the marshmallows get too hot, they will become a thick and rubbery blob that will not mix with the cereal. Turn the heat off after the butter has melted and the marshmallows should melt just from the residual heat. Keep stirring until they are all fully melted.
- Work quickly. The melted marshmallow mixture is super sticky and sets up fast so it gets more difficult to work with as it cools down. Be sure to get the cereal mixed in as soon as the marshmallows are melted and work quickly to get it all in the pan and pressed down evenly before it hardens too much.
- Press the treats down lightly. When filling the pan and pressing the treats down to get an even layer, don’t use too much pressure. The more you compress the krispie treat mixture, the more dense the texture will become. For a lighter and chewier treat, gently press the treats into the pan. Lightly grease your spatula to help move the mixture around more easily.

Baking Tip: Weigh Your Ingredients!
I highly recommend using a kitchen scale to weigh your ingredients rather than using measuring cups because it is the most accurate way to bake. Weighing your ingredients will give you more consistent results with your recipes and a better success rate, every time. Using a scale also saves you dishes which means easier cleanup! I provide gram measurements in all my recipes and this is the scale I love to use.
Krispie Treat FAQS
What is the best way to store the treats?
Store the krispie treats in a zip-top bag or airtight container at room temperature, for up to 3 days.
Can I substitute other cereals?
Yes, try swapping out the lucky charms for other cereals like fruity pebbles, cinnamon toast crunch, cocoa puffs, or cap’n crunch for a fun twist!
Do I need to use parchment in the pan?
No, I’ve found that greasing the pan’s bottom and sides well is all you need plus I think the parchment just makes it more difficult with the sticky marshmallows. Once the treats have cooled, run a knife or metal spatula around the edges then flip the pan upside down and tap firmly on a hard surface to release the treats.
More St. Patty’s Day Treats You’ll Love
- Chocolate Mint Cream Pie
- Baileys Irish Cream Cheesecake Brownies
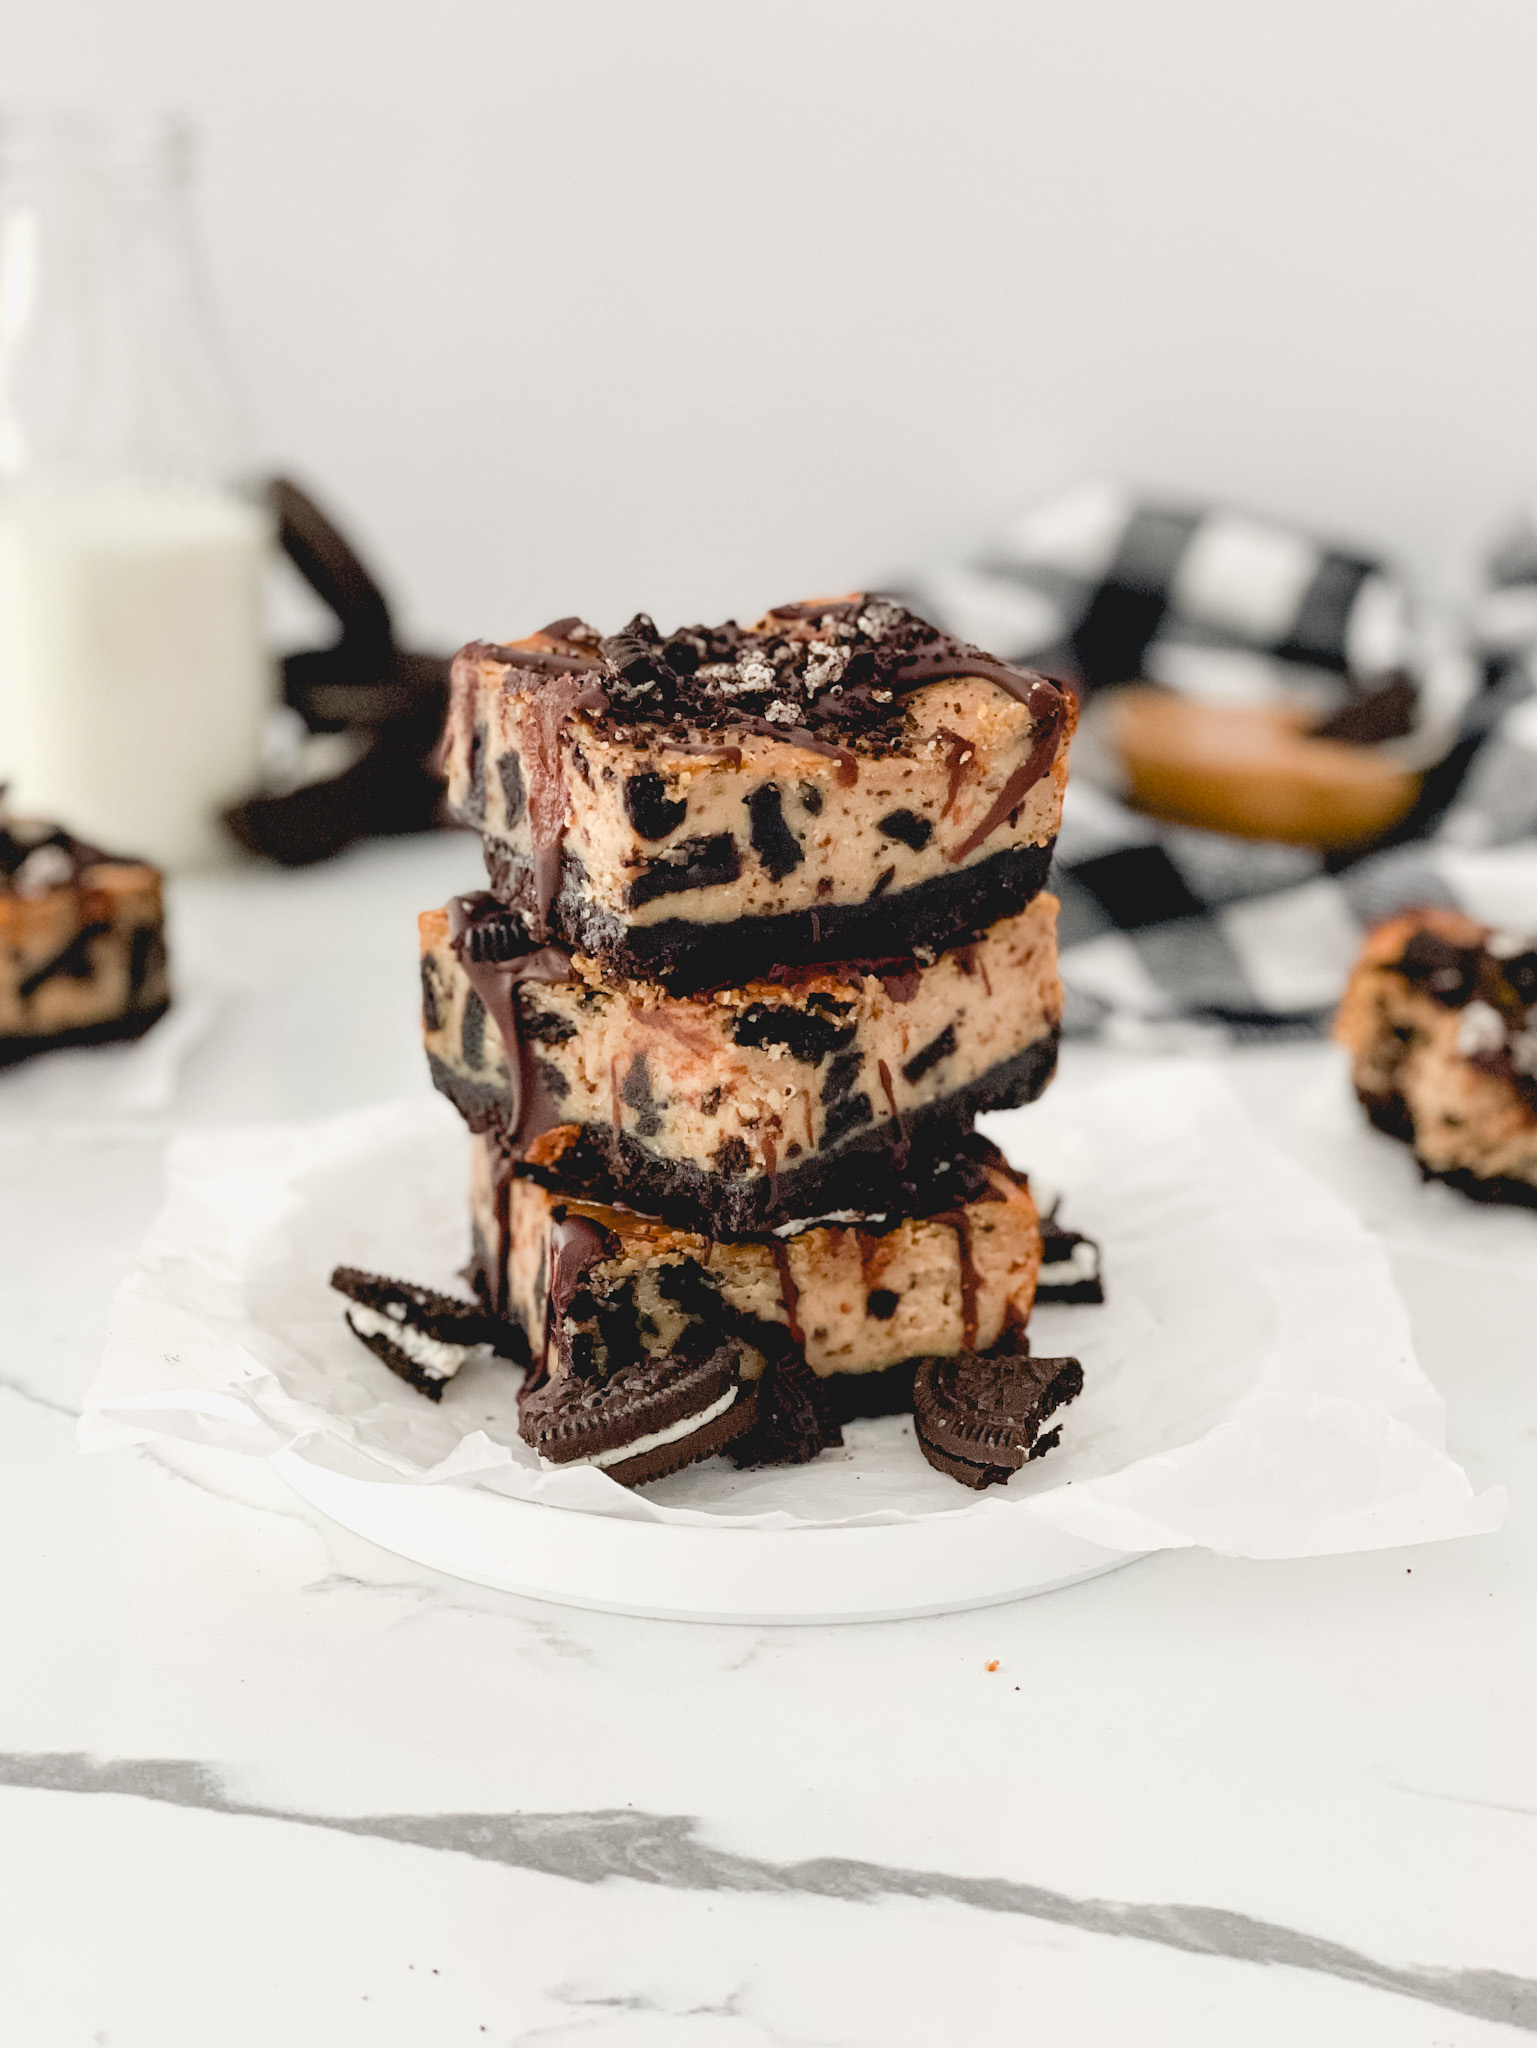
- Mint Oreo Cookies
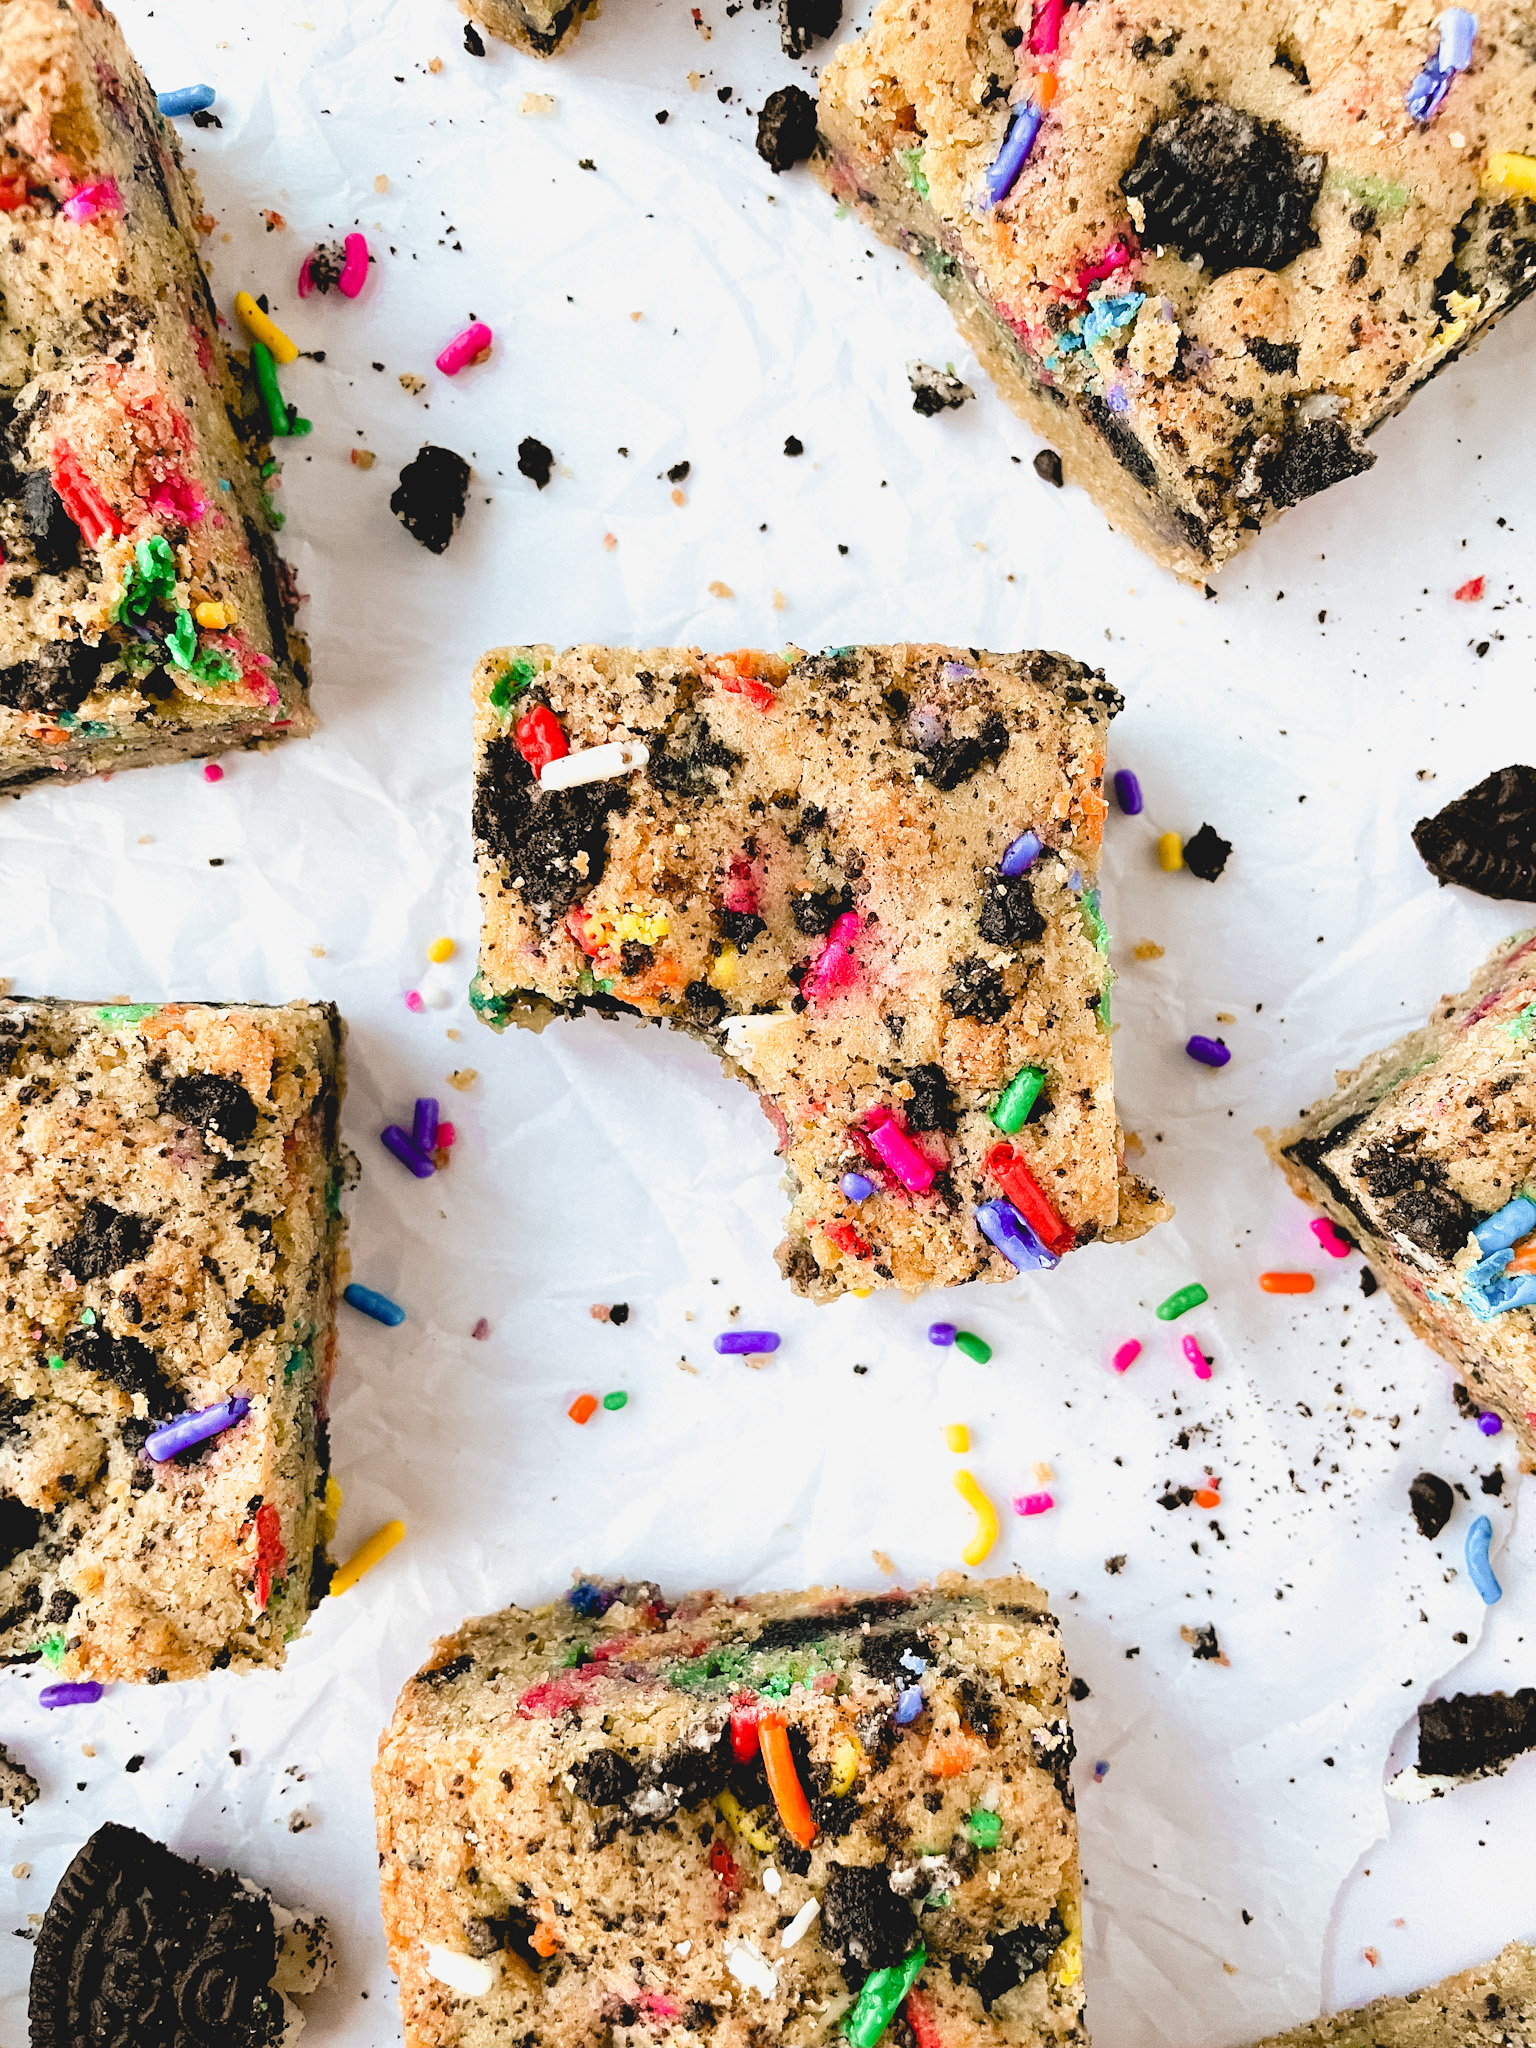
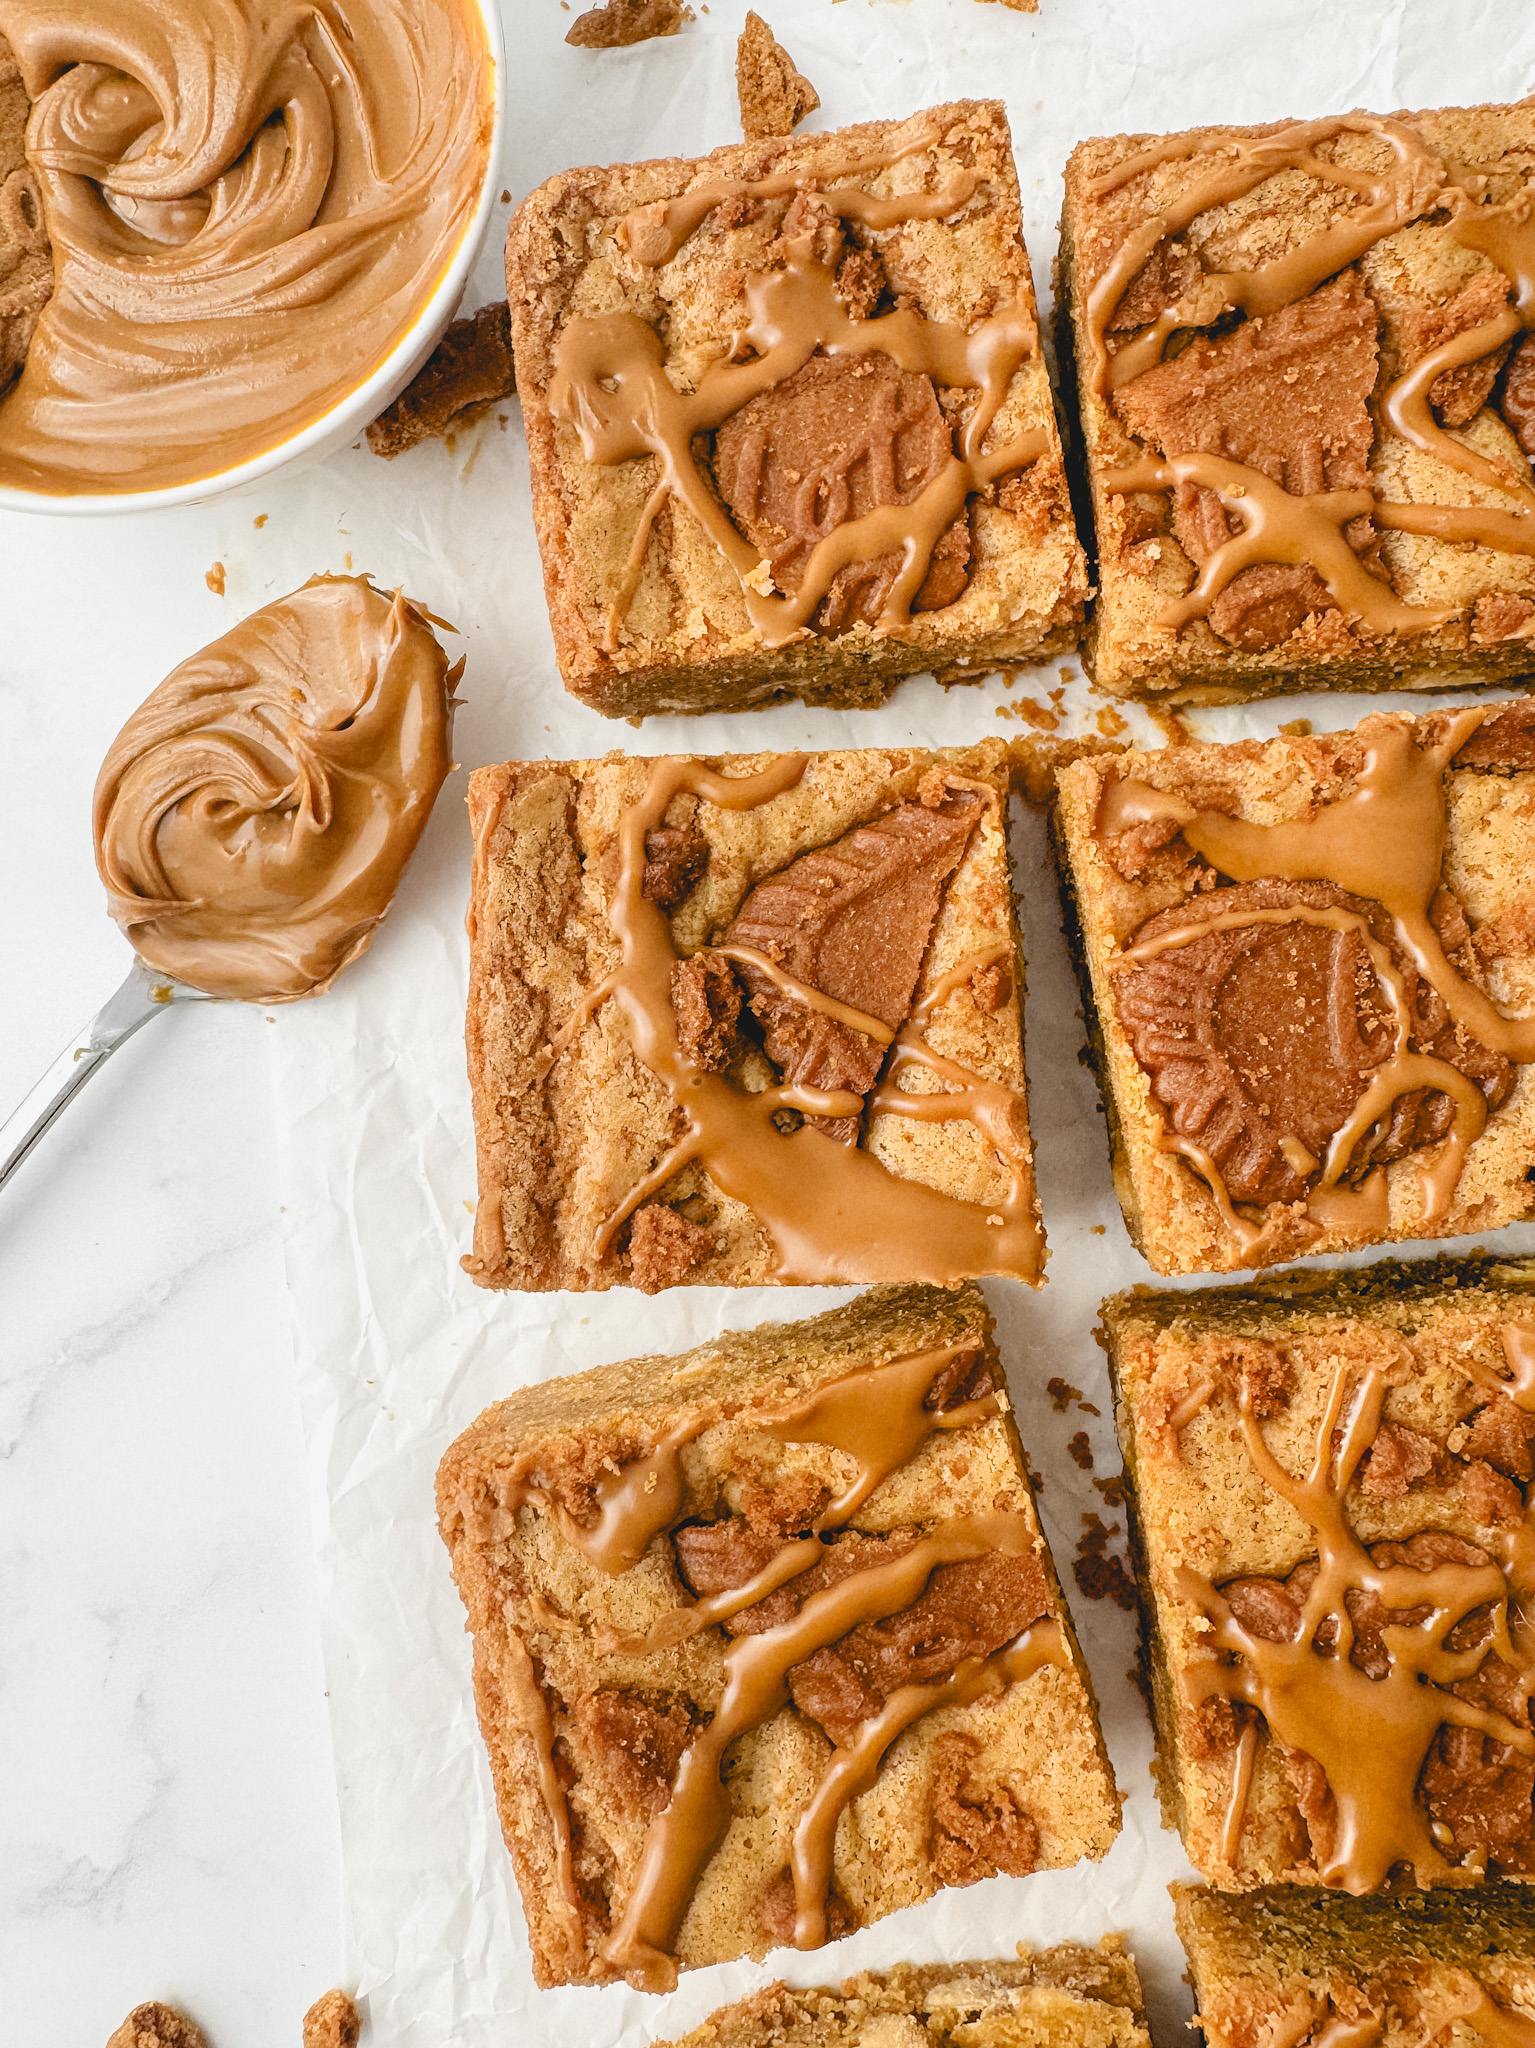
- Oreo Funfetti Blondies
If you make this recipe and love it, be sure to leave a comment below. Happy baking!
Lucky Charms Krispie Treats
Ingredients
- 4 cups (108g) rice cereal
- 4 cups (144g) Lucky Charms cereal, plus additional marshmallows for topping
- ½ cup (1 stick or 113g) unsalted butter
- 16 oz mini marshmallows
- 1 teaspoon vanilla extract
- ⅛ teaspoon kosher salt
Instructions
- Grease a 9” x 9” square baking pan with cooking spray. Set aside. In a large bowl, combine the rice cereal and lucky charms.
- In a large pot, add the butter and melt over medium-low heat. Once the butter is melted, add the marshmallows to the pot and turn off the heat. Stir until the marshmallows have completely melted. Mix in the vanilla and salt.
- Add half of the cereal mixture at a time to the melted marshmallows and mix until the cereal is completely coated.
- Pour the krispie treats into the prepared pan. Spread the mixture out evenly and press down lightly, using a greased rubber spatula or a piece of parchment paper, to even out the top. Press the additional Lucky Charm marshmallows onto the top.
- Allow the rice krispie treats to cool completely, then remove from the pan, cut into squares, and enjoy!


I recently made these with my oldest son (age 5) to share with his classmates for his birthday treat in school. Rachel’s recipe was easy to follow and so fun to make, the sisters were even eager help too! And after school the birthday boy shared, “mom everyone loved my rice krispy treats!” Will definitely make again and be sure to share with friends too 🙂
Thanks so much Bruggman Bunch! So happy to hear these got the stamp of approval from the little ones! 😊