Mini Brioche Slider Buns
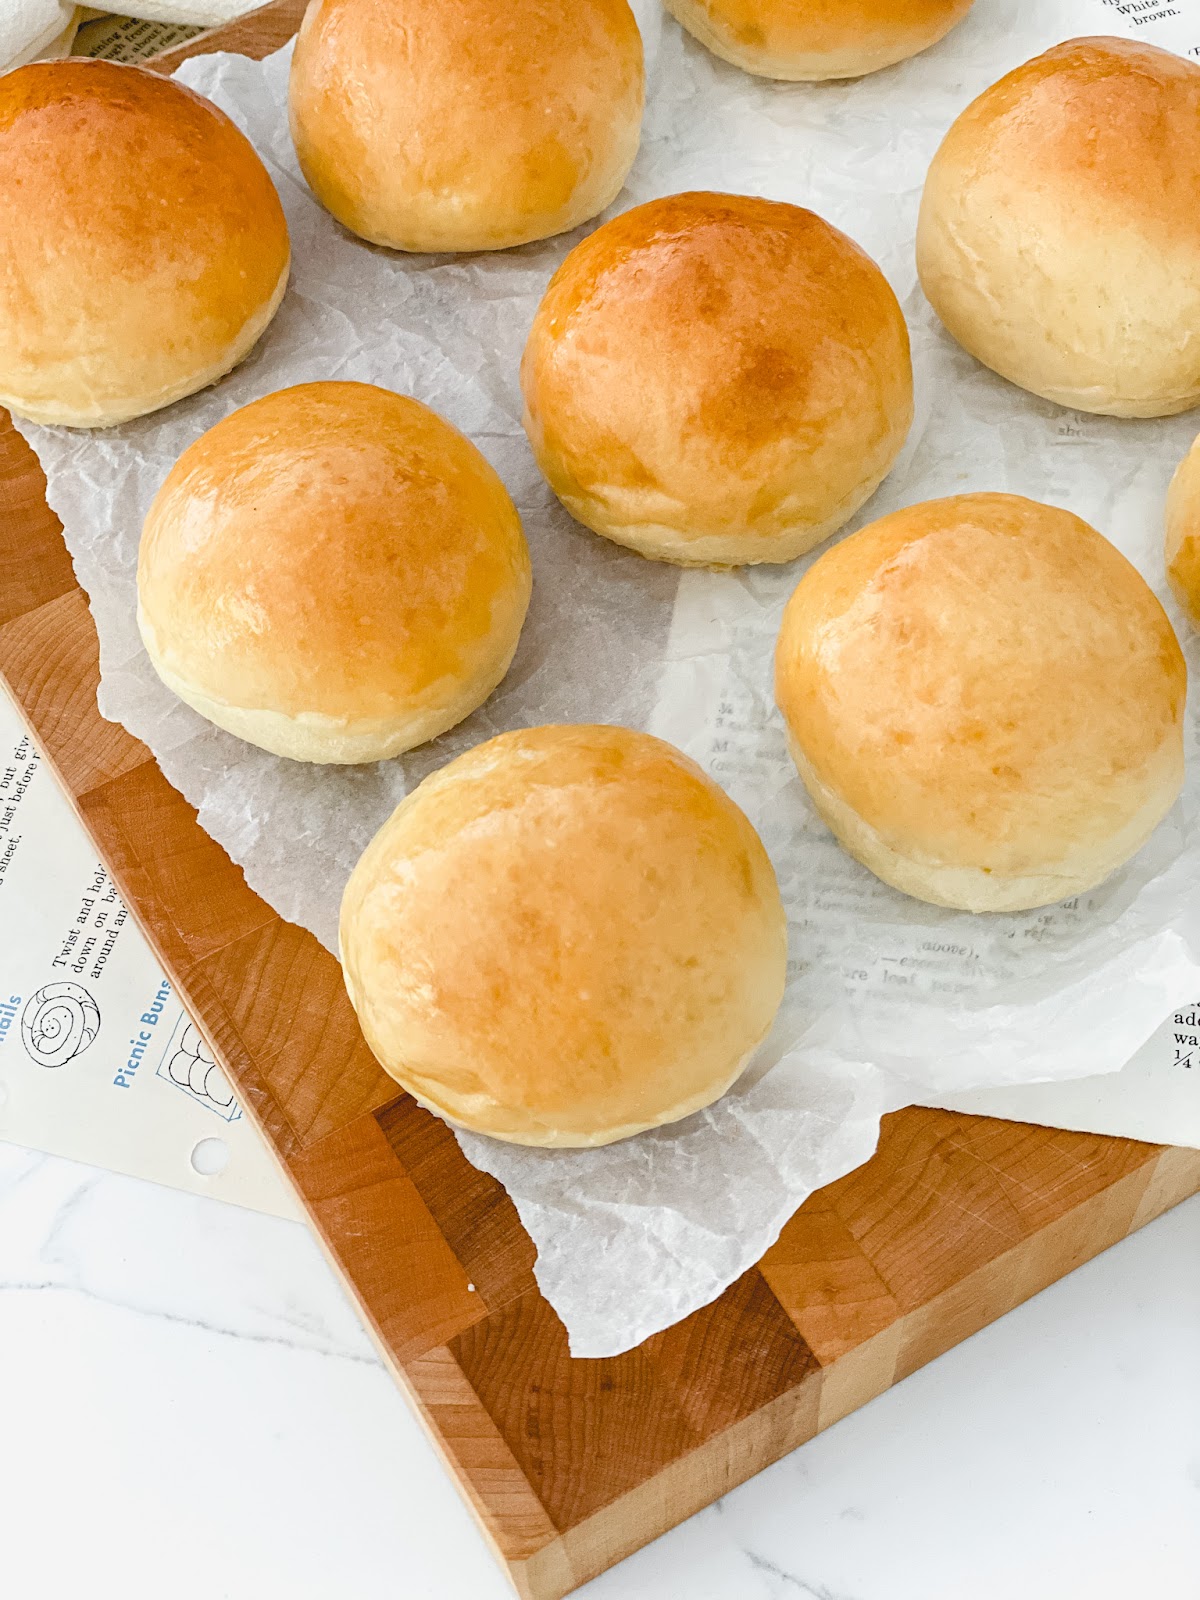
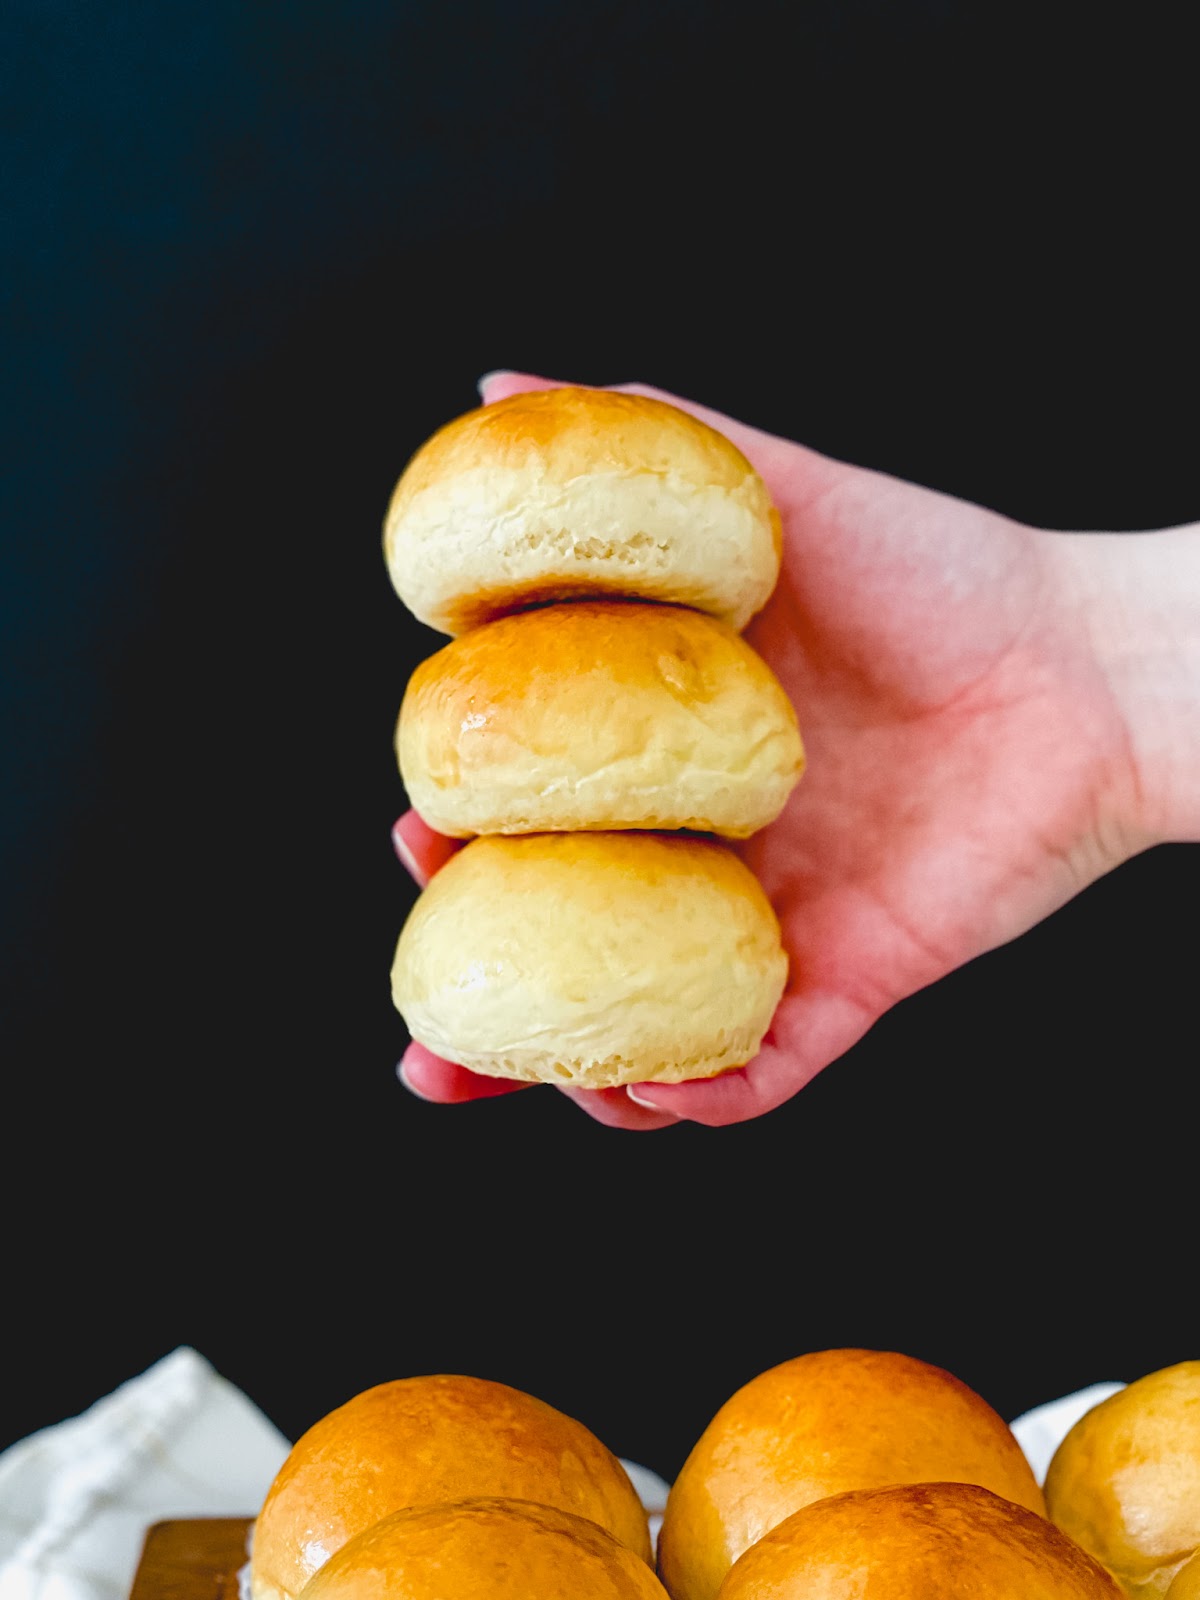
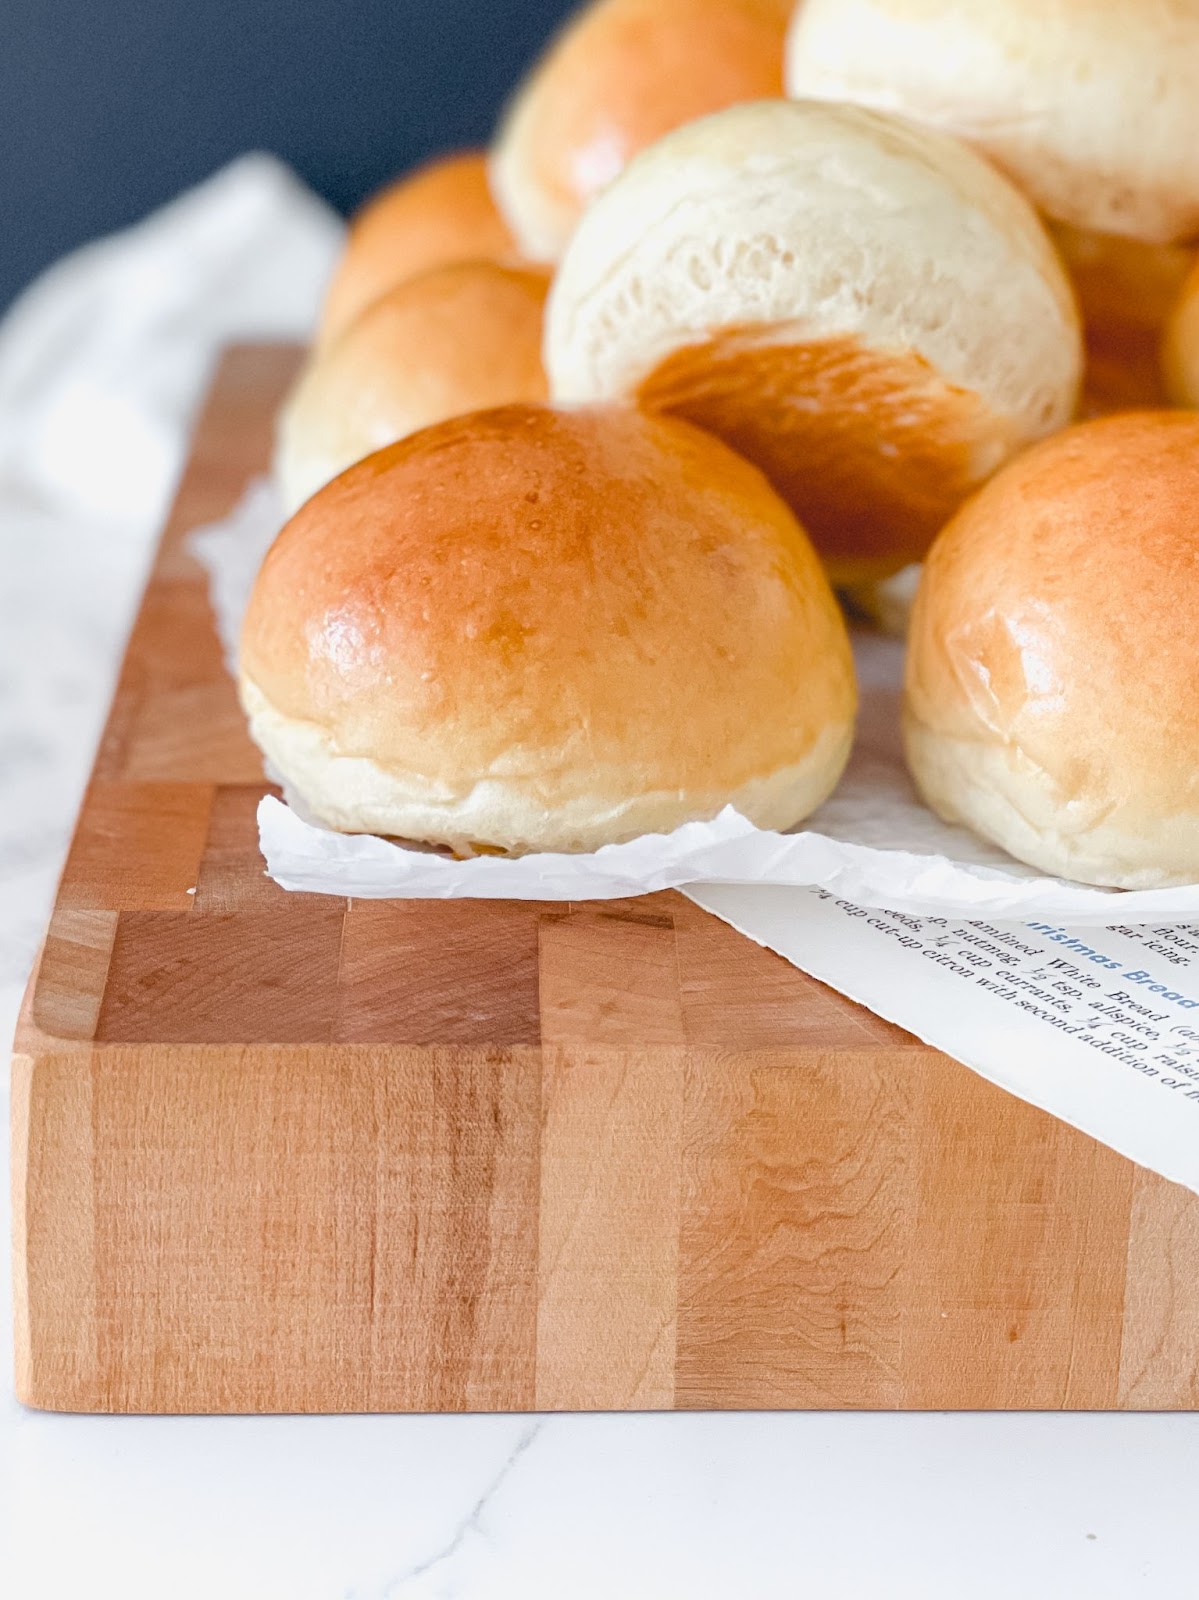
You will be addicted to these buttery, golden Mini Brioche Slider Buns as soon as they hit your mouth. They have a fluffy and delicate texture that makes them the perfect bun for a slider or sandwich or just enjoyed all on their own.
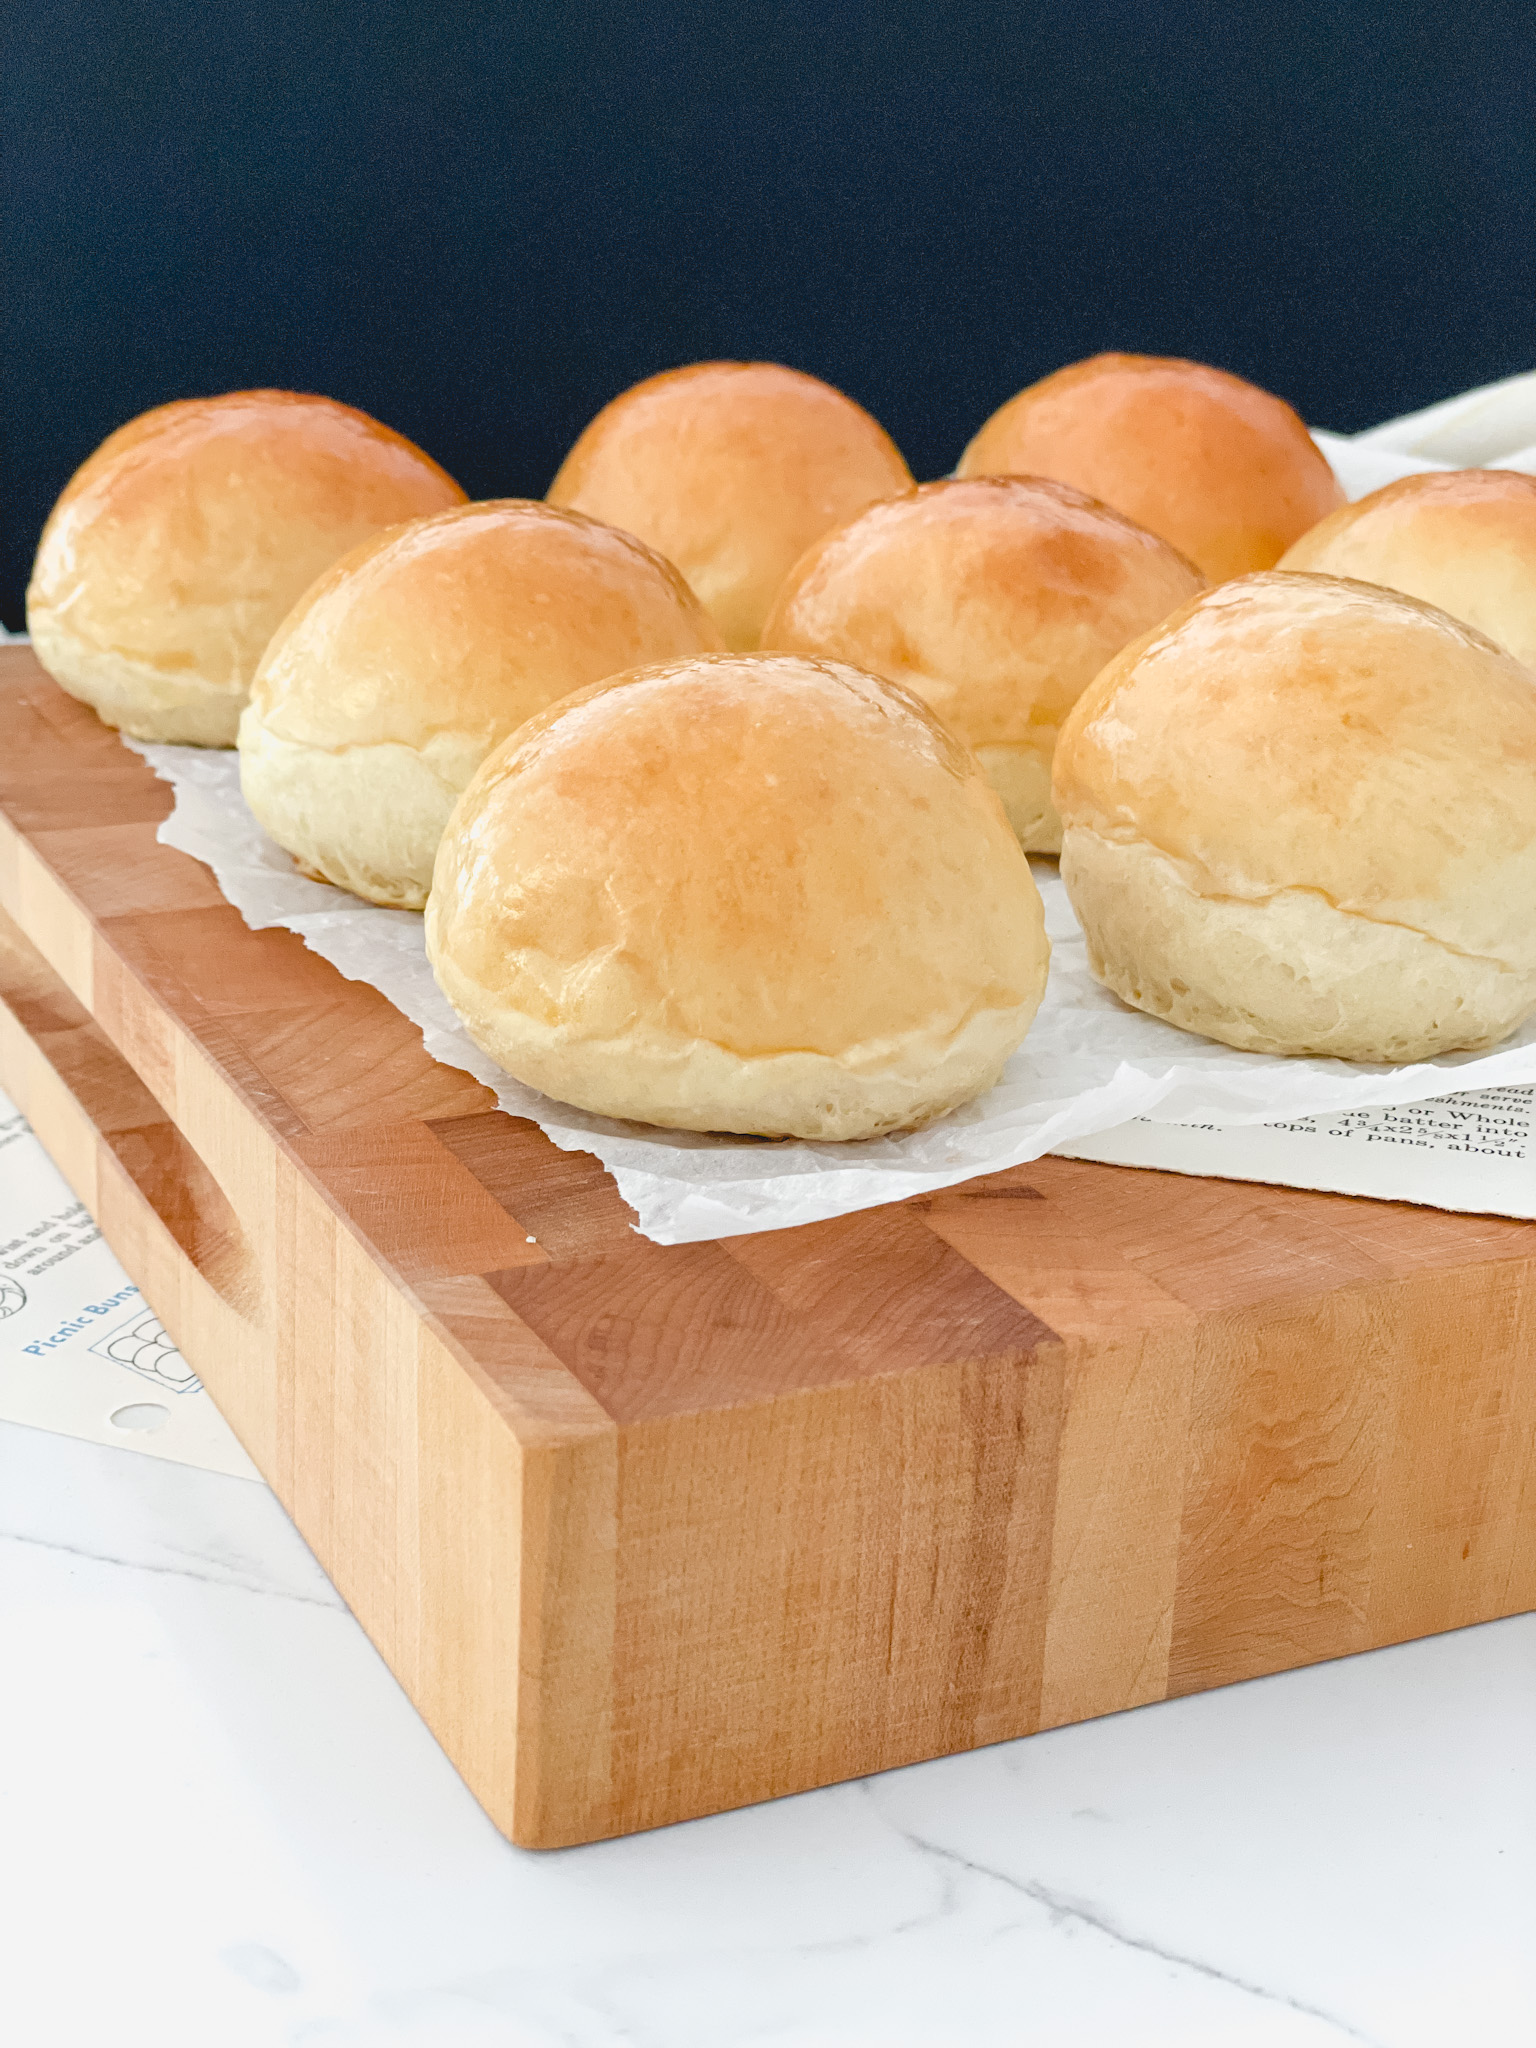
These Mini Brioche Slider Buns are light, buttery, and pillowy soft. The dough is made with milk, butter, and eggs which adds richness and makes for a soft, tender crumb. This recipe only requires 7 ingredients and can be done from start to finish within a few hours. While these buns can be made into any shape or size, I think anything made in an adorable mini version just immediately tastes better. Know what I mean?! These baby brioche buns are no exception. Small little clouds of deliciousness.
Brioche Dough
Brioche lends itself well to both sweet and savory dishes. You’ll most commonly see it used in pastries or made into a loaf that’s then sliced up and used for French toast. It also makes the most perfect bun for things like burgers, pulled pork sliders, chicken sandwiches, or even served alongside a meal as a dinner roll. These Mini Brioche Slider Buns are so delicious and versatile that you’ll be making them nonstop.
Ingredients
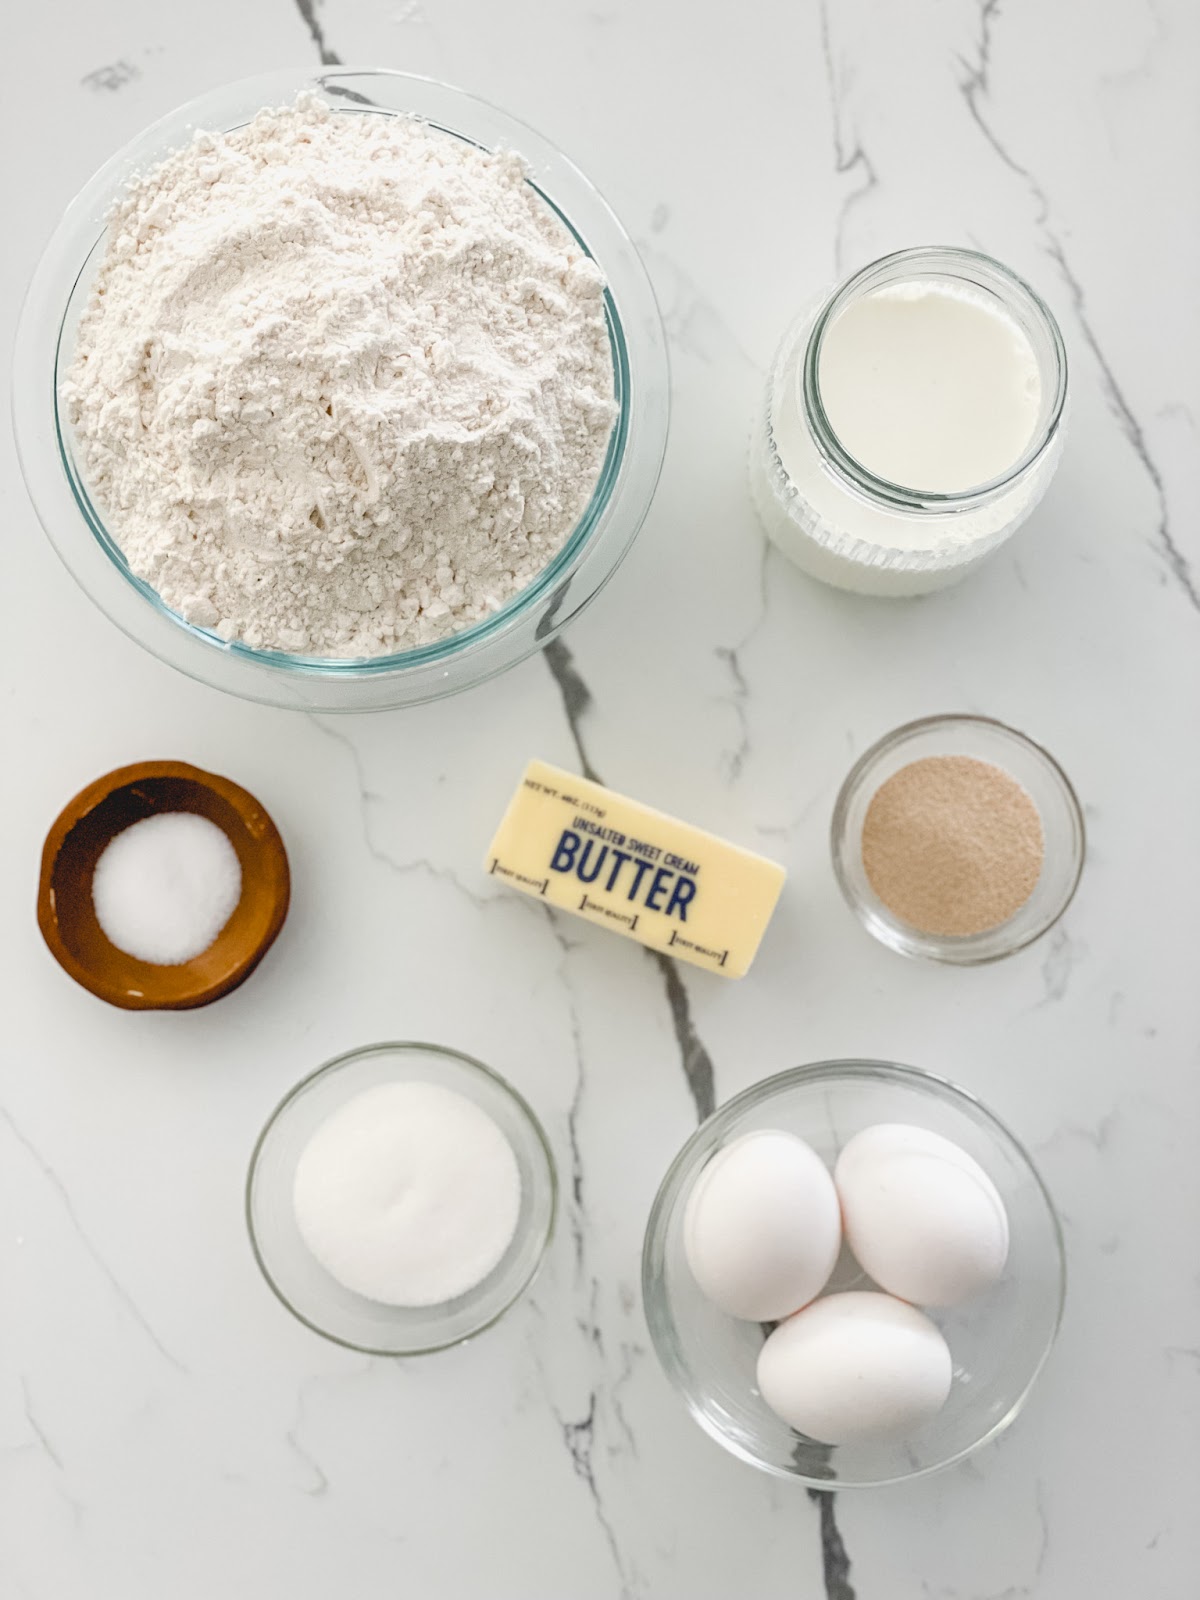
- Milk: Whole milk is the way to go and I wouldn’t recommend swapping it out for any alternatives. Brioche dough is supposed to be rich and high in fat so low-fat or plant-based milk won’t quite give the same results.
- Butter: Cut the butter into small pieces so any butter that doesn’t melt into the milk when it’s heated, will still easily blend into the dough.
- Instant Yeast: You can use active dry yeast instead but you will need to activate it with the warm milk first, which takes about 10 minutes. I prefer instant (also labeled as “quick rise”) yeast so you don’t have to wait around for it. Just be sure to give it a quick stir with the milk and butter.
- All-purpose Flour: This will keep your brioche buns soft with a tender crumb. You don’t want to use bread flour here or it will result in a tough, chewy texture. Save the bread flour for bagels or pretzels!
How to Make Mini Brioche Slider Buns
- Make the dough. After warming the milk and butter slightly to take the chill off, all the ingredients come together pretty quickly in a stand mixer. You’re looking for the dough to become soft and smooth and it should pull away from the sides of the bowl.
- Let the dough rise. The amount of time that the dough takes to rise (also known as proofing) will depend on the temperature of the room. It will take longer in a cooler room, while the dough will move much quicker in a warmer room. I set a timer for 45 minutes to check on it and then add time as needed. The dough will be ready when it has doubled in size.
- Divide the dough. I recommend using a kitchen scale for this part. This will ensure that you end up with slider buns that are all equal in size. Scaling the dough into 40-gram pieces will give you approximately 29 mini slider buns. A bowl scraper or bench scraper are my favorite tools to portion the dough.
- Shape the Buns. This part can be tricky if you haven’t done it before but it gets easier with practice. I pinch the corners of the dough together to create a seam that needs to be on the bottom, with the smooth part on top. Then roll the piece into a ball shape by cupping your hand over the dough and rolling it in a circular motion, with the side of your hand lightly pressed against the counter. Pinch the bottom seam once more to ensure it doesn’t split open while proofing and place the dough ball seam side down on the baking sheet.
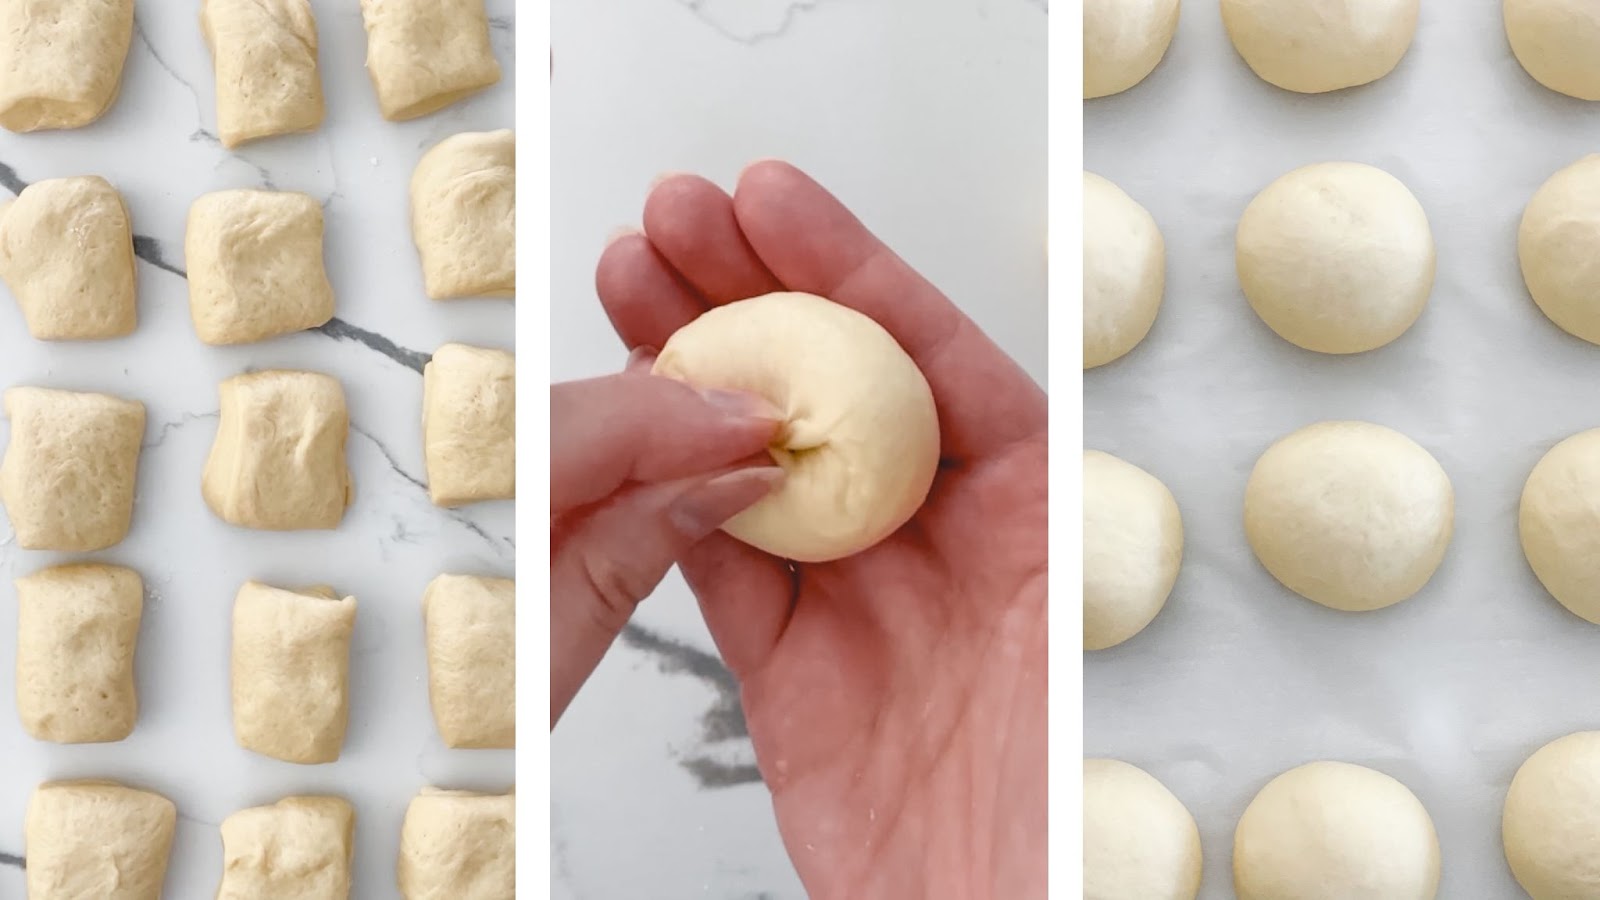
- Rest the buns. The second rise for the buns is similar to the first. I set a timer for 45 minutes but the time will depend on how warm or cool the room is. They will be ready to bake when they’ve doubled in size. Be sure to cover them loosely with plastic wrap so they don’t dry out.
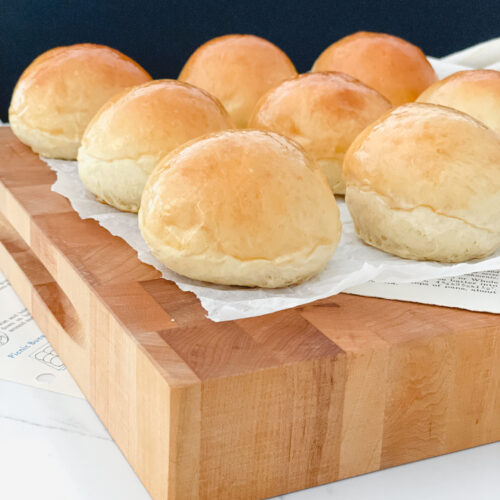
- Bake the buns and serve. Brush the buns with a little bit of egg wash then bake for about 10-12 minutes until perfectly golden and shiny. Cut them in half as a bun for sliders and sandwiches or even just keep them whole as a dinner roll!

Tips for the Best Brioche Sliders Buns
- Use a kitchen scale. One of my biggest tips for all of my recipes is this one! Using a kitchen scale and measuring each ingredient in grams will make such a difference in your baking. Not only is it easier and requires fewer dishes (that’s always a huge plus) but it will also give you the most successful and consistent results. I use this scale – it’s fairly inexpensive and worth every penny!
- Don’t overmix the dough. Overmixing the dough will create a tough, dense dough and that’s not what we’re going for. Brioche dough is meant to be soft and tender so keep an eye on the dough and set a timer while it’s mixing. If you want to be extra precise, you can check the temperature of the dough once it’s done mixing and it should be about 78°F.
- Don’t overproof the dough. Proofing can vary so much depending on how warm or cool the room is. The warmer the room, the faster the dough will move and the less time it will take. I set a timer for 45 minutes to start then check and determine if it needs more time. The dough should double in size. Overproofed dough will deflate and shrink down when touched.
- Store the buns in the freezer. Another thing to love about these brioche slider buns is that they freeze amazingly well. Since this recipe makes a fairly large batch, I like to freeze most of them so I have them stocked up for when I want a slider or sandwich. I wrap them in plastic wrap and then place them in a ziploc freezer bag. They can keep for up to 3 months in the freezer. Just pull the buns out a few hours before enjoying!
More Bread Recipes You’ll Love

Making bread completely from scratch can be intimidating but these Mini Brioche Slider Buns are a great place to start. You’ll be making them all the time and each time will turn out better than the last. Lastly, if you make this recipe, I’d love to see it so be sure to follow and tag me on Instagram, Facebook, or TikTok. Happy Brioche Baking!
Mini Brioche Slider Buns
Ingredients
- 1 ⅛ cup (10oz or 278g) whole milk
- ½ cup (1 stick or 113g) unsalted butter, cut into small pieces
- 4 ½ teaspoons (15g) instant yeast
- 4 ⅓ cup (608g) all-purpose flour
- 2 ½ Tablespoons (30g) granulated sugar
- 1 ½ teaspoons (9g) salt
- 3 large eggs
- egg wash (1 large egg beaten with 1 Tablespoon water)
Instructions
- In a small saucepan, add the milk and butter and heat on low until the mixture reaches 90°F. Add the milk and butter to the bowl of a stand mixer fitted with a dough hook attachment. Add the yeast to the bowl and give it a quick stir.
- Add the flour, sugar, and salt to the bowl. Mix on low speed just until most of the flour is incorporated. Add the eggs then mix on medium-high speed for about 5 minutes, or until the dough is very smooth and has pulled away from the sides of the bowl. Scrape the sides and bottom of the bowl a couple of times during the process.
- Form the dough into a ball and place it in a large bowl greased with cooking spray or oil. Cover with plastic wrap and allow it to rise in a warm spot until doubled in size, about 1 – 1 ½ hours.
- Line 2 baking sheets with parchment paper or silicone mats. Once the dough is ready, remove it from the bowl onto a lightly floured surface. Gently press out any air bubbles.
- Using a bowl scraper or a knife, divide the dough into 29 equal pieces, using a scale to weigh each one to about 40 grams.
- For each piece of dough, tuck the dough on top of itself and roll into a smooth ball shape, making sure the seam is on the bottom. Repeat for the remaining dough pieces, dividing them evenly between the 2 baking sheets and spacing the dough balls at least 2 inches apart.
- Loosely cover with the baking sheets with plastic wrap and allow to rise in a warm spot until doubled in size, about 45 minutes to 1 hour.
- Preheat oven to 350°F. Brush the buns with egg wash and bake for 12-14 minutes or until golden brown.
- Allow the buns to cool completely before slicing. Enjoy!
Notes
- Shaping: See notes in the post above for more detailed instructions on how to shape the buns.
- Recipe Yield: This recipe makes about 29 mini slider buns when weighed at 40 grams each. For larger, more traditional-sized buns, you can divide the dough into 90-95 gram pieces which should give you about 12 large buns.
- Storing: The baked buns can be stored at room temperature and are best enjoyed within 2 days.
- Freezing: Wrap the buns in plastic wrap and put them in a ziploc freezer bag and they will keep up to 3 months in the freezer.

