Pumpkin Spice Crème Brûlée Bars
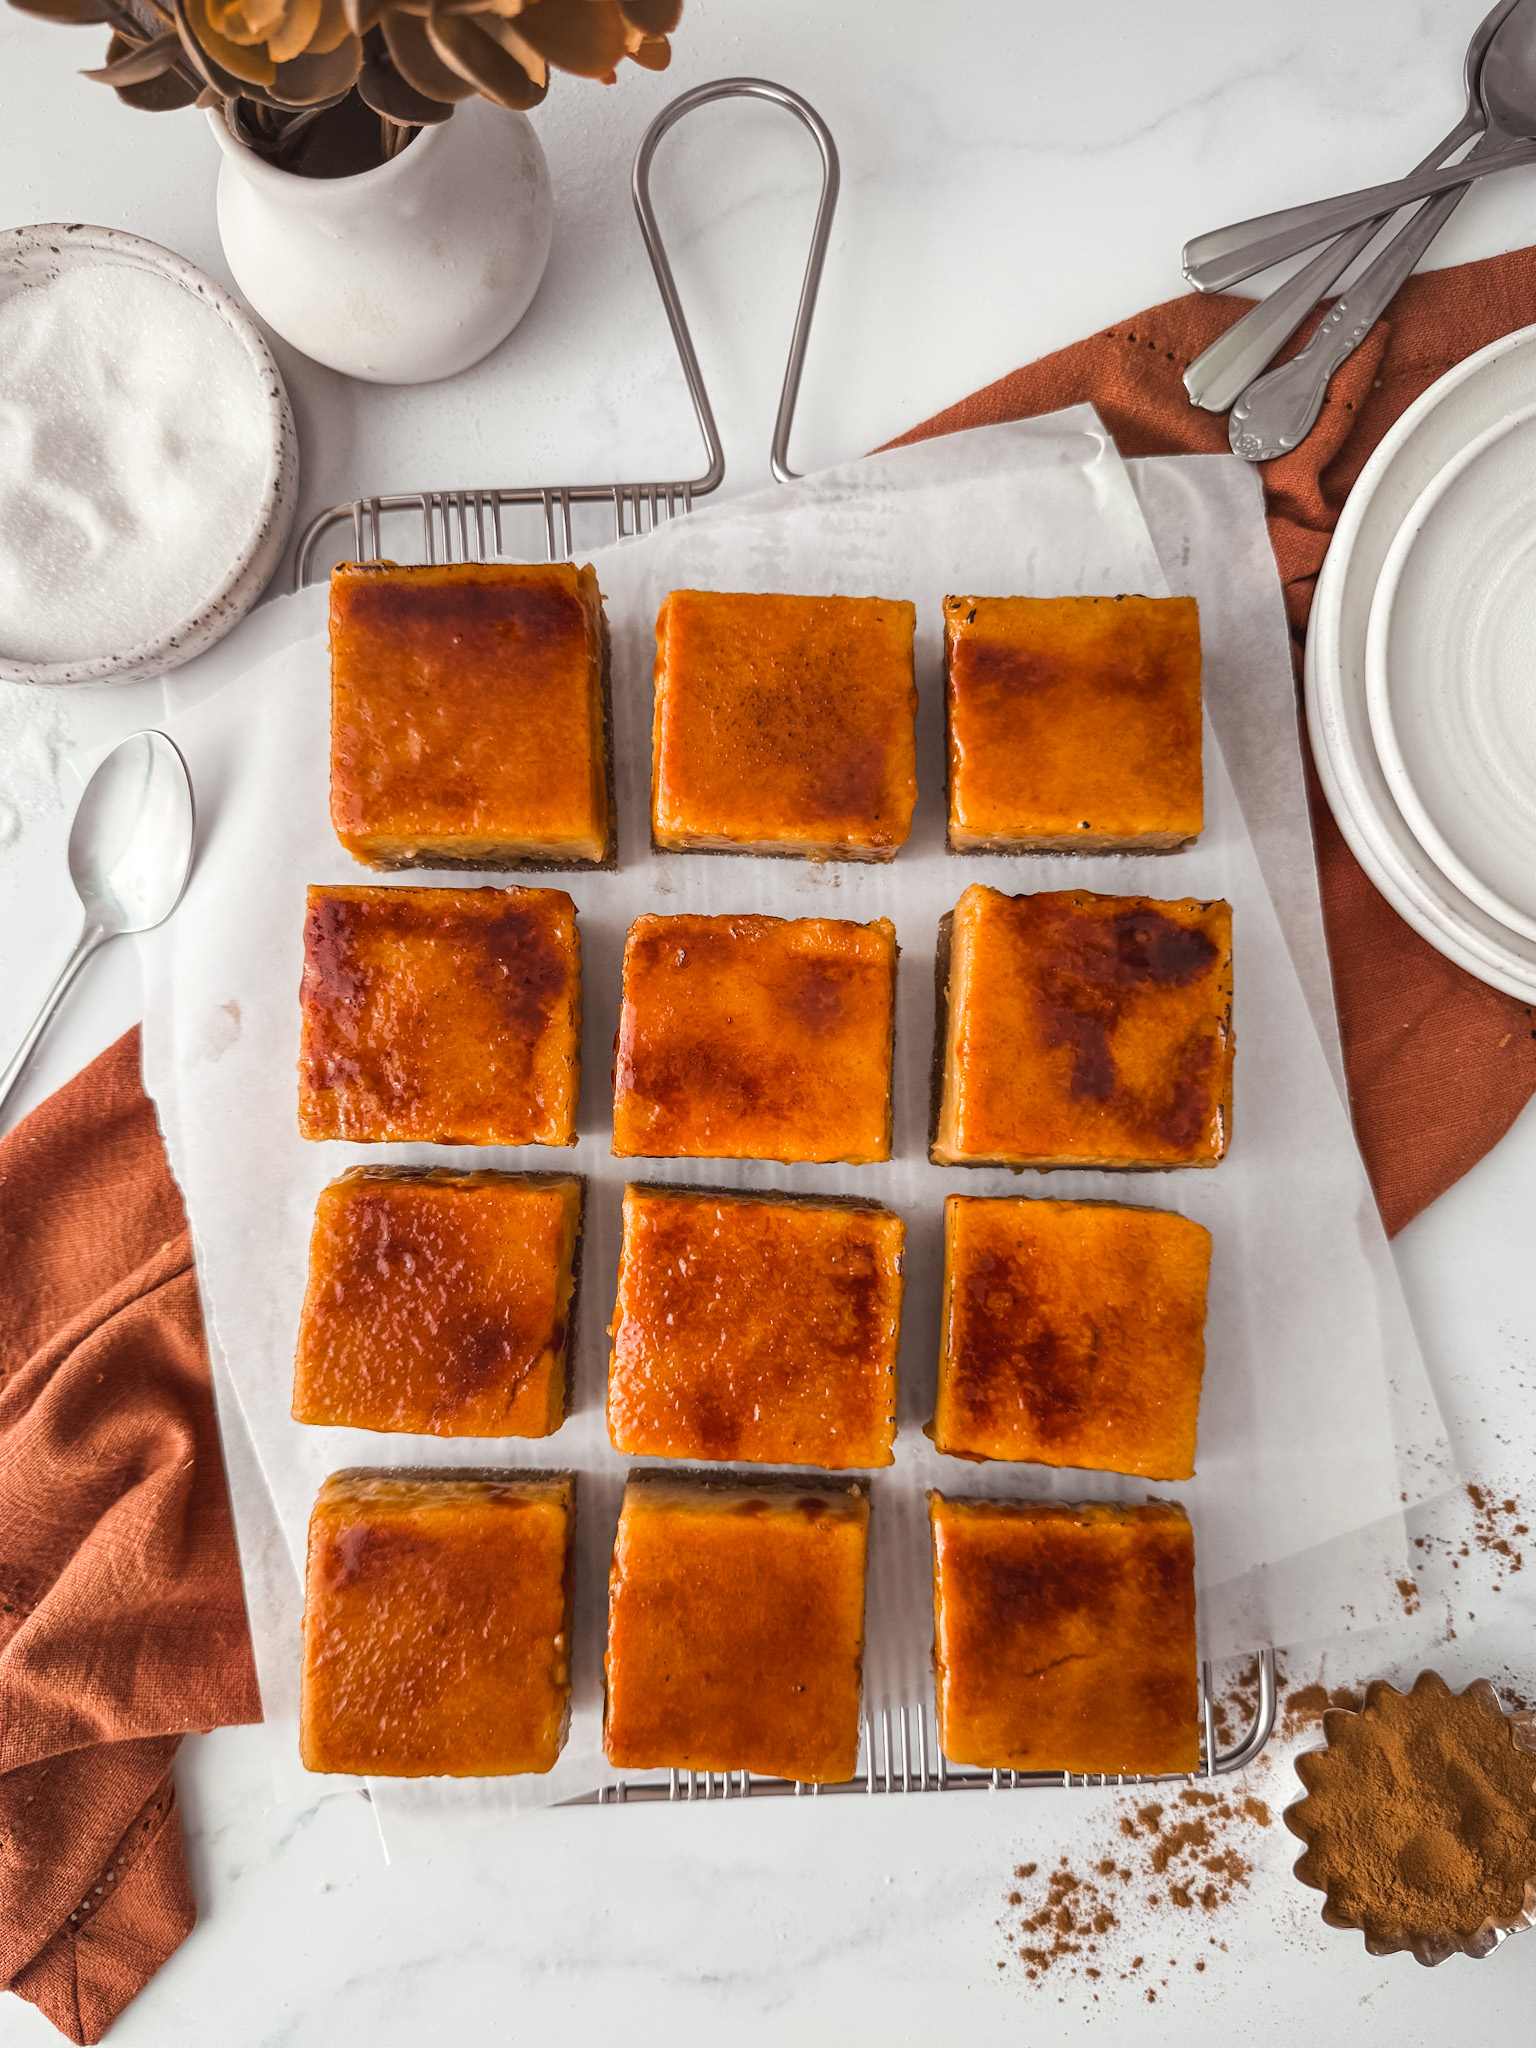
A soft chewy gingerbread base topped with a thick and creamy layer of pumpkin custard finished with a caramelized sugar crust on top. Ginger molasses blondie meets pumpkin crème brûlée!
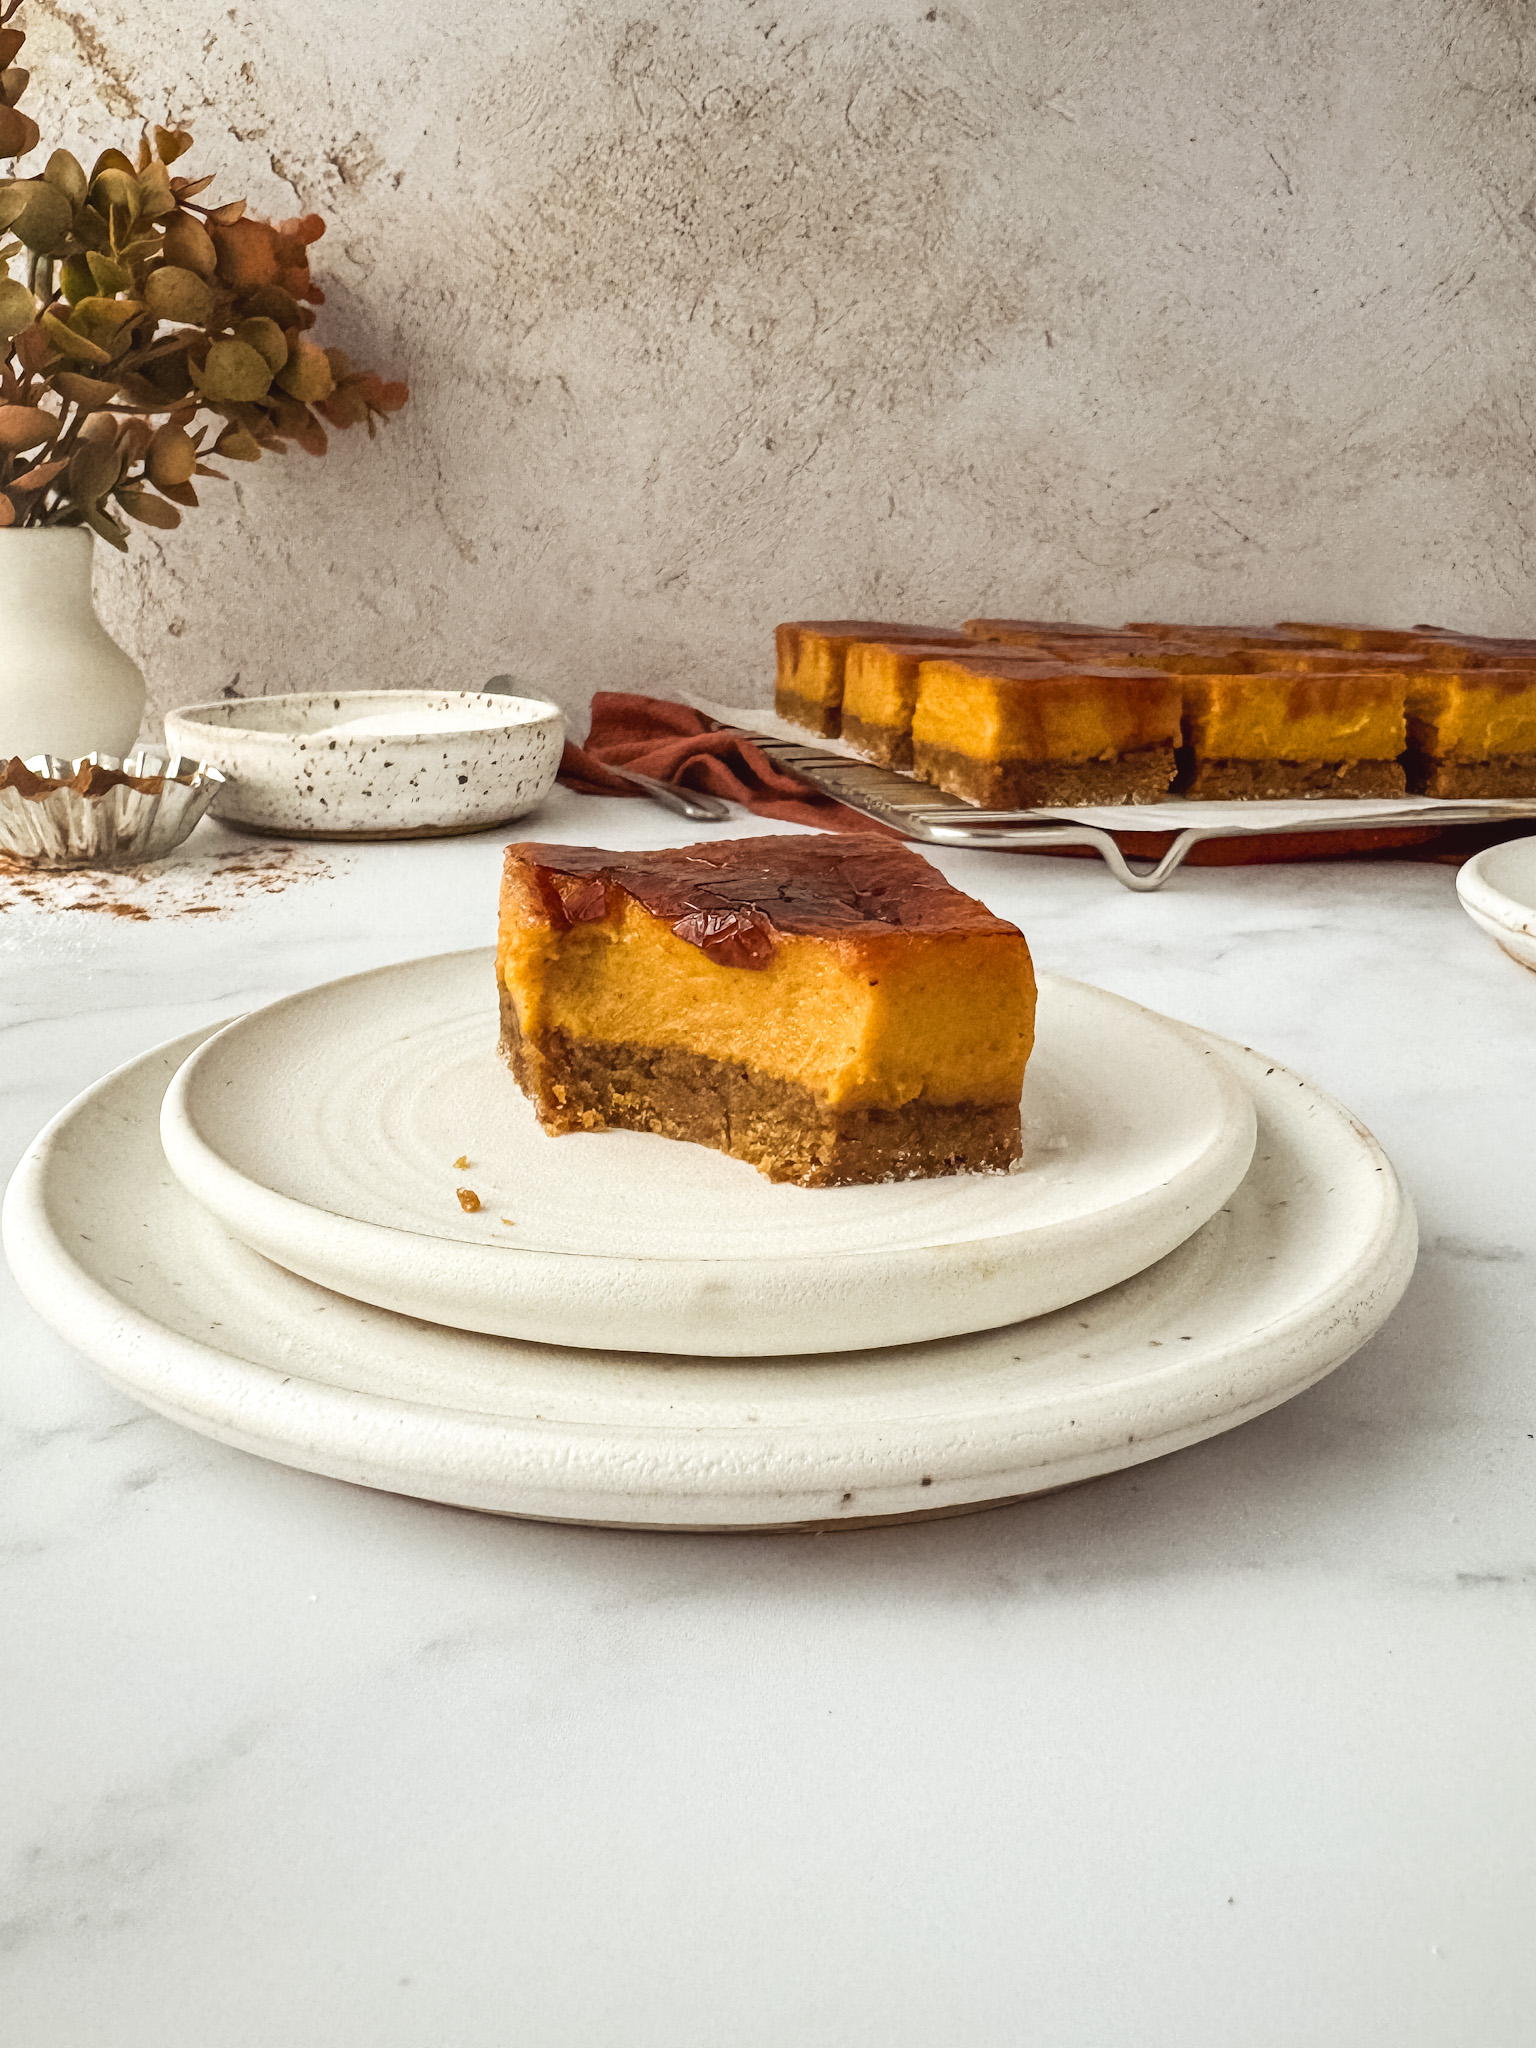
Pumpkin Spice Crème Brûlée Bars combine the cozy flavors of gingerbread and pumpkin along with the classic creme brulee crackle, all together in one indulgent treat. These were inspired by my beloved Lemon Brûlée Bars, which have been a favorite on the blog. Instead of the crumbly shortbread crust, I went with a chewy gingerbread blondie base and topped it with a spiced pumpkin pastry cream. Warm spices, creamy custard, and a crackled, caramelized sugar topping make this dessert an absolute must-try for the Holidays!

Gingerbread blondie Base
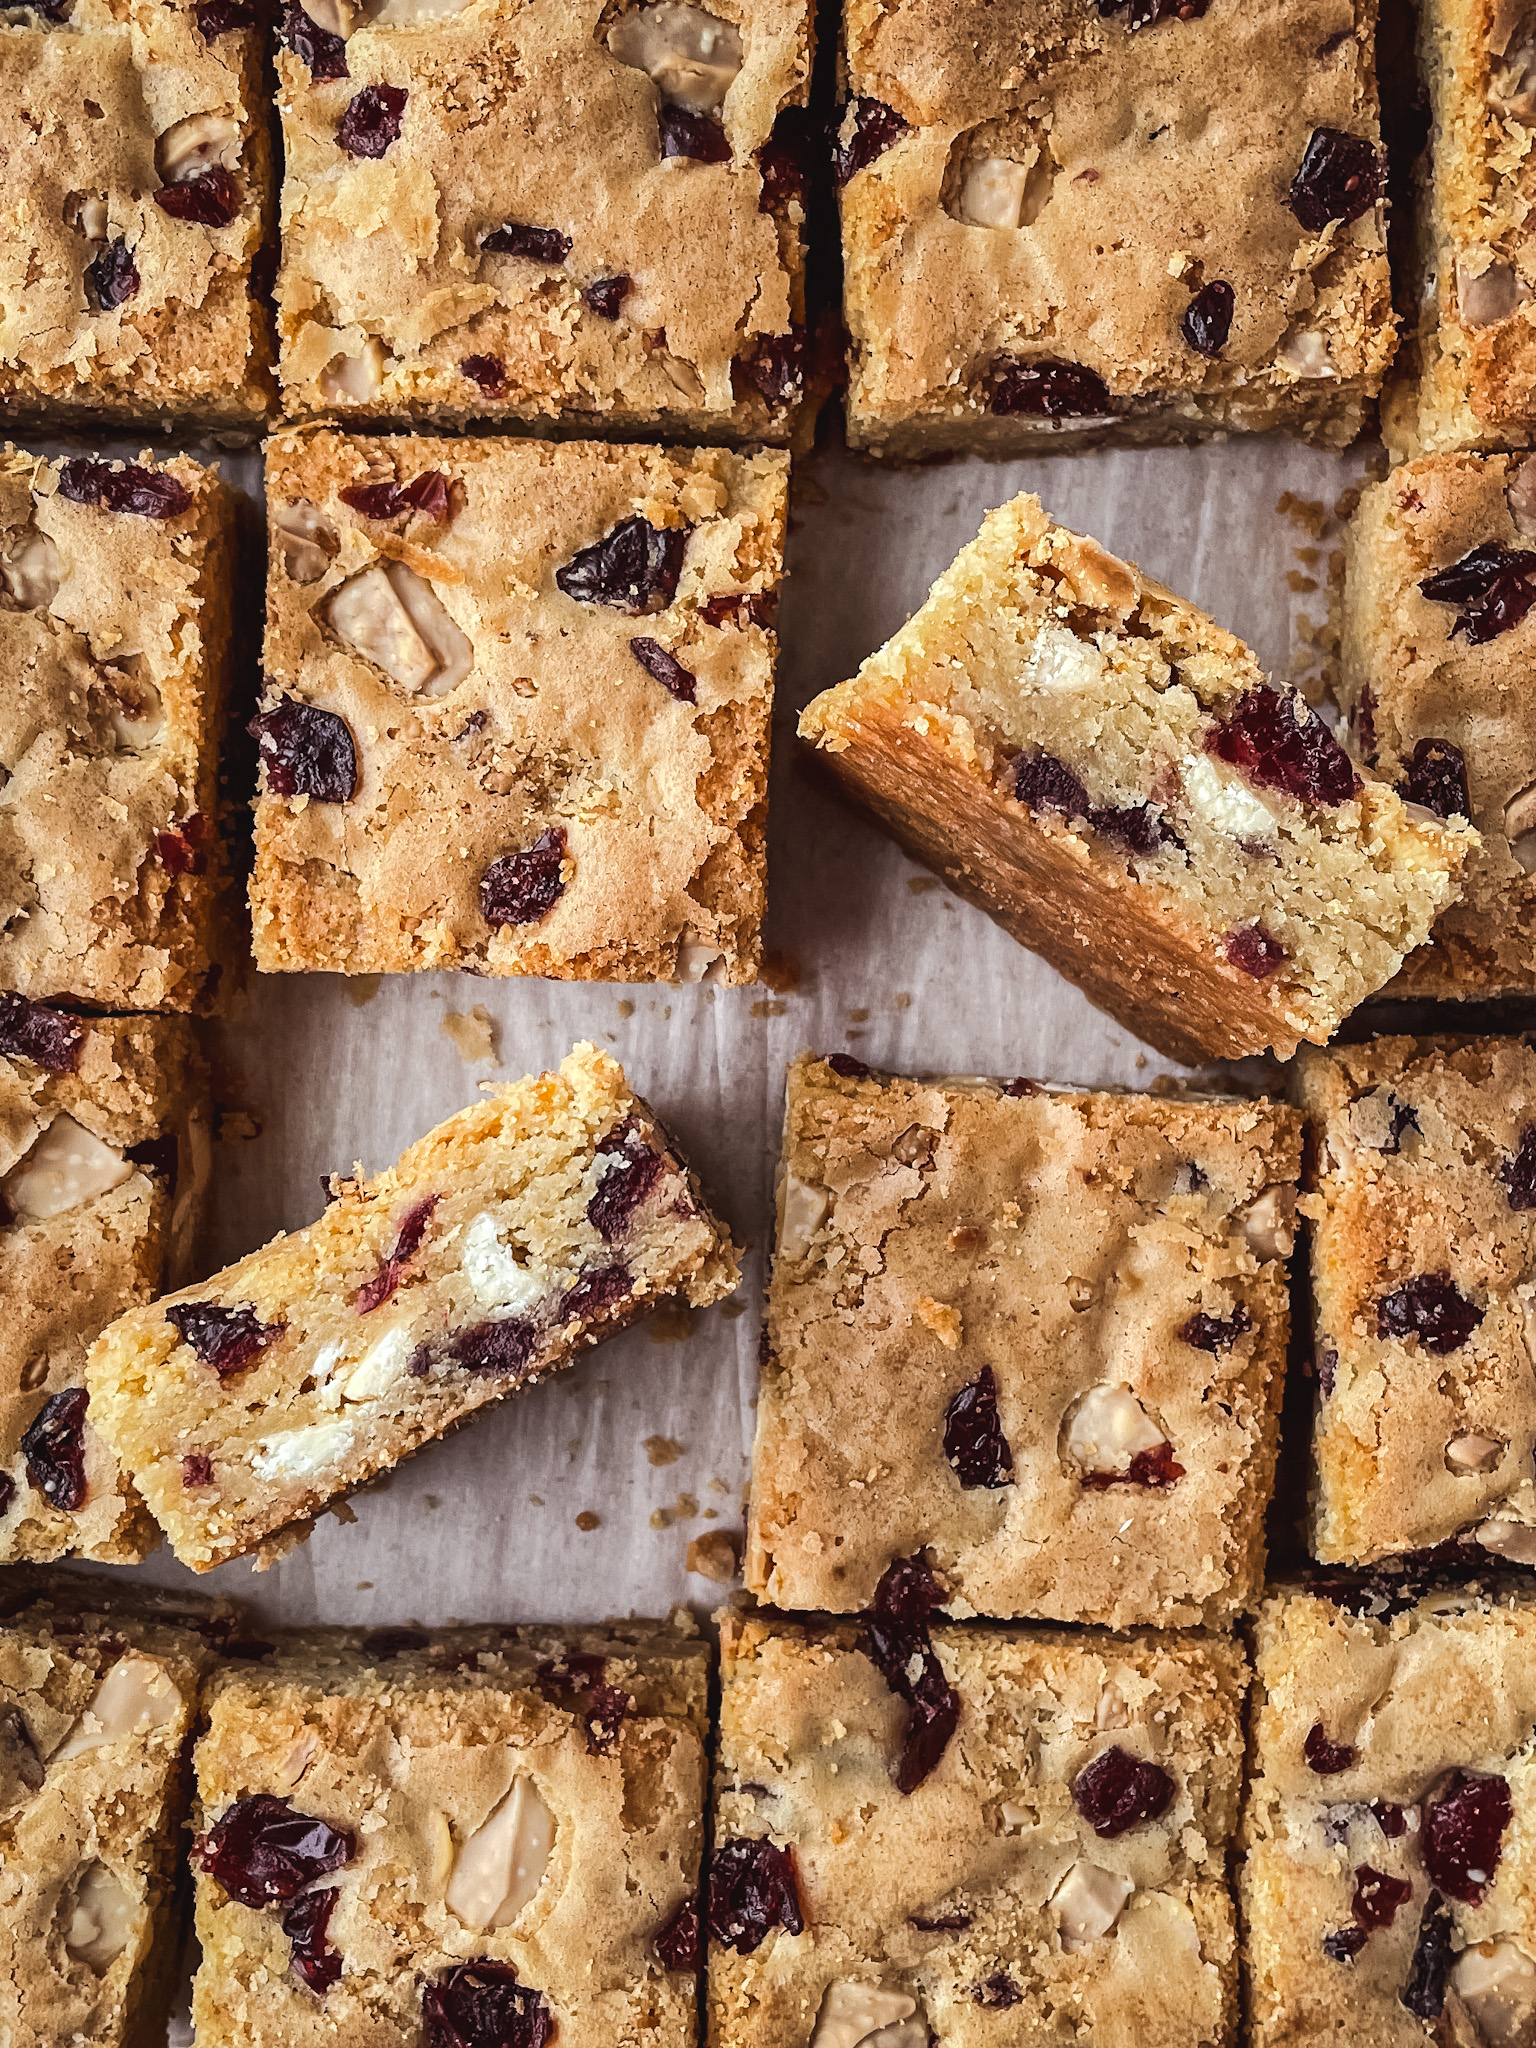
I created a soft gingerbread base from my many blondie recipes, like my White Chocolate Cranberry Blondie. With the addition of molasses, cinnamon, and ginger, it’s transformed into the perfect soft, chewy cookie-like layer. This gets baked on its own before adding the pumpkin custard layer. The flavors and spices from the soft gingerbread cookie and the creamy custard perfectly complement each other.
Pumpkin Spice Custard
The thick and creamy custard layer starts by combining granulated and brown sugars, cornstarch, and spices. Egg yolks and pumpkin puree are whisked in, followed by milk and heavy cream that are slowly streamed in. The mixture is cooked on the stove for about 10-15 minutes until it thickens and starts to bubble. The key is to constantly whisk the mixture so the custard doesn’t burn or stick to the pan. The custard is finished with vanilla extract and a bit of butter to give it a velvety texture and also to help the custard solidify. The custard is spread onto the warm gingerbread layer and baked just until the top is set.
Brûlée Topping
While the gingerbread blondie layer and pumpkin pastry cream bring all the warm and cozy flavor, the brûlée top is the star of the show. The crackly, hardened layer of sugar pairs perfectly with the soft blondie and creamy custard. Torching the sugar should be done right before serving which also makes this a fun and charming dessert for any party. Your guests will be in awe watching as the sugar transforms into a crackly, caramelized crust right before their eyes!

Tips for Torching the Brûlée Bars
- Use a metal or heat-safe surface. Since we are using a flame to create the brûlée top, make sure to torch the pumpkin bars on a heat-safe surface, like a metal baking sheet. Don’t put any parchment paper down because it will burn. I use a large, clean sheet pan to place all the squares on when I’m ready to sprinkle the sugar, then torch them all directly on there.
- Hold the torch a few inches from the sugar. You don’t want the flame of the torch too close to the sugar or it will burn more easily and get too dark. Most torches allow you to adjust the size of the flame. I like to have mine at about a medium level. The larger the flame, the further away you’ll want to hold the torch.
- Constantly move the torch. If you hold the torch in one spot too long, it will burn or caramelize the top unevenly. Make small circular motions around the sugar for the best-caramelized coverage. This takes a little practice but it will make all the difference in achieving an evenly torched caramelized crust.
- Torch right before serving. After the bars have fully chilled in the fridge, slice them into squares and pop them into the freezer for about 15 – 30 minutes so they don’t get too warm during the torching process. I love the contrast of a chilled custard with the warm caramelized sugar. The bars should not be refrigerated or left out after they’ve been torched because the sugar will melt and you won’t have that signature hardened crust on top anymore.

FAQs
What Can I Use If I Don’t Have A Torch?
Nothing quite mimics a torch when it comes to a brûlée. I do not recommend broiling the top in the oven. Not only does the sugar not caramelize as evenly but this will also reheat the custard, which you want to stay mostly chilled. A kitchen torch is a fairly affordable tool, simple to use, and also just fun to have on hand. If you prefer to make these bars without the brûlée top, a simple dollop of fresh whipped cream would be delicious instead!
Can I make these ahead of time?
The gingerbread blondie base along with the pumpkin filling can be made ahead of time. Bake the squares as the recipe calls for and keep them chilled for a day or two until you’re ready to serve. You can cut the squares several hours ahead of time as well – just be sure to pop them in the freezer for at least 15 minutes before torching. Sprinkle the sugar on top of each square and torch right before serving. I do not recommend torching the tops of the bars in advance.
How should I store the bars?
Store the baked bars without the sugar top, in an airtight container in the fridge for up to 3 days. Once you sprinkle the bars with sugar, they should be torched and enjoyed right away, as the sugar will begin to melt and the custard needs to be kept cold. Only torch as many bars as you are serving and keep the rest of the un-torched bars in the fridge until you’re ready to serve.

Baking Tip: Weigh Your Ingredients!
I highly recommend using a kitchen scale to weigh your ingredients rather than using measuring cups because it is the most accurate way to bake. Weighing your ingredients will give you more consistent results with your recipes and a better success rate, every time. Using a scale also saves you dishes which means easier cleanup! I provide gram measurements in all my recipes and this is the scale I love to use.
More Cozy Recipes You’ll Love
- Pumpkin Pecan Upside Down Cakes
- Ginger Molasses Cookie Sandwiches
- Cranberry Apple Crisp
- White Chocolate Pistachio Cookies
- Maple Pecan Blondies
If you make this recipe and love it, be sure to leave a comment below. Happy baking!

Pumpkin Spice Crème Brûlée Bars
Ingredients
For the Gingerbread Blondie Base
- ½ cup 1 stick or 113g unsalted butter
- ½ cup 100g brown sugar
- ¼ cup 50g granulated sugar
- 1 egg, at room temperature
- 1 teaspoon vanilla
- 1 cup 130g all-purpose flour
- ½ teaspoon cinnamon
- ½ teaspoon ground ginger
- ½ teaspoon baking powder
- ¼ teaspoon salt
- 2 Tablespoons 44g molasses
For the Pumpkin Custard
- ½ cup 100g granulated sugar
- ¼ cup 50g brown sugar
- ¼ cup 40g cornstarch
- 1 teaspoon cinnamon
- ¼ teaspoon nutmeg
- ¼ teaspoon salt
- 4 large egg yolks
- 1⅓ cups 324g pumpkin puree
- 1¼ cups 300ml whole milk
- 1¼ cups 300ml heavy cream
- 2 teaspoons vanilla
- 2 Tablespoons 28g unsalted butter, cut into small cubes
For the Topping
- ½ cup (100g) granulated sugar
Instructions
- Preheat oven to 350°F. Lightly grease a 9” x 9” square pan with cooking spray. Line with parchment paper to create a sling, with an overhang on all four sides. Lightly grease the bottom and sides of the parchment-lined pan.
- Gingerbread Blondie Base: Melt the butter and allow it to cool slightly. In a large mixing bowl, add the melted butter, brown sugar, and granulated sugar and whisk well until combined.
- Mix in the egg and vanilla. Add the flour, spices, baking powder, salt, and molasses. Mix just until combined.
- Use a small offset spatula to evenly spread the gingerbread dough into the bottom of the prepared pan. Bake for 16-18 minutes, or until the edges start to turn golden brown. While the gingerbread base is baking, make the pumpkin custard.
- Pumpkin Custard: In a medium saucepan, whisk together the sugars, cornstarch, spices, and salt. Whisk in the egg yolks and pumpkin and mix until thoroughly combined. Slowly stream in the heavy cream and milk while whisking.
- Cook the mixture over low heat and whisk constantly until the mixture thickens and starts to bubble, about 10-15 minutes. Remove the custard from heat and strain through a fine mesh sieve to remove the zest. Stir in the vanilla and butter.
- Pour the hot pumpkin custard onto the warm gingerbread crust. Spread the custard out into an even layer. Return to the oven for an additional 8-10 minutes, until the top is set and the custard starts to bubble around the edges. Allow the bars to cool to room temperature then move them to the fridge to chill for at least 4 hours, preferably overnight.
- Once the bars are chilled, carefully remove them from the pan and slice into 16 even squares. Wipe your knife off between each cut for clean slices. Move the squares to a large empty metal sheet pan (no parchment paper) and freeze for about 15-30 minutes before torching.
- Torching: Remove the squares from the freezer and working with 2-3 squares at a time, sprinkle an even layer of the granulated sugar over each bar. Use a kitchen torch to carmelize the sugar, holding it a few inches away and constantly moving the torch in small circular motions. Repeat with the remaining bars, sprinkling and torching 2-3 at a time. Allow the sugar to cool for a few minutes to harden completely. Serve immediately and enjoy!

