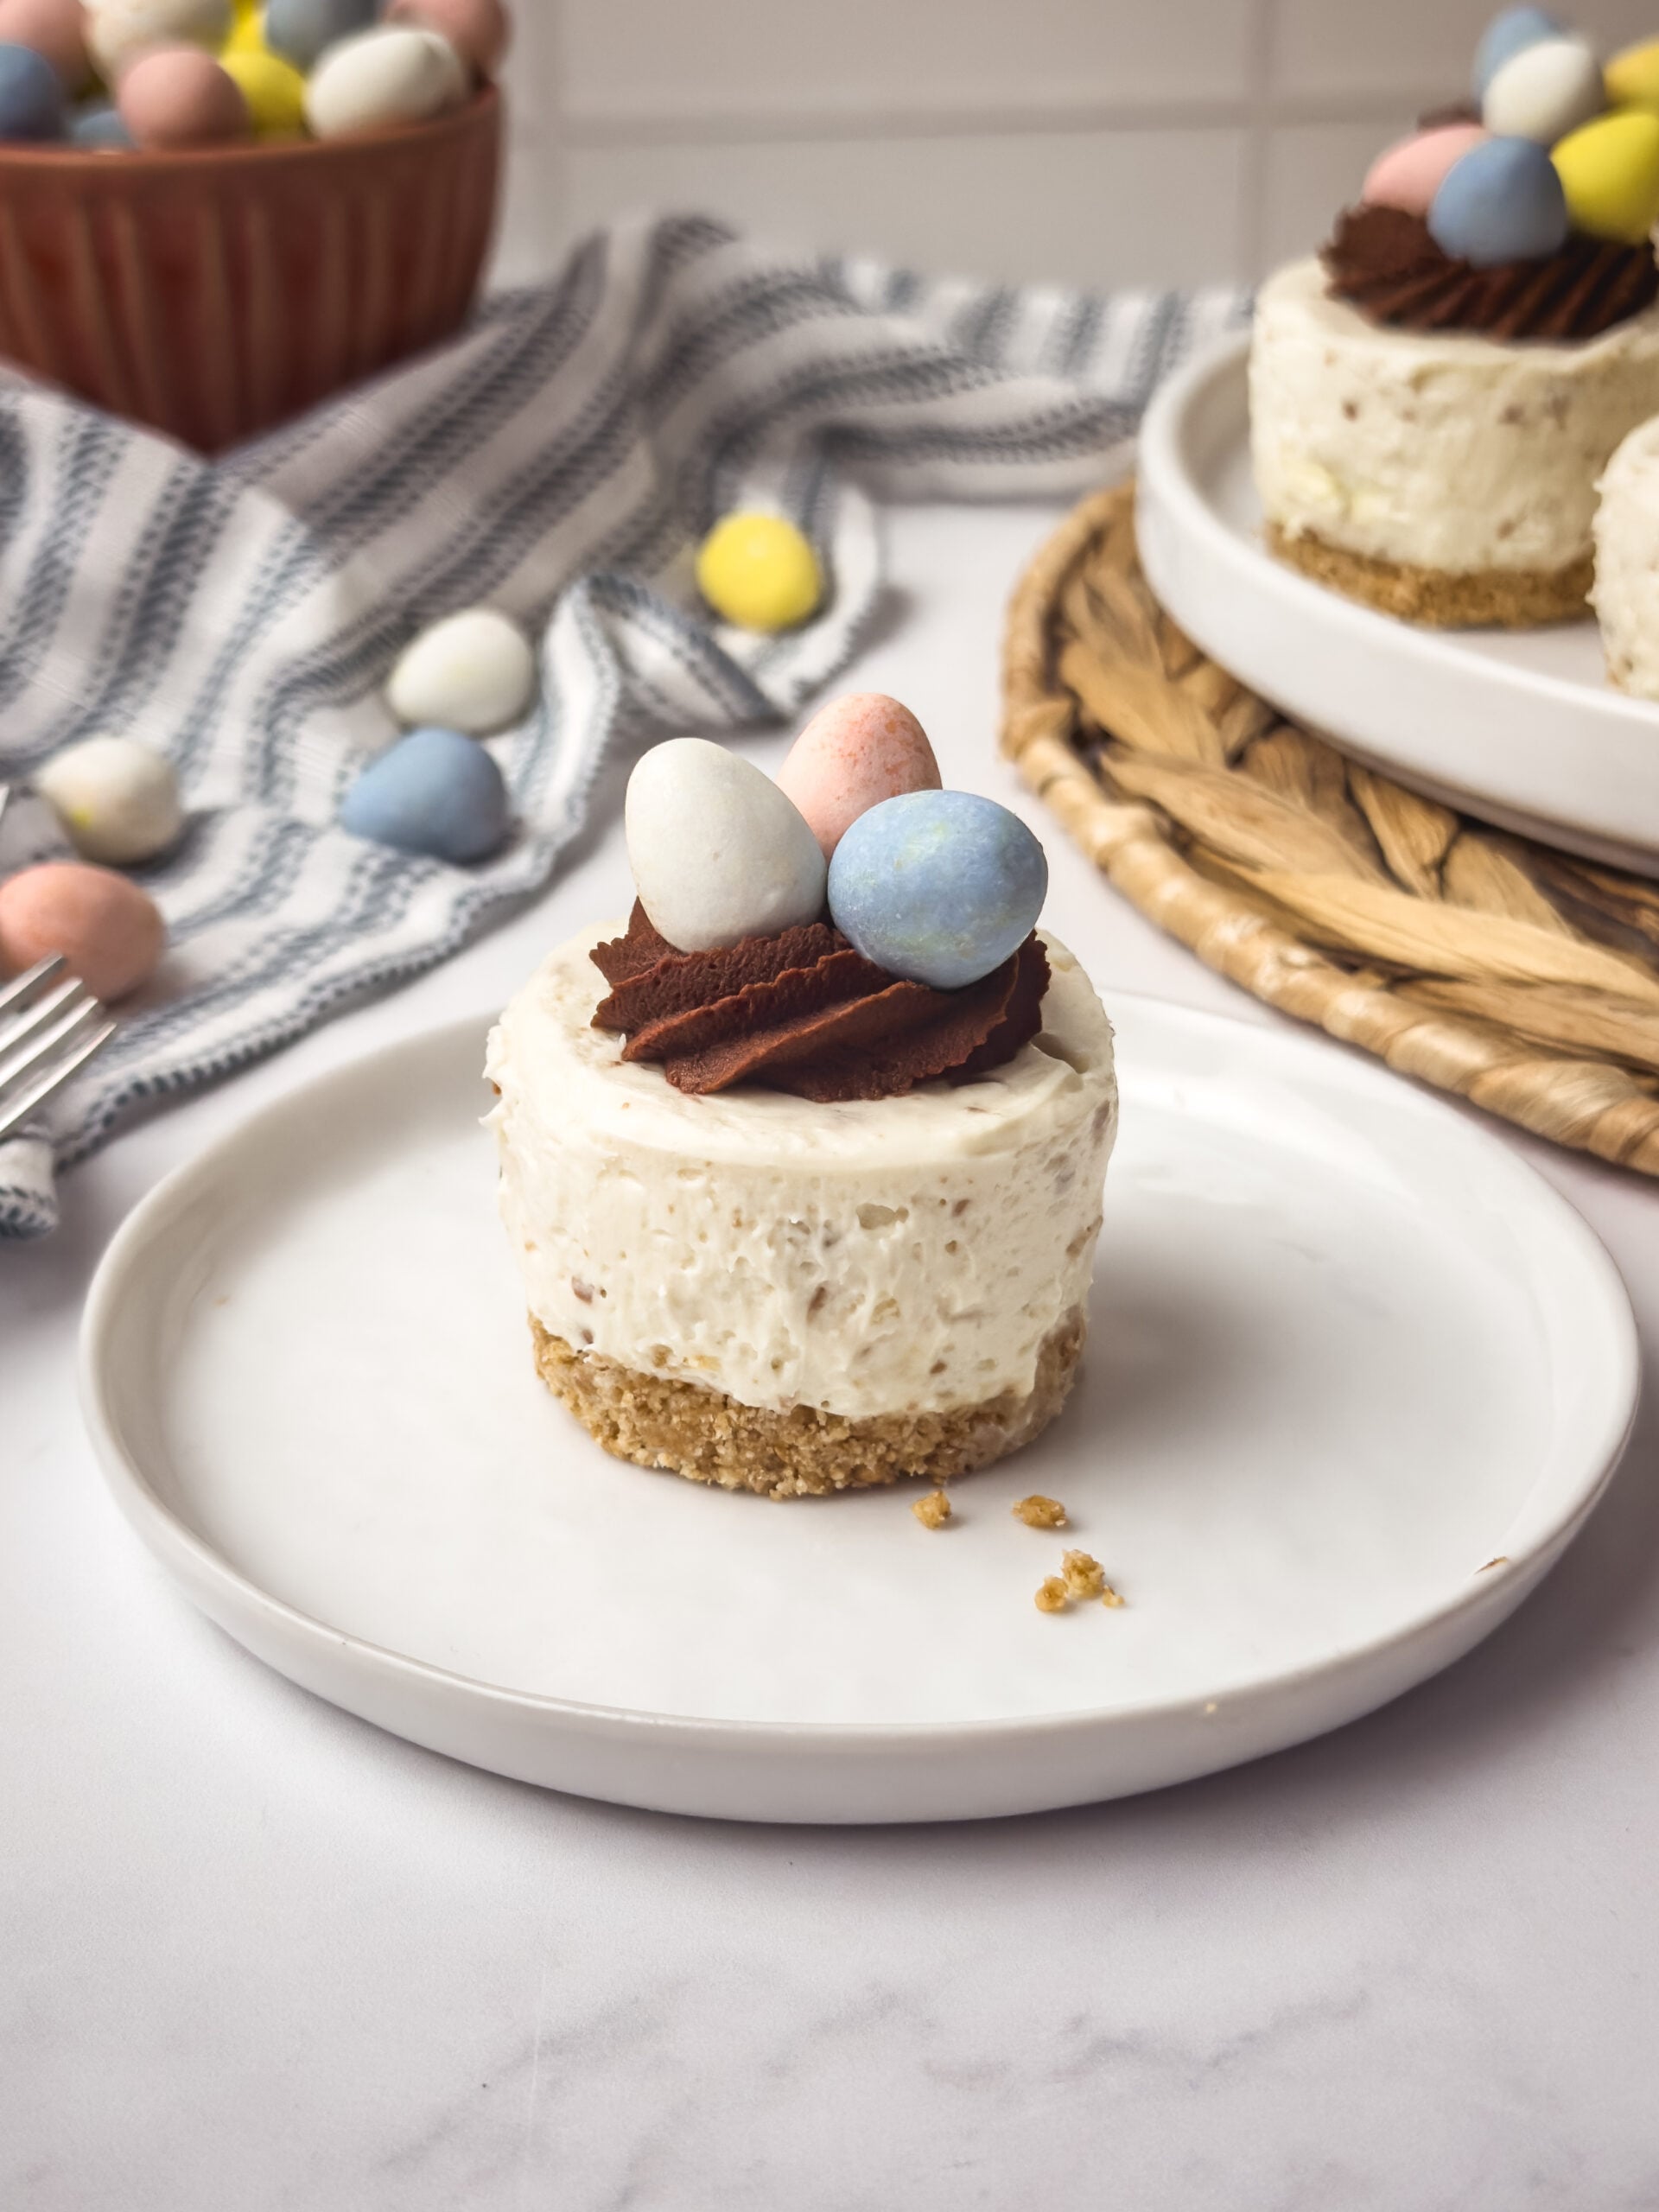
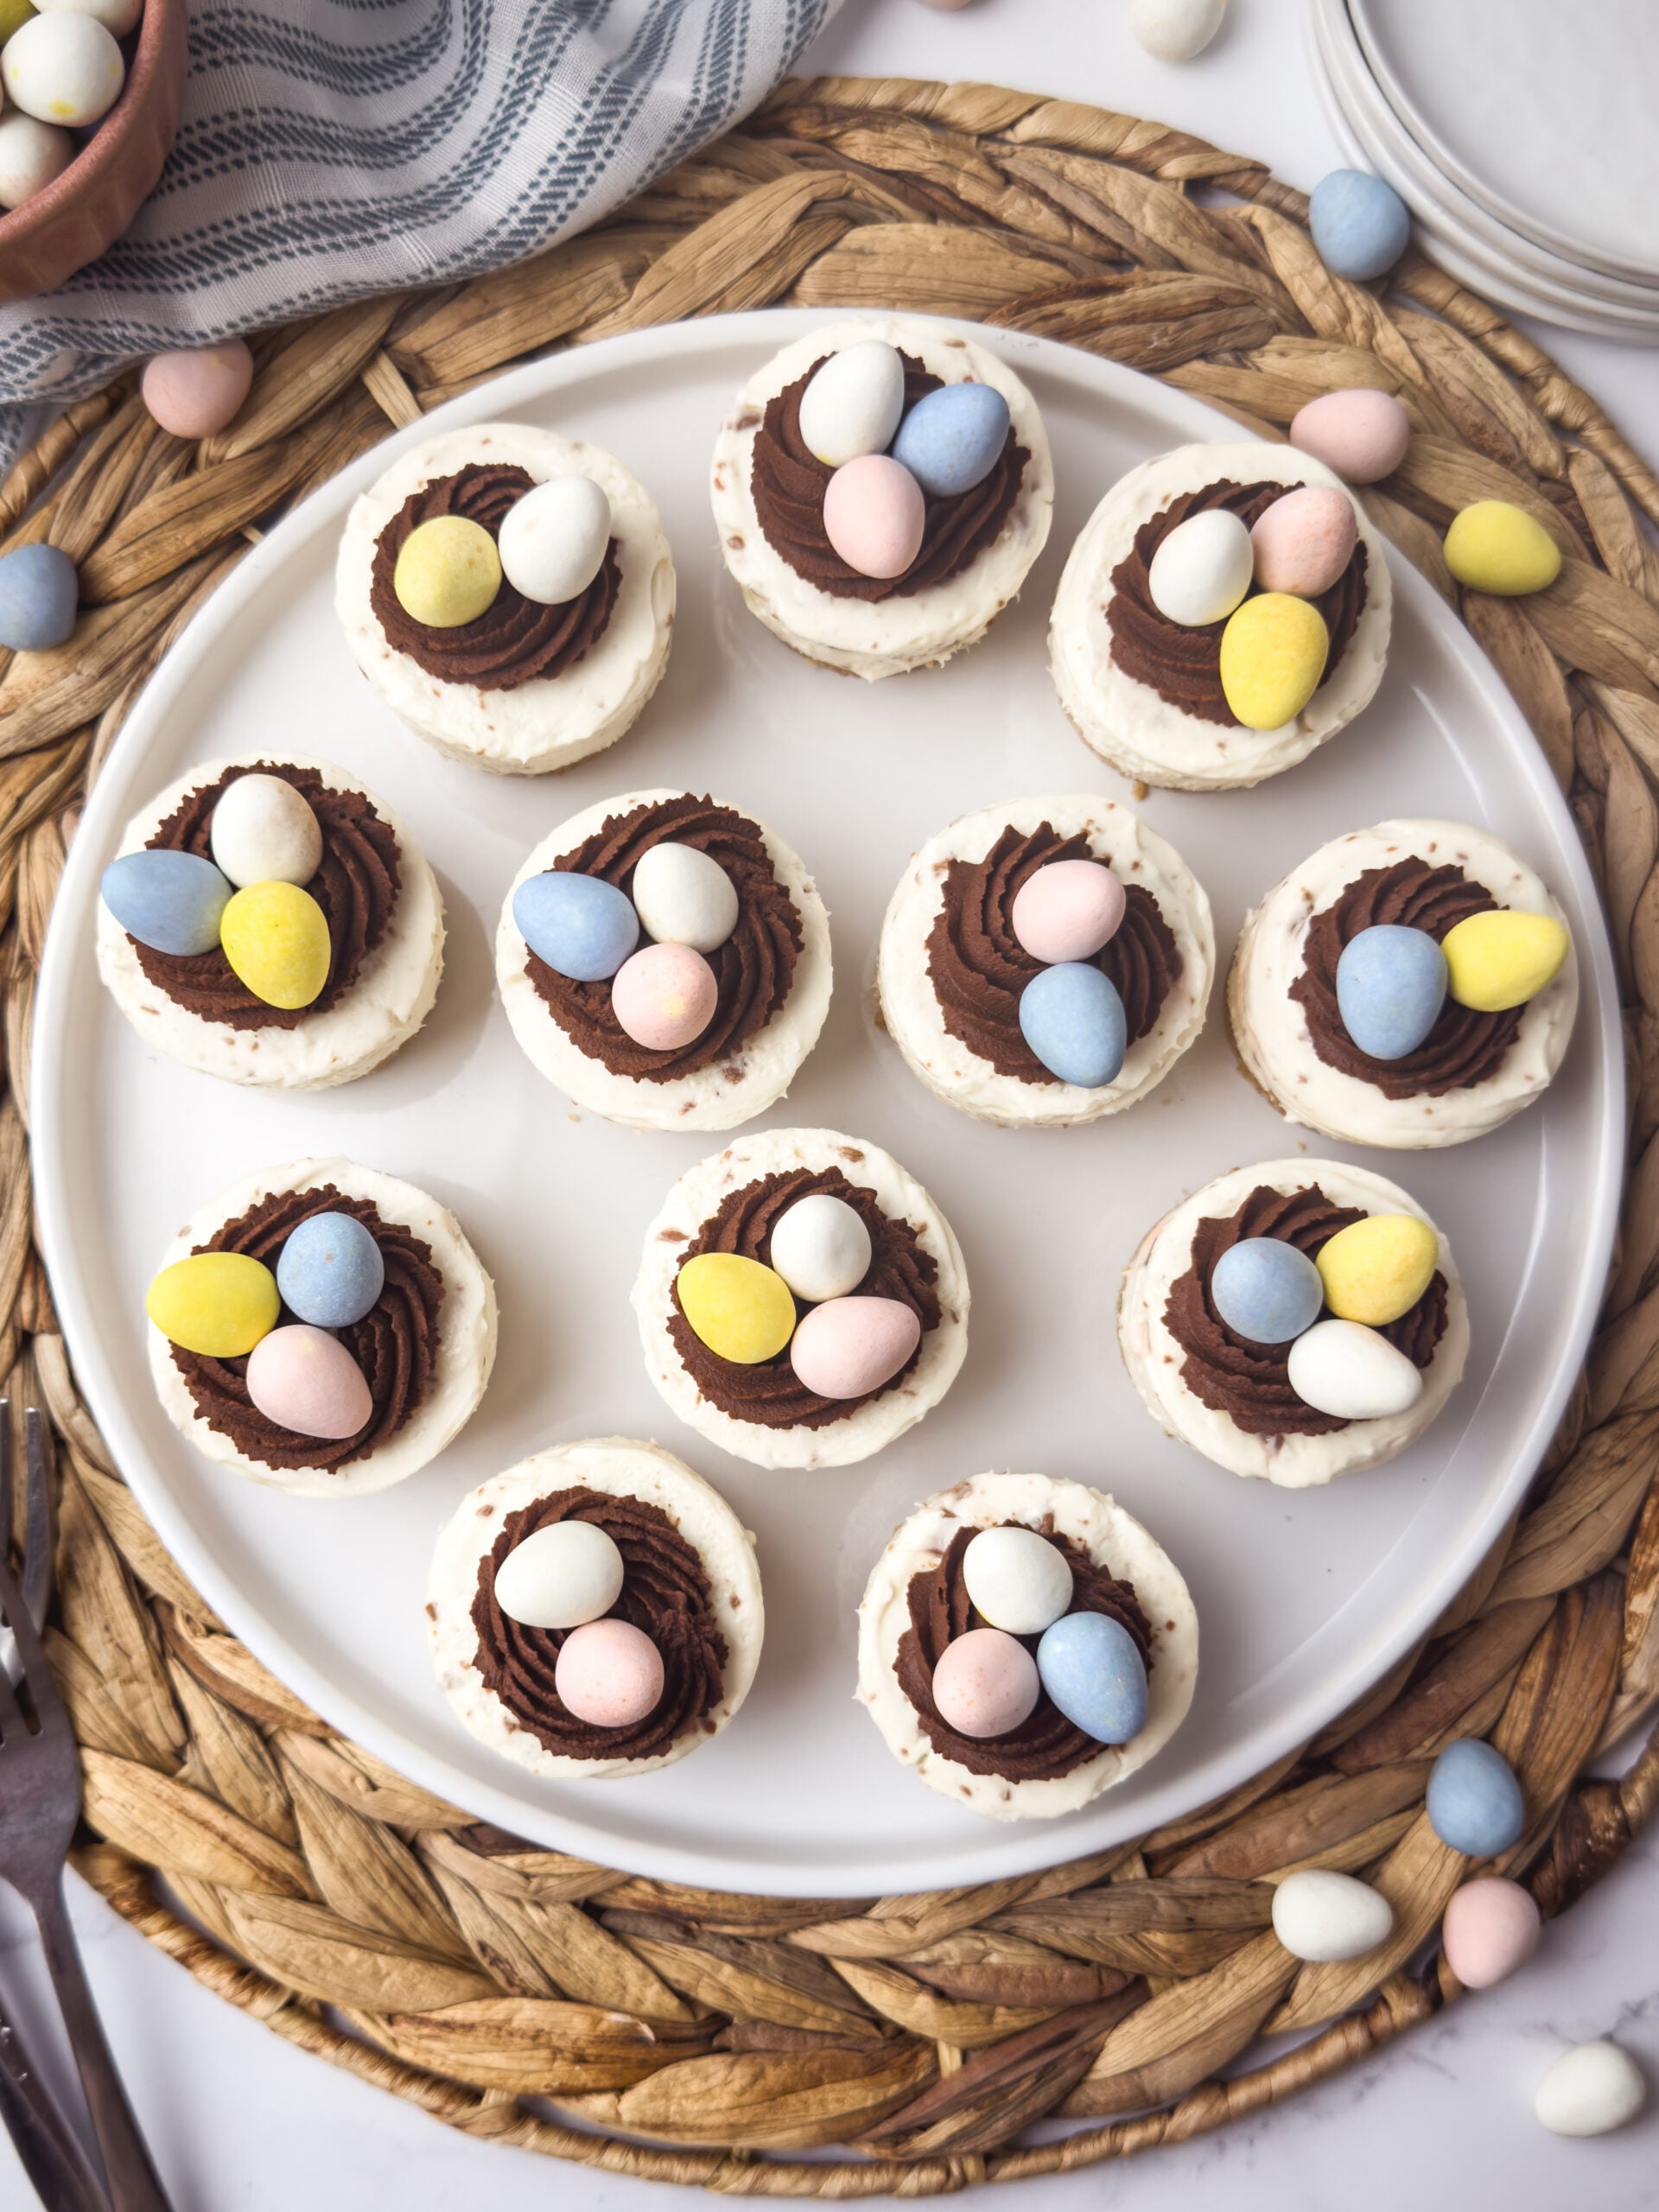
Mini Egg Cheesecakes
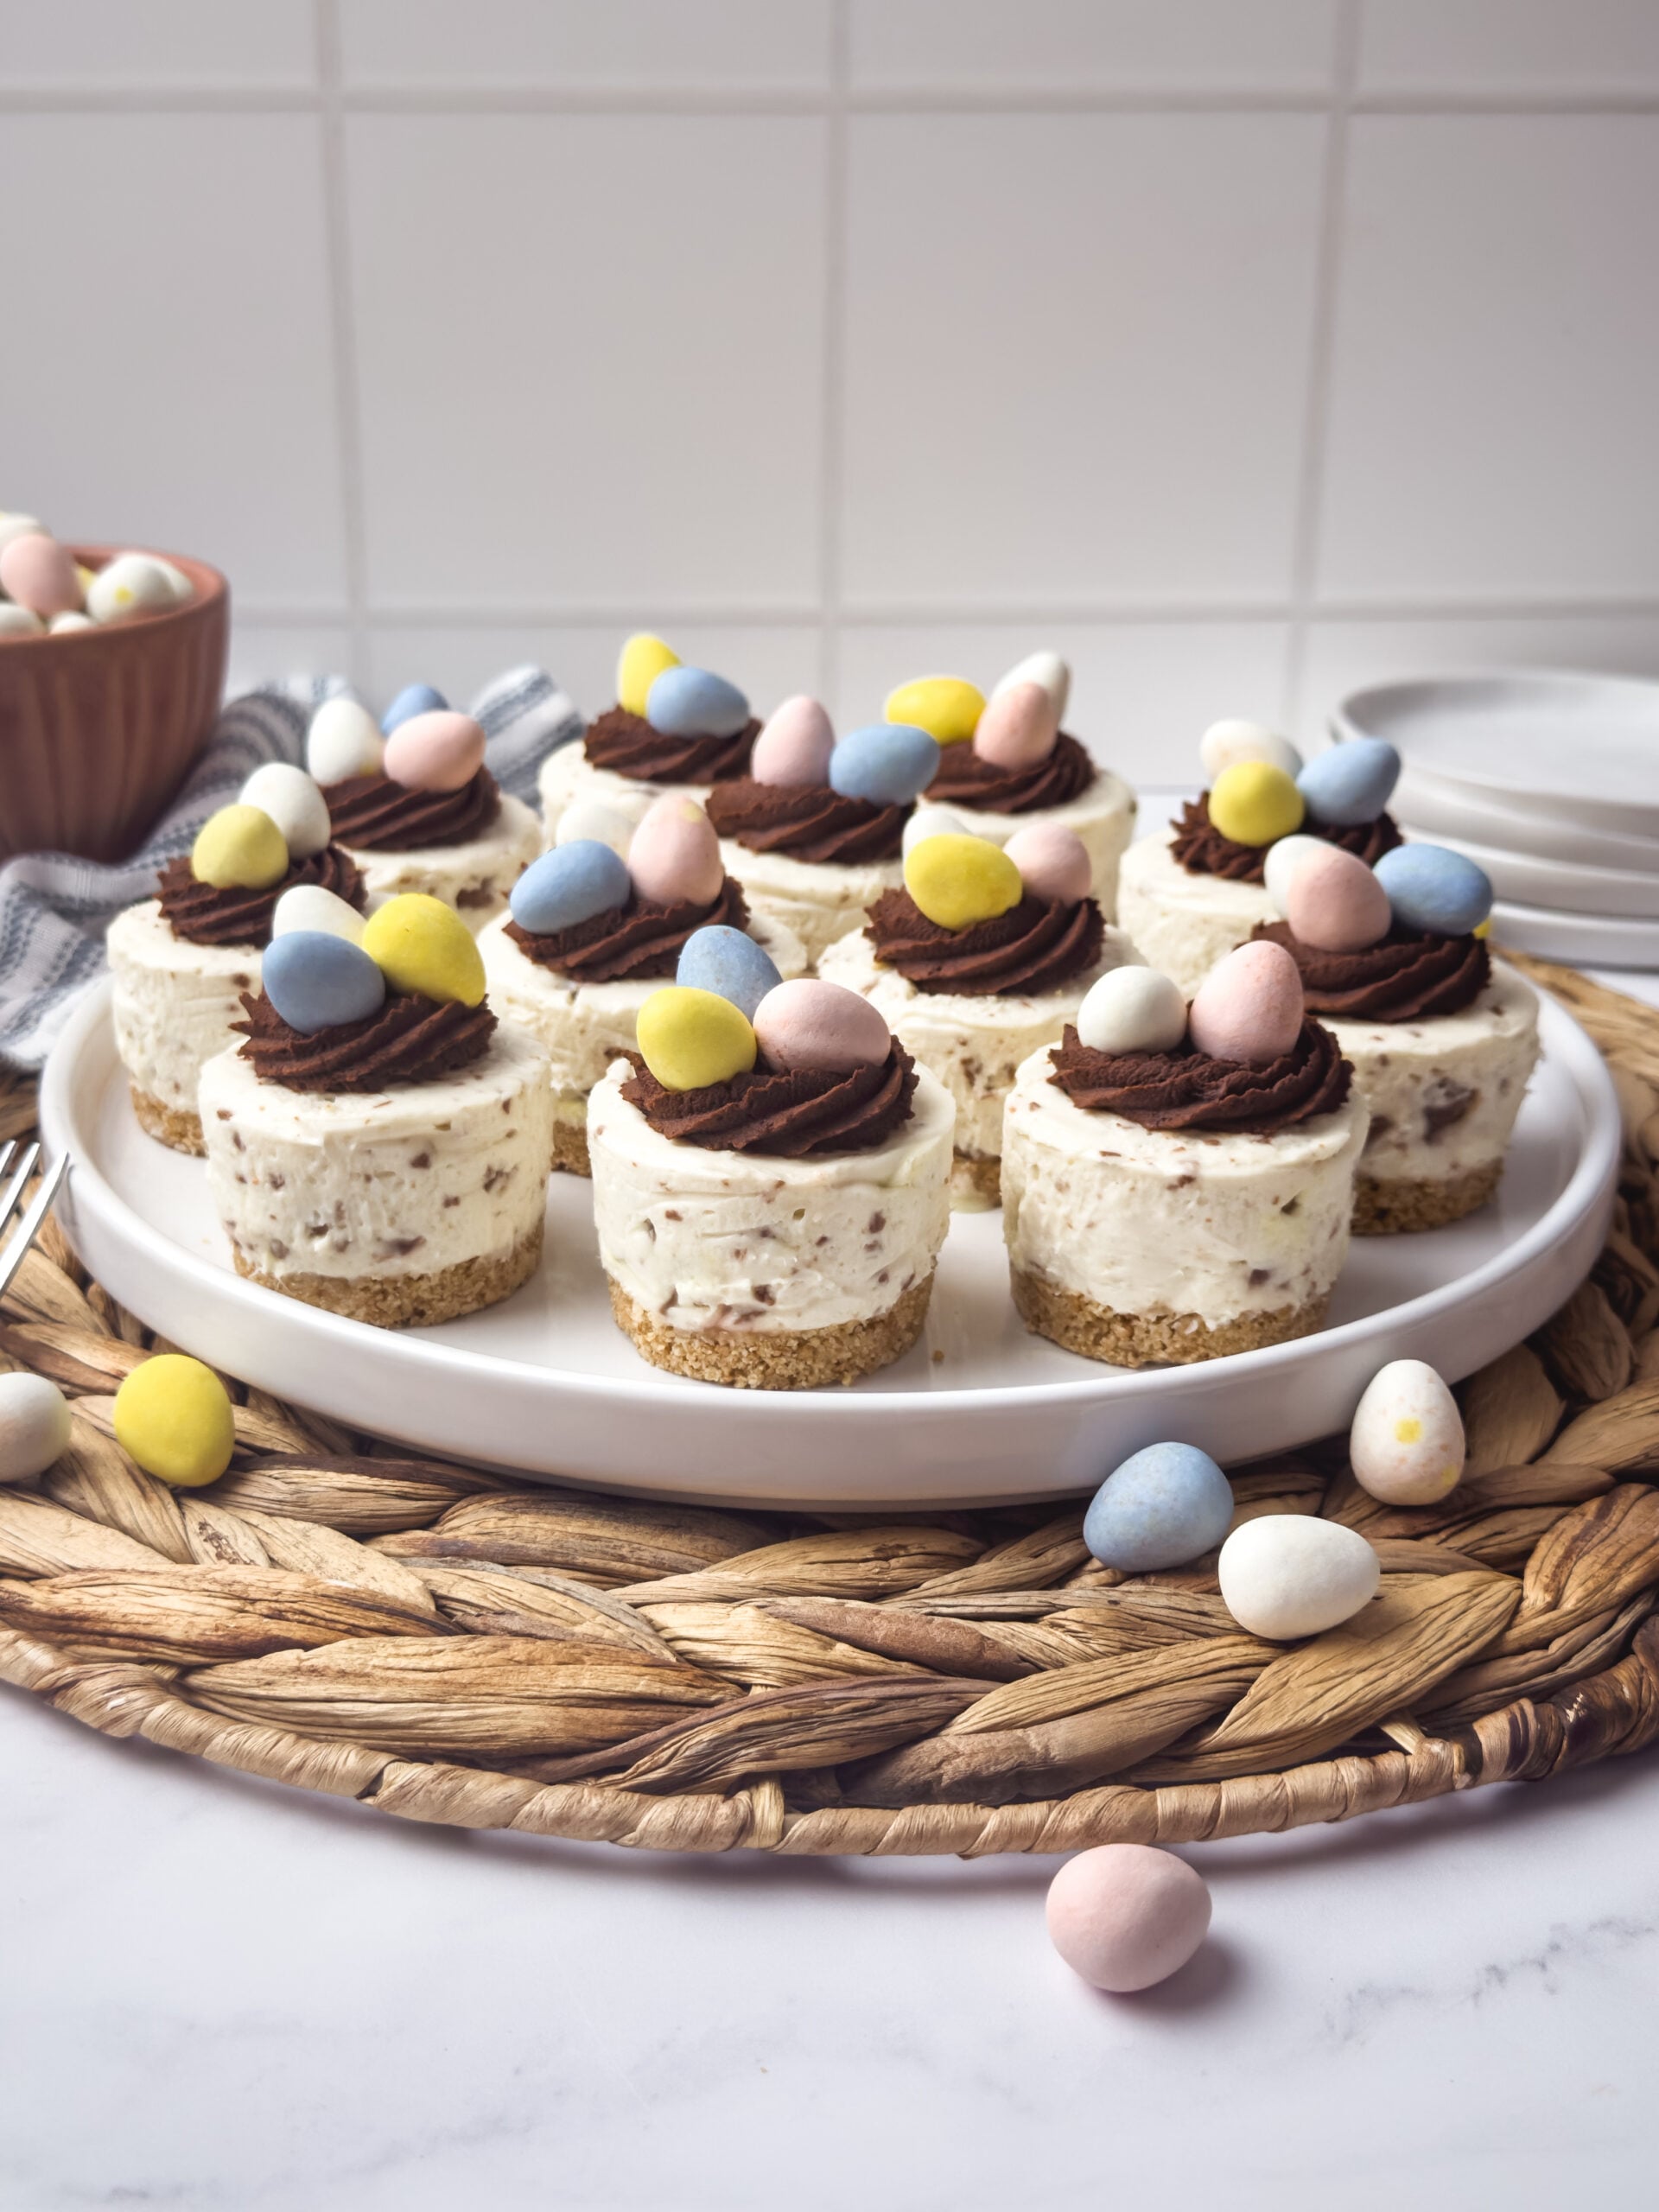
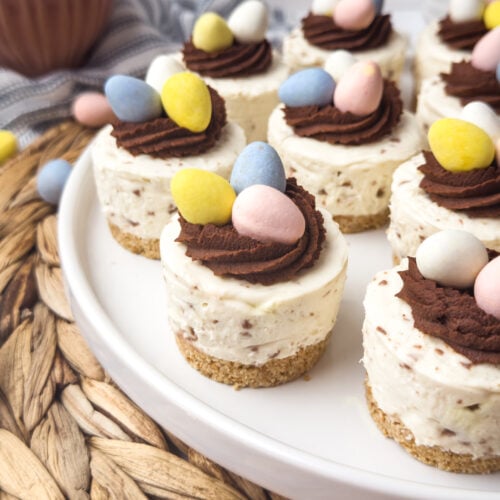
Mini Egg Cheesecakes are made with a buttery graham cracker crust, creamy no-bake cheesecake filling, and colorful, crunchy milk chocolate mini eggs. The perfect Easter or springtime treat!
This post may contain affiliate links. Please read my full disclosure policy.

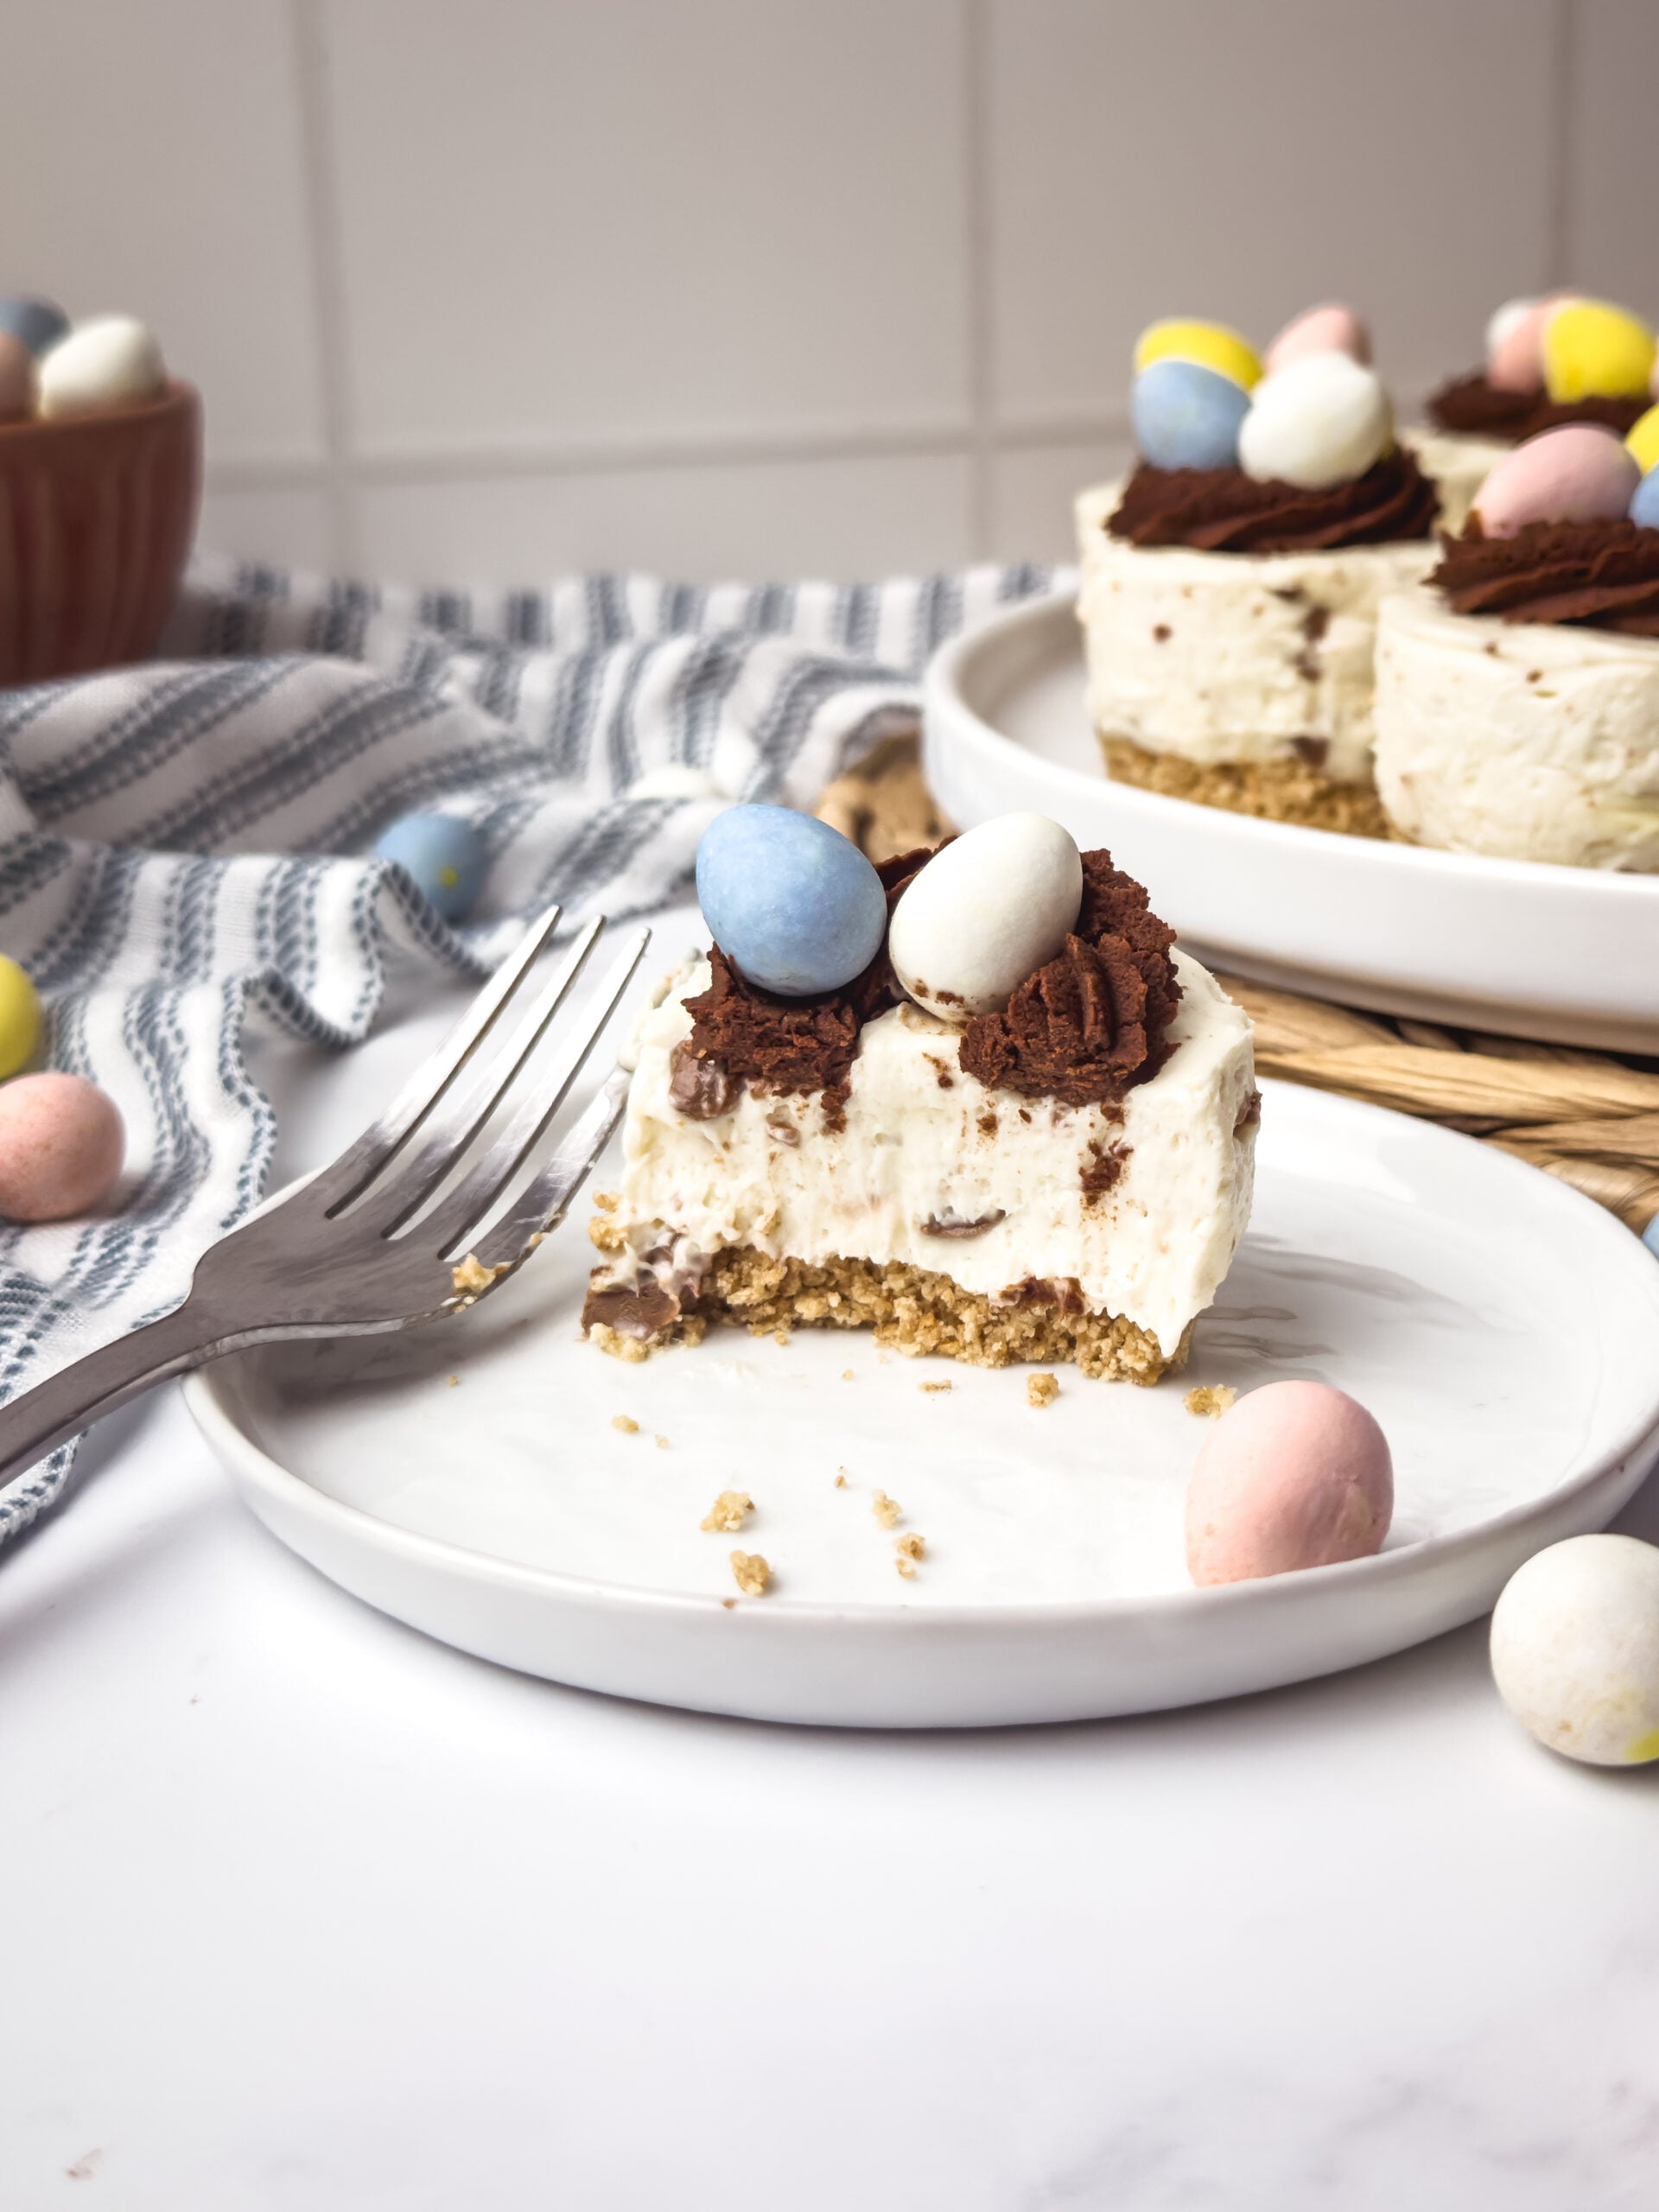
Nothing says spring quite like those irresistible candy-coated chocolate mini eggs. These Mini Egg Cheesecakes elevate them to a whole new level! Featuring a buttery graham cracker crust and a rich, creamy cheesecake filling speckled with bits of chocolate mini eggs, this dessert is pure indulgence. Best of all, this no-bake cheesecake recipe requires no oven, no water bath, and no eggs – well, except for the chocolate ones!
Ingredient Notes
Graham Crackers – You can grind the graham crackers yourself or even use store-bought graham cracker crumbs for an easy time-saving shortcut.
Butter – Melted butter binds the graham cracker crust together.
Cream Cheese – Use blocks of full-fat cream cheese, and avoid the kind that comes in a tub. I prefer Philadelphia cream cheese above any other.
Powdered Sugar – Adds just the right amount of sweetness.
Heavy Cream – You’ll need heavy cream with a milkfat percentage of at 36%-40%. If you use regular whipping cream, the filling will not whip up stiff enough.
Chocolate Mini Eggs – The classic pastel Cadbury mini eggs are my go-to, but any candy-coated milk chocolate mini eggs would work!
How to Make Mini Egg Cheesecakes
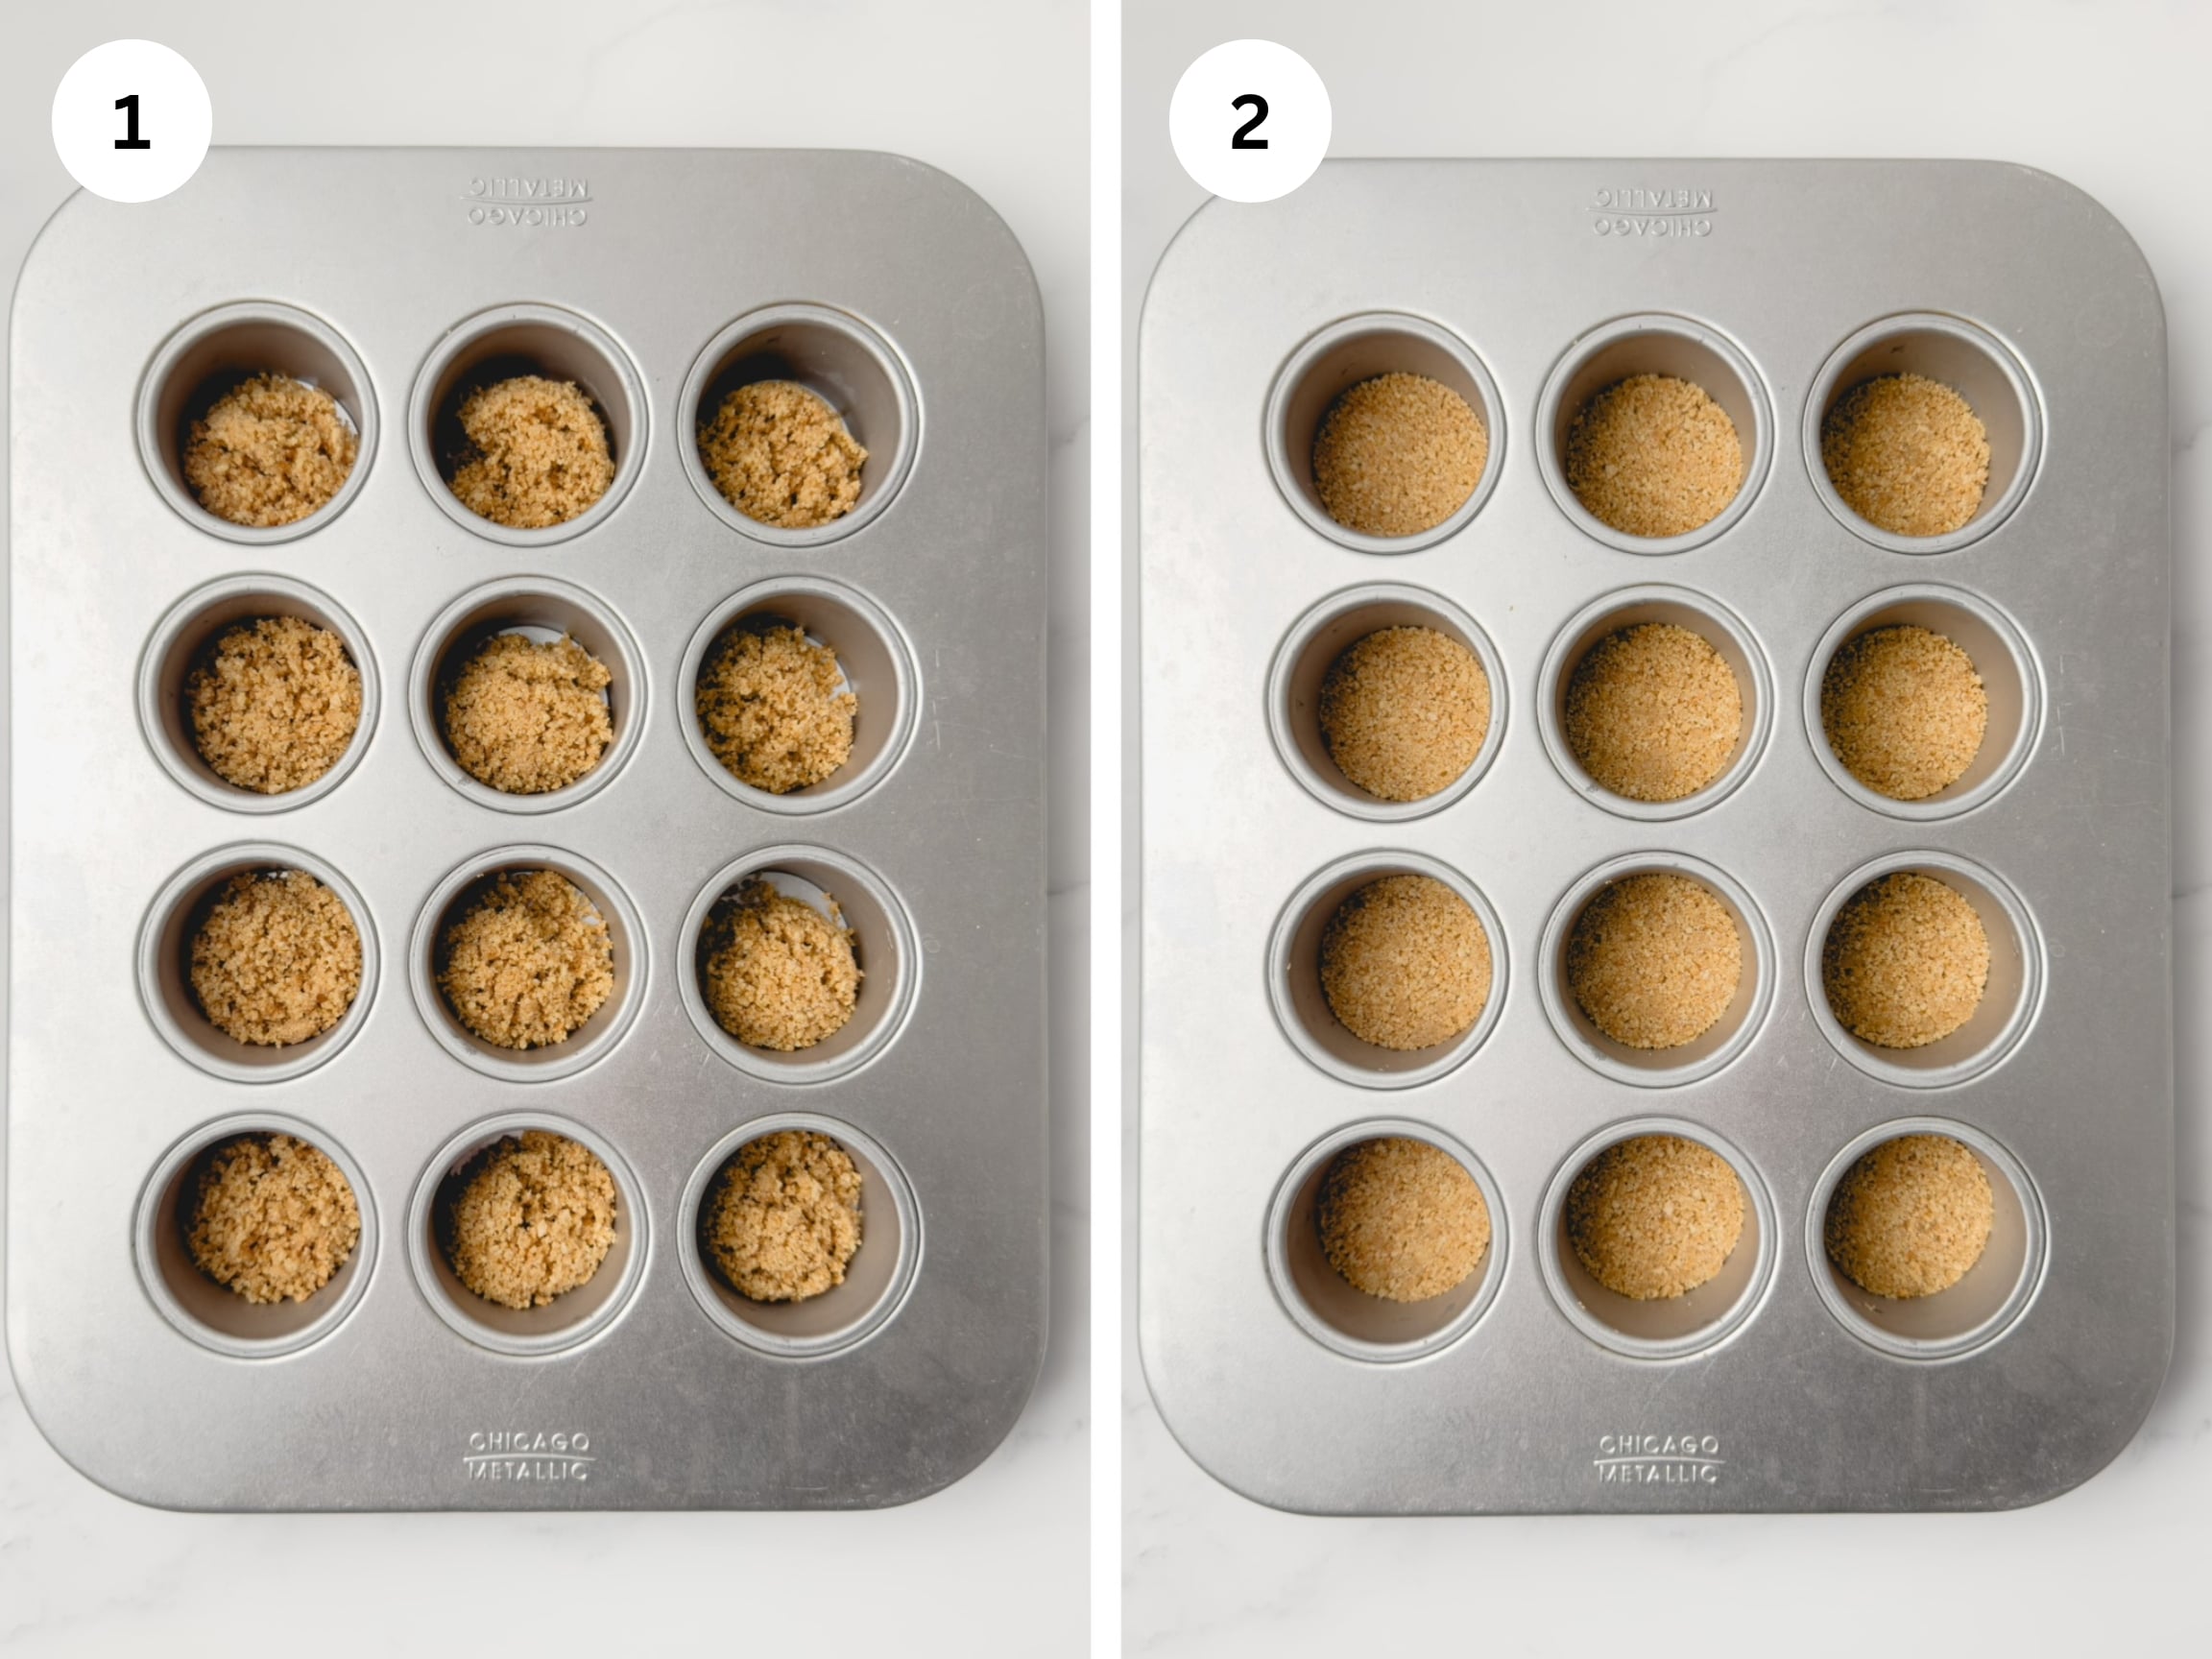
Make the Crust
Start by grinding graham crackers into fine crumbs with a food processor or crushing them in a zip-top bag with a rolling pin, then mix in melted butter. Add about one tablespoon of the mixture to each cavity of a mini cheesecake pan. Press down firmly with a tart tamper or the bottom of a small glass to compact the graham layer.
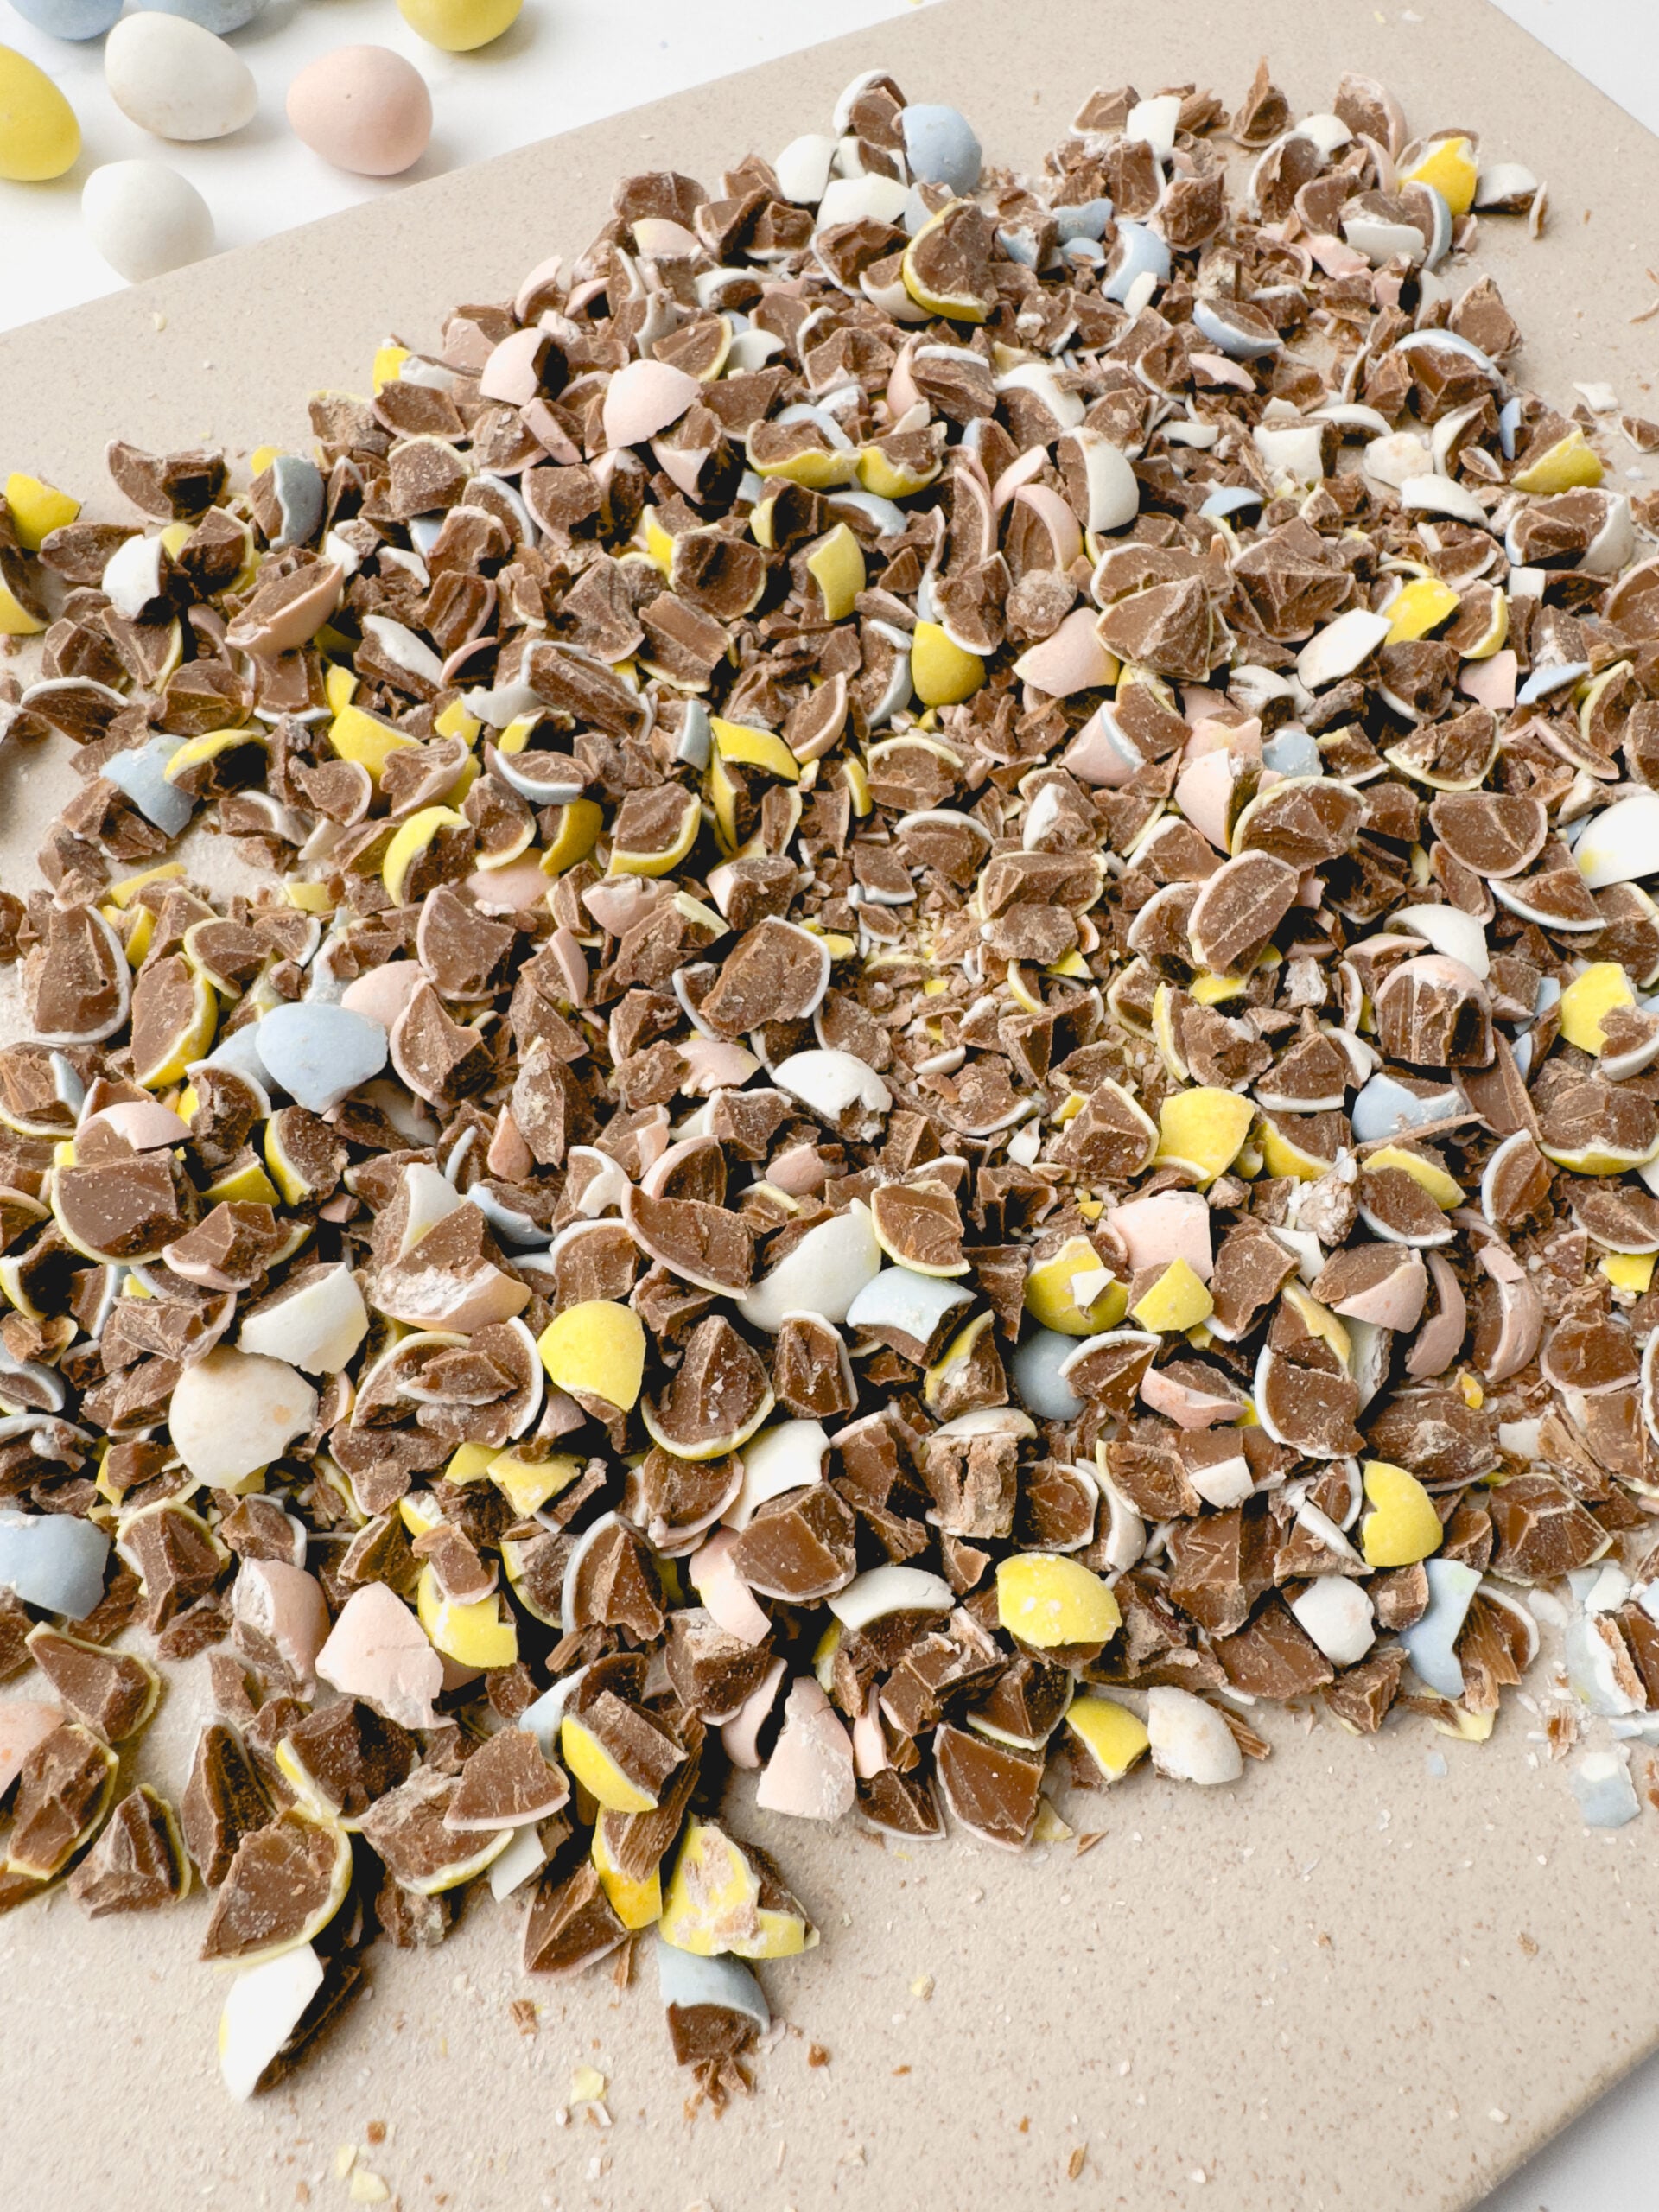
Crush the chocolate eggs
Use the back of a large knife to crush the mini eggs, then roughly chop them. The eggs can be a little tricky to chop since they tend to roll around the cutting board, so I find it easier to start by crushing them with the back of a knife to get them started (like crushing a garlic clove).
Mix the Filling
The no-bake cheesecake filling is made by combining cream cheese and powdered sugar using an electric mixer with a whisk attachment. Vanilla extract is added, then heavy cream is slowly streamed in with the mixer on low speed. Once the cream is incorporated, the mixture gets whipped on high speed until the cream thickens and looks like stiff peaks. Then the mini chocolate eggs are folded in.

Fill, Set, and Unmold
With a piping bag, pipe the cheesecake filling into each cavity of the cheesecake pan. Smooth out the tops with a small offset spatula. Cover the tops of the cheesecake with plastic wrap and place the pans in the fridge for at least 8 hours or overnight. After the cheesecakes have fully set, push up on the removable base to pop the cheesecake up and out. Slide the metal base off the crust.

Top with Ganache
Make the ganache by combining chocolate and heavy cream and microwaving in 20-second increments, stirring in between until fully melted. Allow the ganache to set at room temperature until firm enough to pipe. Use a French-style piping tip (or a star tip) to pipe a rosette on top of each cheesecake to resemble a little nest. Finish off with more chocolate mini eggs!
Variations
- If you prefer dark chocolate, try the dark chocolate mini eggs instead of milk chocolate.
- Use mini chocolate chips for a version you can make year-round!
- For an extra chocolatey version, use Oreos instead of graham crackers to make a chocolate crust.
- Try my Mini Oreo Cheesecakes and Mini Biscoff Cheesecakes for more mini no-bake cheesecake varieties!


Recipe FAQs
What is the best way to store the cheesecakes?
Store the cheesecakes in an airtight container in the fridge for up to 3 days. Wait to add the ganache and mini eggs on top until right before serving, as the candy coating on the mini eggs will melt in the fridge.
Can mini cheesecakes be frozen?
Yes, these cheesecakes freeze great! Store them in an airtight container in the freezer for up to 3 months. Let them thaw in the fridge for a few hours before serving. I recommend freezing the cheesecakes without the ganache and chocolate eggs and then adding them after the cheesecakes have thawed.
How do you cleanly remove the mini cheesecakes from the pan?
After the cheesecakes have fully set in the fridge, put them in the freezer for 30-45 minutes. Working with one cheesecake at a time, rub a wet, warm towel around the exterior sides of the cheesecake tin before pushing up on the removable base to pop the cheesecakes out.
What can I use if I don’t have a mini cheesecake pan?
If you don’t have a mini cheesecake pan with removable bases, a cupcake or muffin pan will work just fine. Simply line it with cupcake liners for easy removal. While this method will yield fewer cheesecakes, they’ll be slightly larger. For another easy alternative, layer the crust and cheesecake filling in individual glass cups and serve them straight from there—no unmolding required!
Can this recipe be made into one large cheesecake?
Yes, if you’d rather make one large cheesecake instead of minis, you can add the cheesecake batter to one large 9-inch or 10-inch springform pan and follow the remaining instructions as usual.
Baking Tip: Weigh Your Ingredients!
I highly recommend using a kitchen scale to weigh your ingredients rather than using measuring cups because it is the most accurate way to bake. Weighing your ingredients will give you more consistent results with your recipes and a better success rate, every time. Using a scale also saves you dishes which means easier cleanup! I provide gram measurements in all my recipes and this is the scale I love to use.
More Easter Dessert Recipes
- Lemon Mascarpone Tart
- Coconut Layer Cake
- Carrot Snack Cake
- Mini Egg Oat Cookies
- Lemon Brulee Bars
- Chantilly Crepe Cake
If you make this recipe and love it, be sure to leave a comment below. Happy baking!
Mini Egg Cheesecakes
Ingredients
For the Graham Cracker Crust
- 12 sheets (190g) graham crackers
- 6 Tablespoons (85g) unsalted butter, melted
For the Cheesecake Filling
- 12 ounces candy-coated chocolate mini eggs, plus more for topping
- 24 ounces (3 blocks or 681g) cream cheese, at room temperature
- 1½ cups (180g) powdered sugar
- 1 Tablespoon vanilla extract
- 1½ cups (360ml) heavy cream
For the Chocolate Ganache
- ½ cup (84g) dark chocolate chips
- ⅓ cup (84g) heavy cream
Instructions
- Graham Cracker Crust: In a food processor, add the graham crackers and pulse to fine crumbs. Add in the melted butter and pulse until the mixture is fully combined.
- Portion the crumbs into two 12-count mini cheesecake pans, adding about 1 Tablespoon of the crust mixture to each tin. Press firmly to compact it into the bottom. Place the pans in the fridge to chill while you make the cheesecake filling.
- Cheesecake Filling: Crush the chocolate mini eggs with the back of a large knife and roughly chop them.
- In the bowl of a stand mixer fitted with a whisk attachment, beat the cream cheese and powdered sugar together until well combined and smooth. Mix in the vanilla.
- Scrape the bowl well and mix again until no lumps remain. With the mixer on low speed, slowly stream in the heavy cream. Once the cream is incorporated, turn the mixer to high speed and whip until the mixture is thick and looks like stiff peaks, about 20-30 seconds. Remove the bowl from the mixer and gently fold in the crushed chocolate eggs.
- Use a large piping bag to fill the prepared pans to the top with the cheesecake filling. Lightly smooth the tops of the cheesecakes with a small offset spatula or the back of a spoon. Refrigerate for at least 8 hours or overnight.
- Once the cheesecakes are set, remove them from the tins by gently pushing the cheesecakes up and out from the bottom, then remove the metal base. If you have trouble getting the cheesecakes out, place them in the freezer for about 30-45 minutes. Rub a wet, warm towel around the exterior sides of each cheesecake tin then push the cheesecake up and out.
- Chocolate Ganache: Combine the chocolate and heavy cream in a heat-safe dish and warm in the microwave in 20-second increments, stirring in between until melted. Allow the ganache to firm up at room temperature until firm enough to pipe. Fill a piping bag fitted with a French-style piping tip with the slightly firm ganache. Pipe a small rosette of ganache onto each cheesecake.
- Top each cheesecake with more chocolate mini eggs. Serve and enjoy!
Notes
- Cheesecake Pan: If you don’t have a mini cheesecake pan with removable bases, you can use cupcake pans with liners or layer the cheesecakes into individual serving cups
- Storage: The cheesecakes can be stored in an airtight container in the fridge, for up to 3 days. I recommend waiting to add the ganache and mini eggs on top until ready to serve.